
Affiliate Disclosure: I earn commissions if you shop through the links below at no additional cost to you.
Last Updated on January 31, 2026 by Jeremy
RV cleaning products are not about keeping up appearances. They’re about protecting your materials, avoiding expensive fixes, and keeping day-to-day life inside a small space from turning into a full-time chore.
I’ve found the “best” cleaning setup is the one that’s simple enough to actually use. This list focuses on five categories that solve the most common RV problems: greasy interiors, streaky windows, musty fabrics, sun-baked exteriors, and tank odors that show up at the worst possible time.

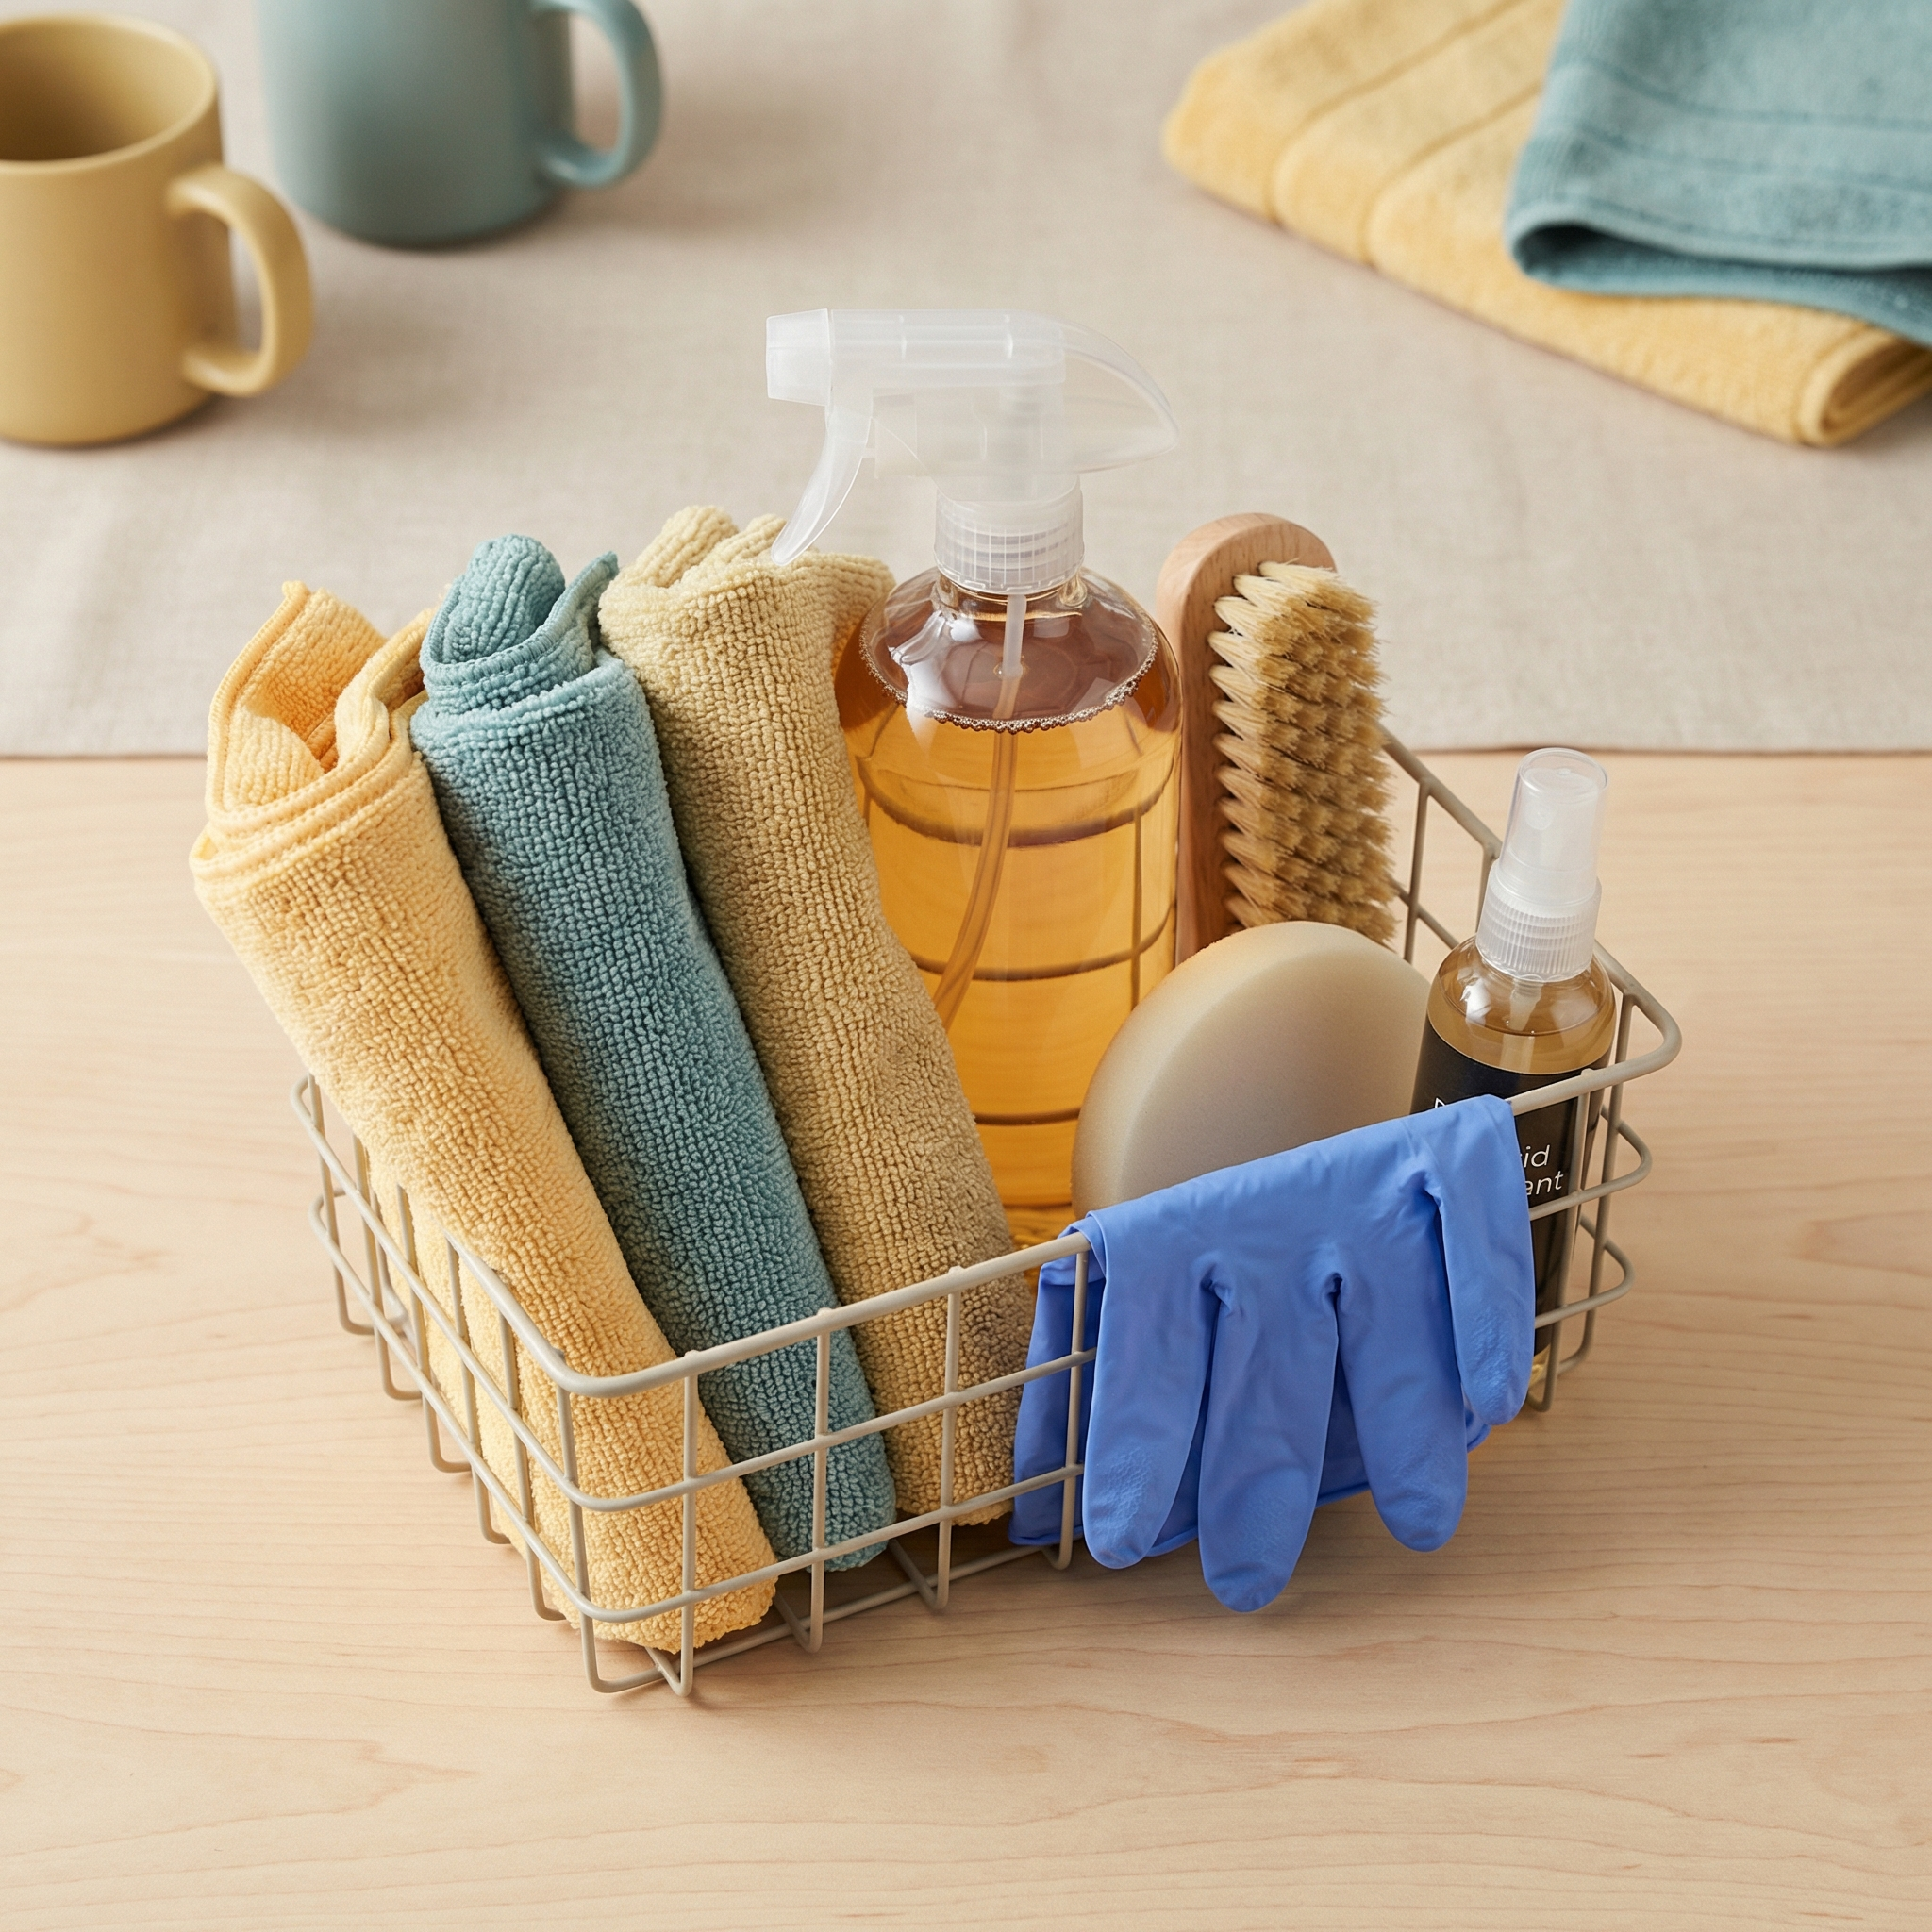
1. All-Purpose Cleaner: The MVP of RV Cleaning
This is your daily-driver. When you’re cooking, tracking in dirt, wiping fingerprints, or dealing with “mystery splatter,” a good all-purpose cleaner keeps the whole rig from slowly turning into a sticky museum exhibit.
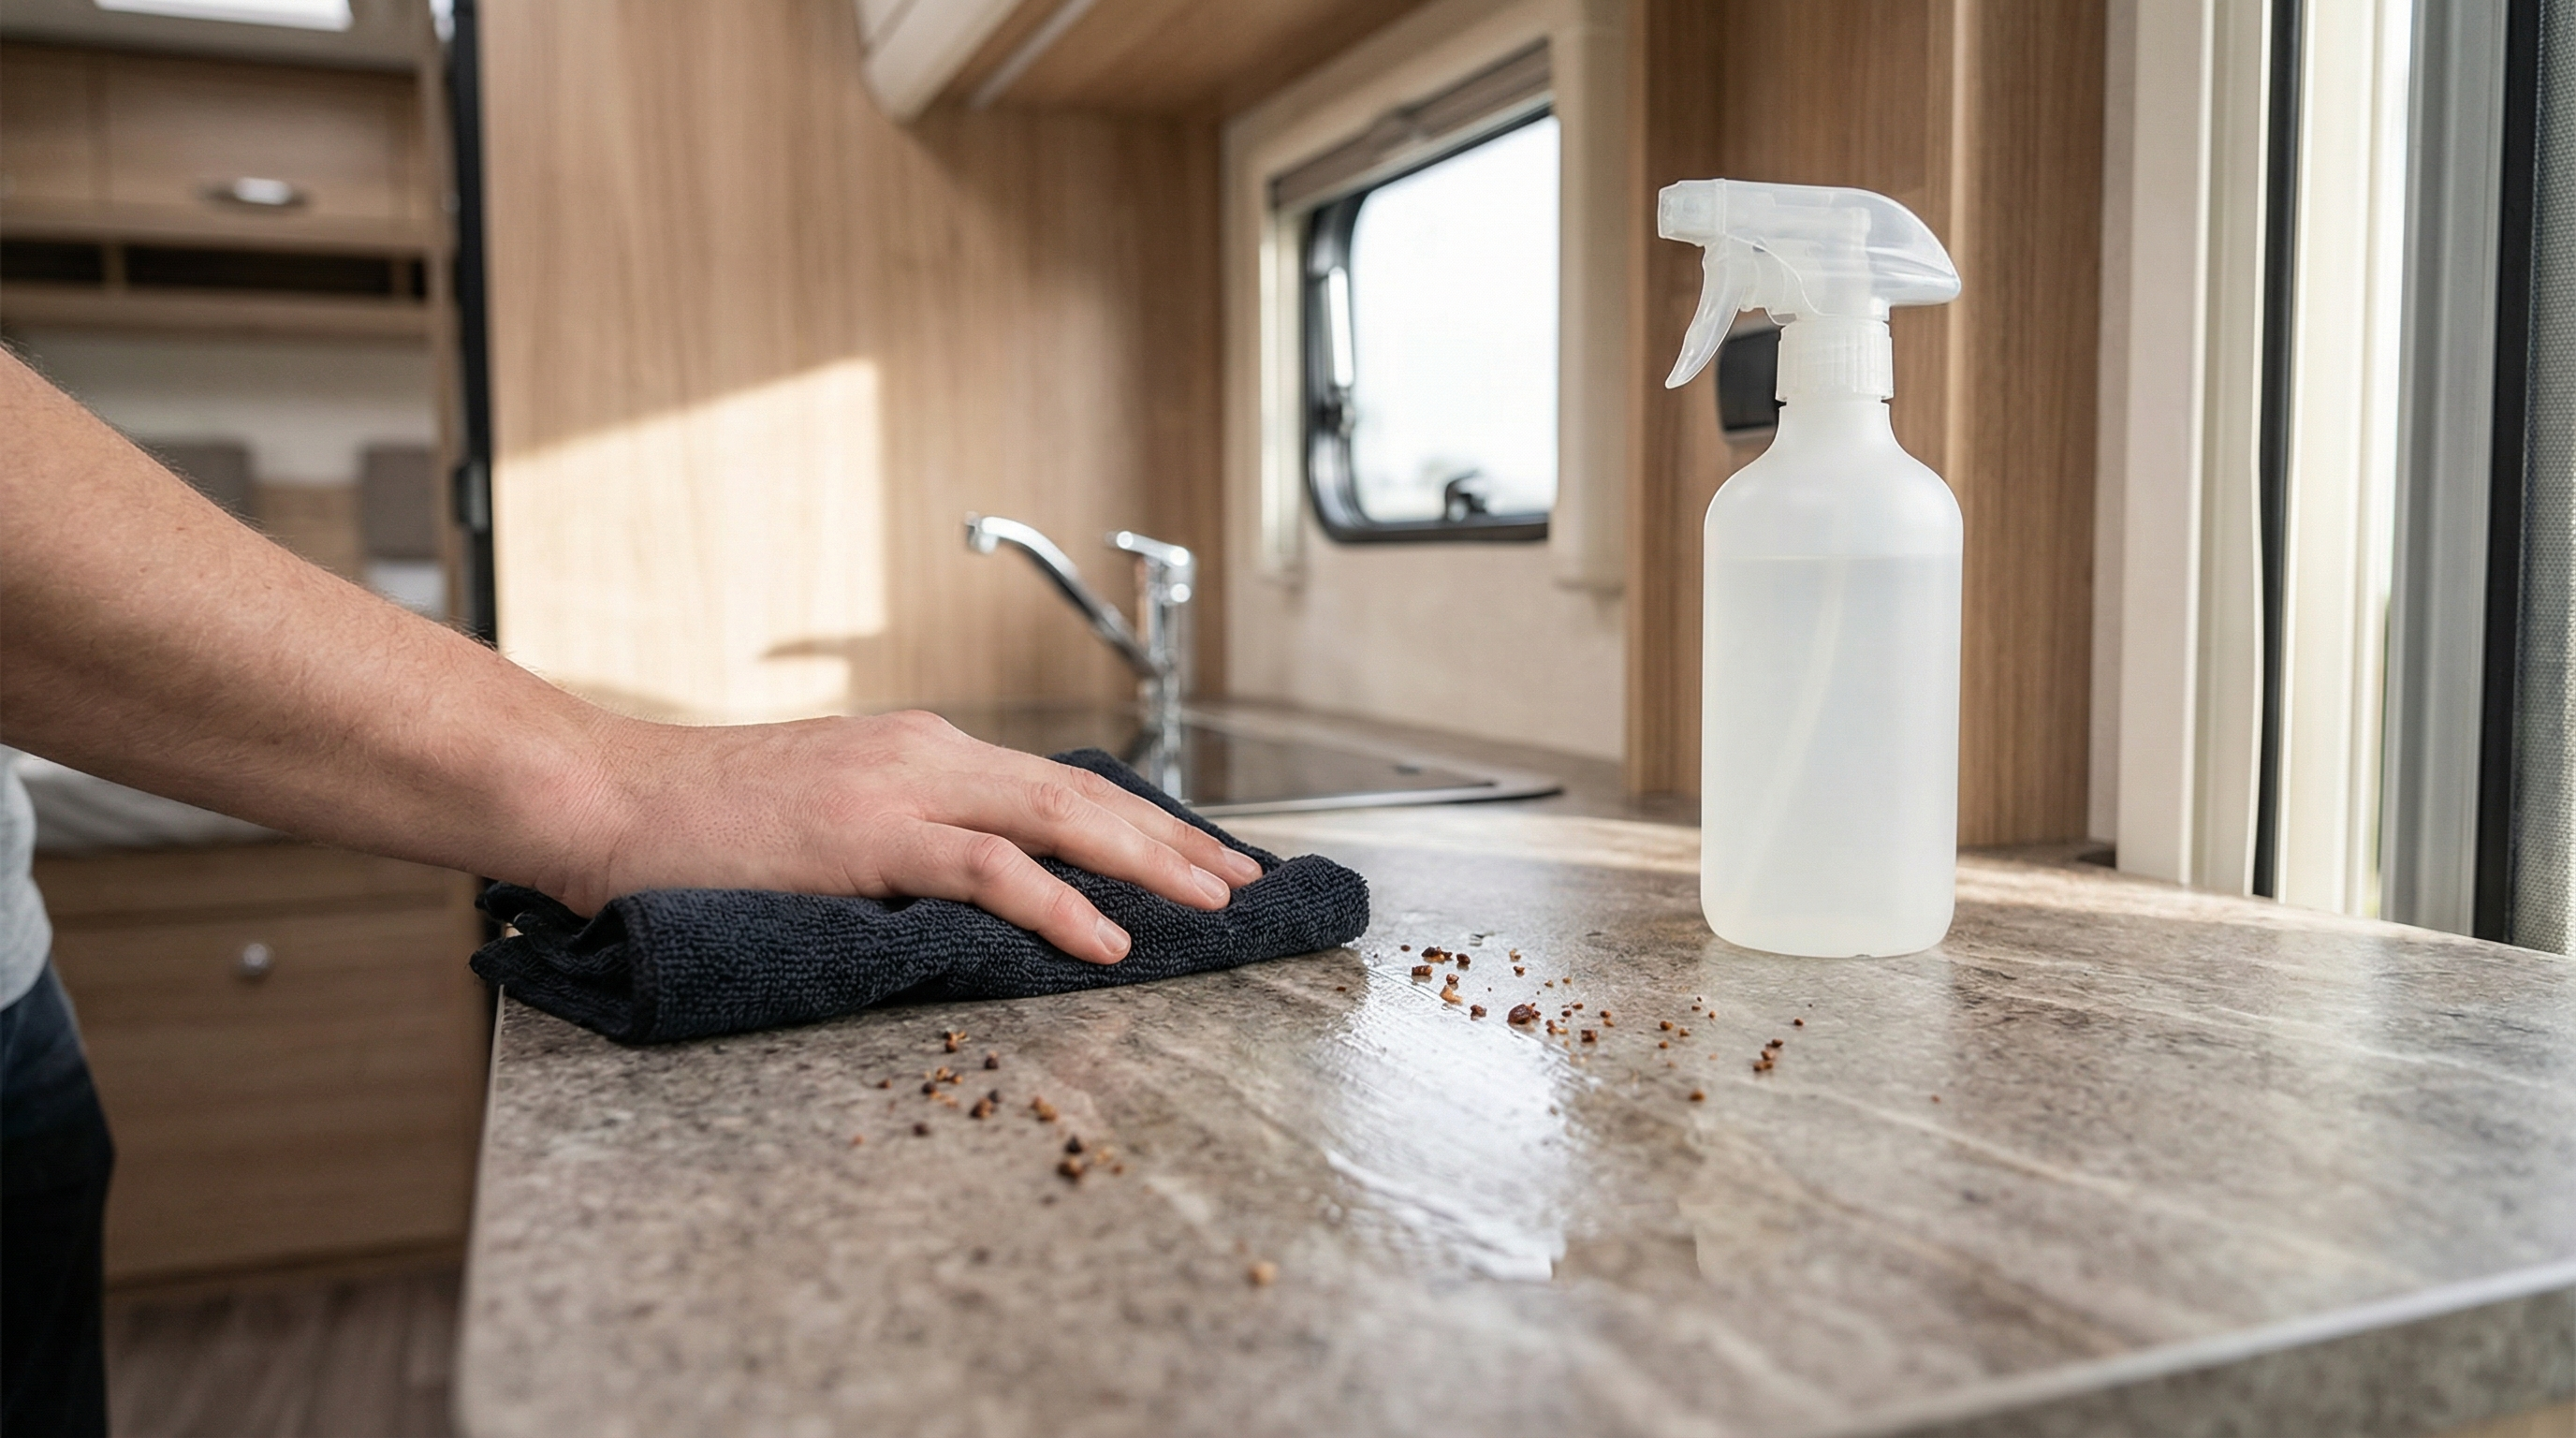
Problem it solves
Grease, grime, and daily messes across counters, tables, walls, bathroom surfaces, and floors.
What to look for
Non-toxic options, low odor, streak-free finish, and safe use on common RV materials (vinyl, laminate, sealed wood).
- Choose something you can use in a small space without gassing yourself out.
- If you’re unsure about a surface, spot test in a hidden area first.
- Keep a smaller refillable spray bottle to save space.
Pro tip: A simple diluted vinegar-and-water mix can work on many surfaces, but avoid it on natural stone and be cautious around some sealants and finishes. When in doubt, follow your RV manufacturer’s care guidance.
2. Specialty Surface Cleaners: Tough Messes Need a Targeted Approach
RVs are a weird mix of materials packed into a small space. What works on a countertop can haze a touchscreen, dull stainless steel, or dry out rubber seals. Specialty cleaners prevent accidental damage.
Must-have categories
Glass cleaner, stainless steel cleaner/polish, fabric/upholstery cleaner, and a rubber seal conditioner/protectant.
What to look for
Surface-specific labeling, residue-free finish, and compatibility with RV materials and coatings.
- Use a dedicated seal protectant on slide and door seals to help reduce cracking and sticking.
- Keep touchscreen cleaning gentle. Avoid harsh chemicals that can cloud coatings.
- Follow product directions instead of “more is better.” More is usually just more residue.
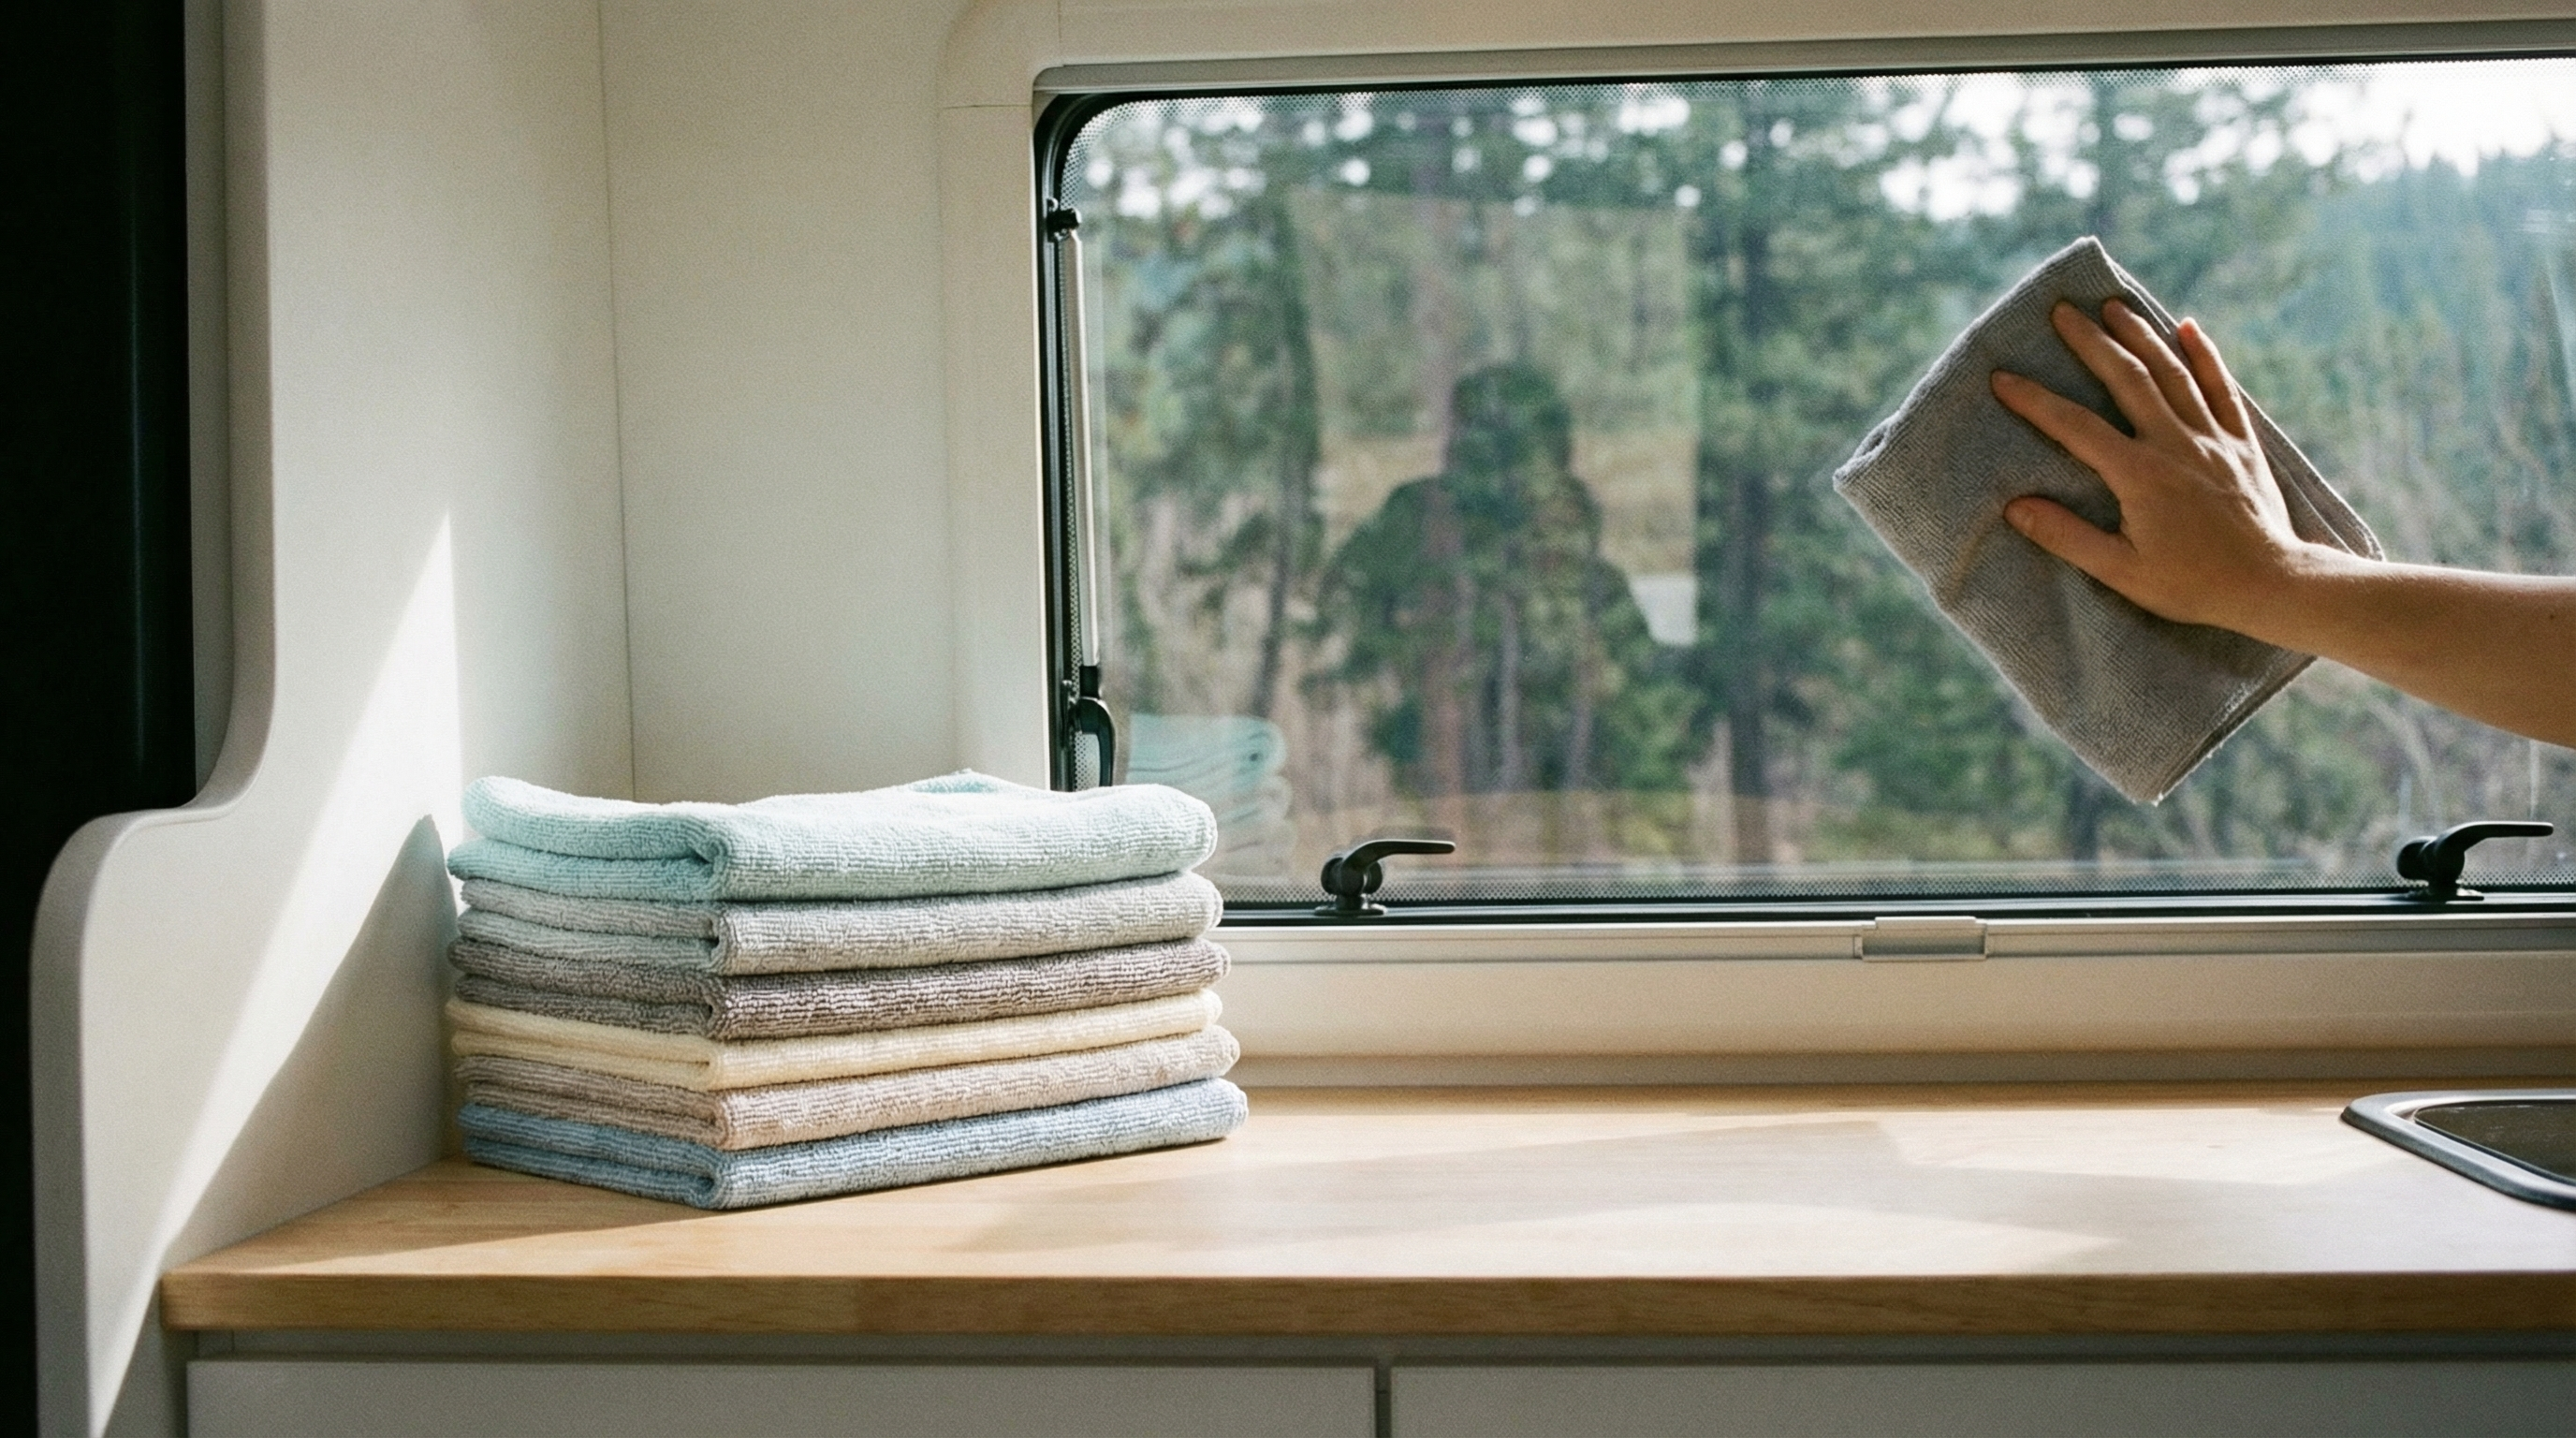
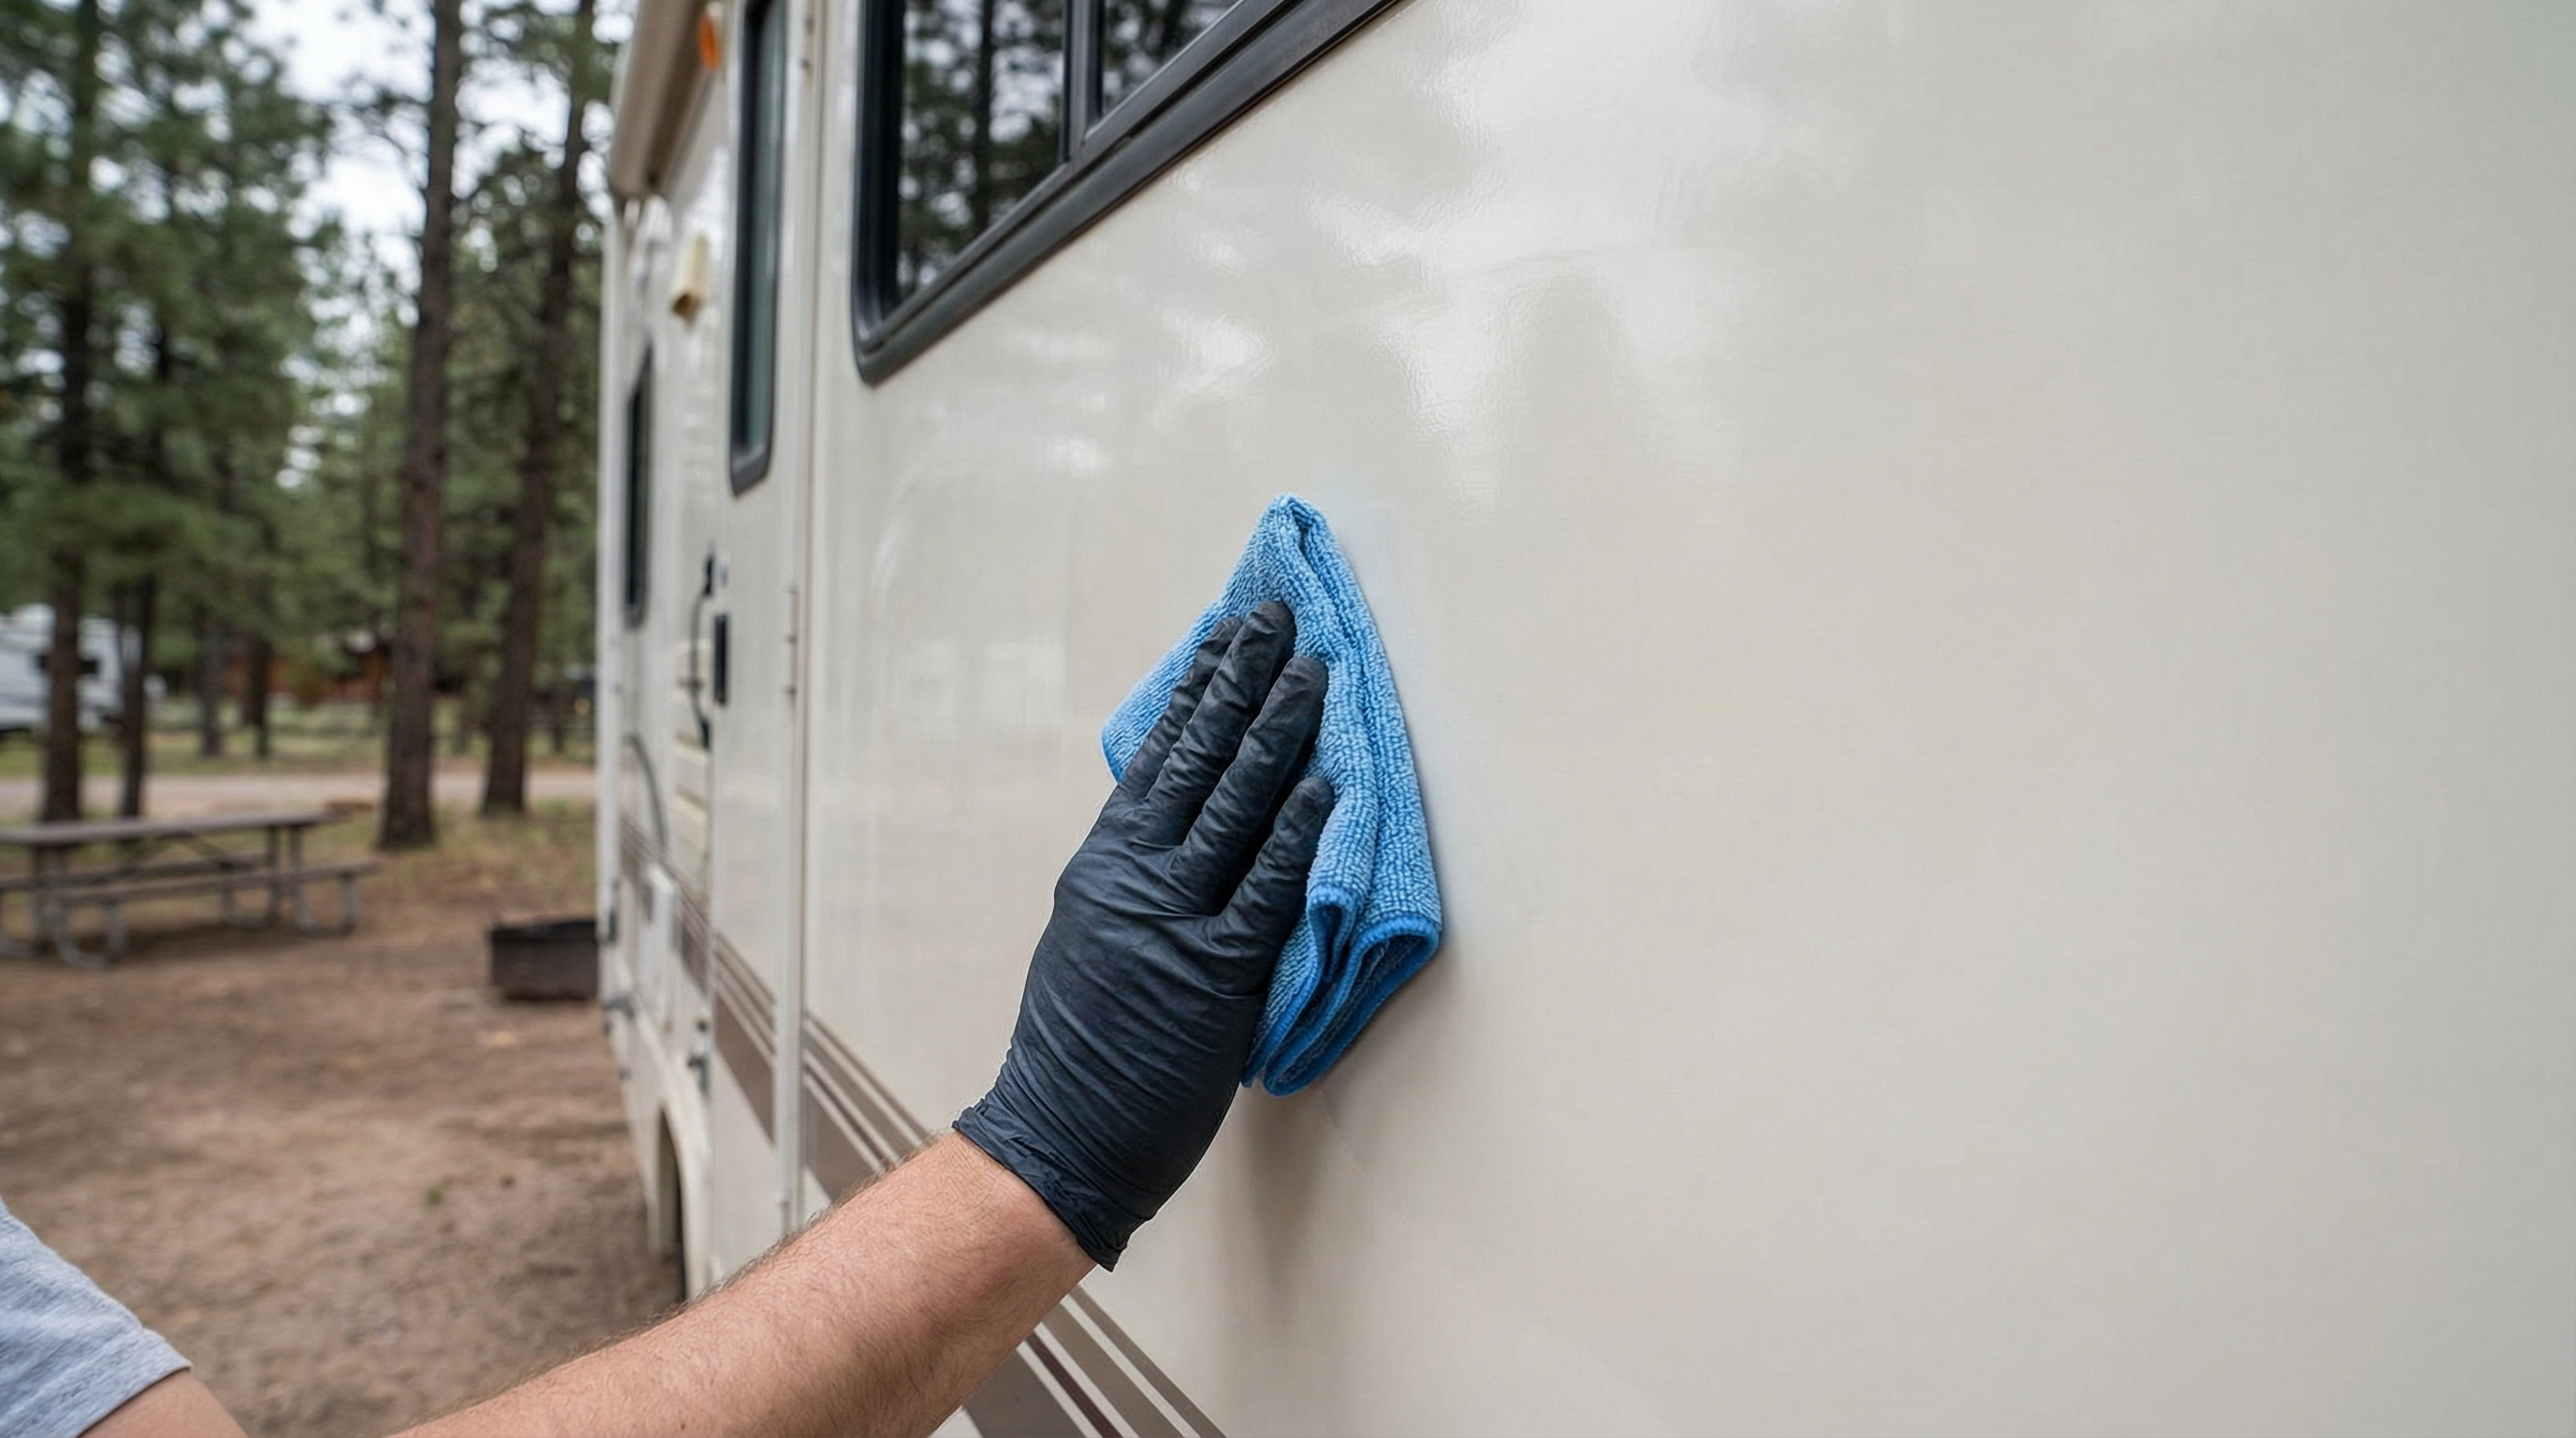
3. Microfiber Towels: The Ultimate Cleaning Companion
Microfiber is the quiet hero. It reduces how much chemical you need, cuts down on streaks, and makes quick wipe-downs actually effective instead of just smearing everything around.
Problem it solves
Streaky windows, linty paper towel mess, and slow cleaning that takes three passes to look “okay.”
What to look for
Different towel types for glass vs. general use, plus enough quantity to rotate clean ones without stress.
Microfiber care: Wash separately when you can and skip fabric softener. Softener coats the fibers and makes them worse at their job.
4. Wax and Protectants: Keep Your RV Looking Like New
Sun, road grime, and weather hit RV exteriors hard. Protectants help prevent oxidation, reduce fading, and make future washes easier. This is one of those “a little effort now saves a lot of effort later” upgrades.
Problem it solves
Oxidation, fading decals, and grime that bonds to the finish and becomes harder to remove over time.
What to look for
UV protection, compatibility with fiberglass/paint, and a finish that doesn’t leave chalky residue.
- Apply wax/protectant in the shade when possible to reduce streaking and flashing.
- Use dedicated tire/trim products if you want to protect rubber and plastics without staining.
- Don’t neglect seals while you’re at it. Keeping them conditioned helps prevent leaks.
5. Waste System Cleaners: A Must for Healthy RV Living
Let’s not pretend this isn’t the category everyone waits too long on. Tank issues are miserable, and most of the time they’re preventable with a simple routine and the right treatment.
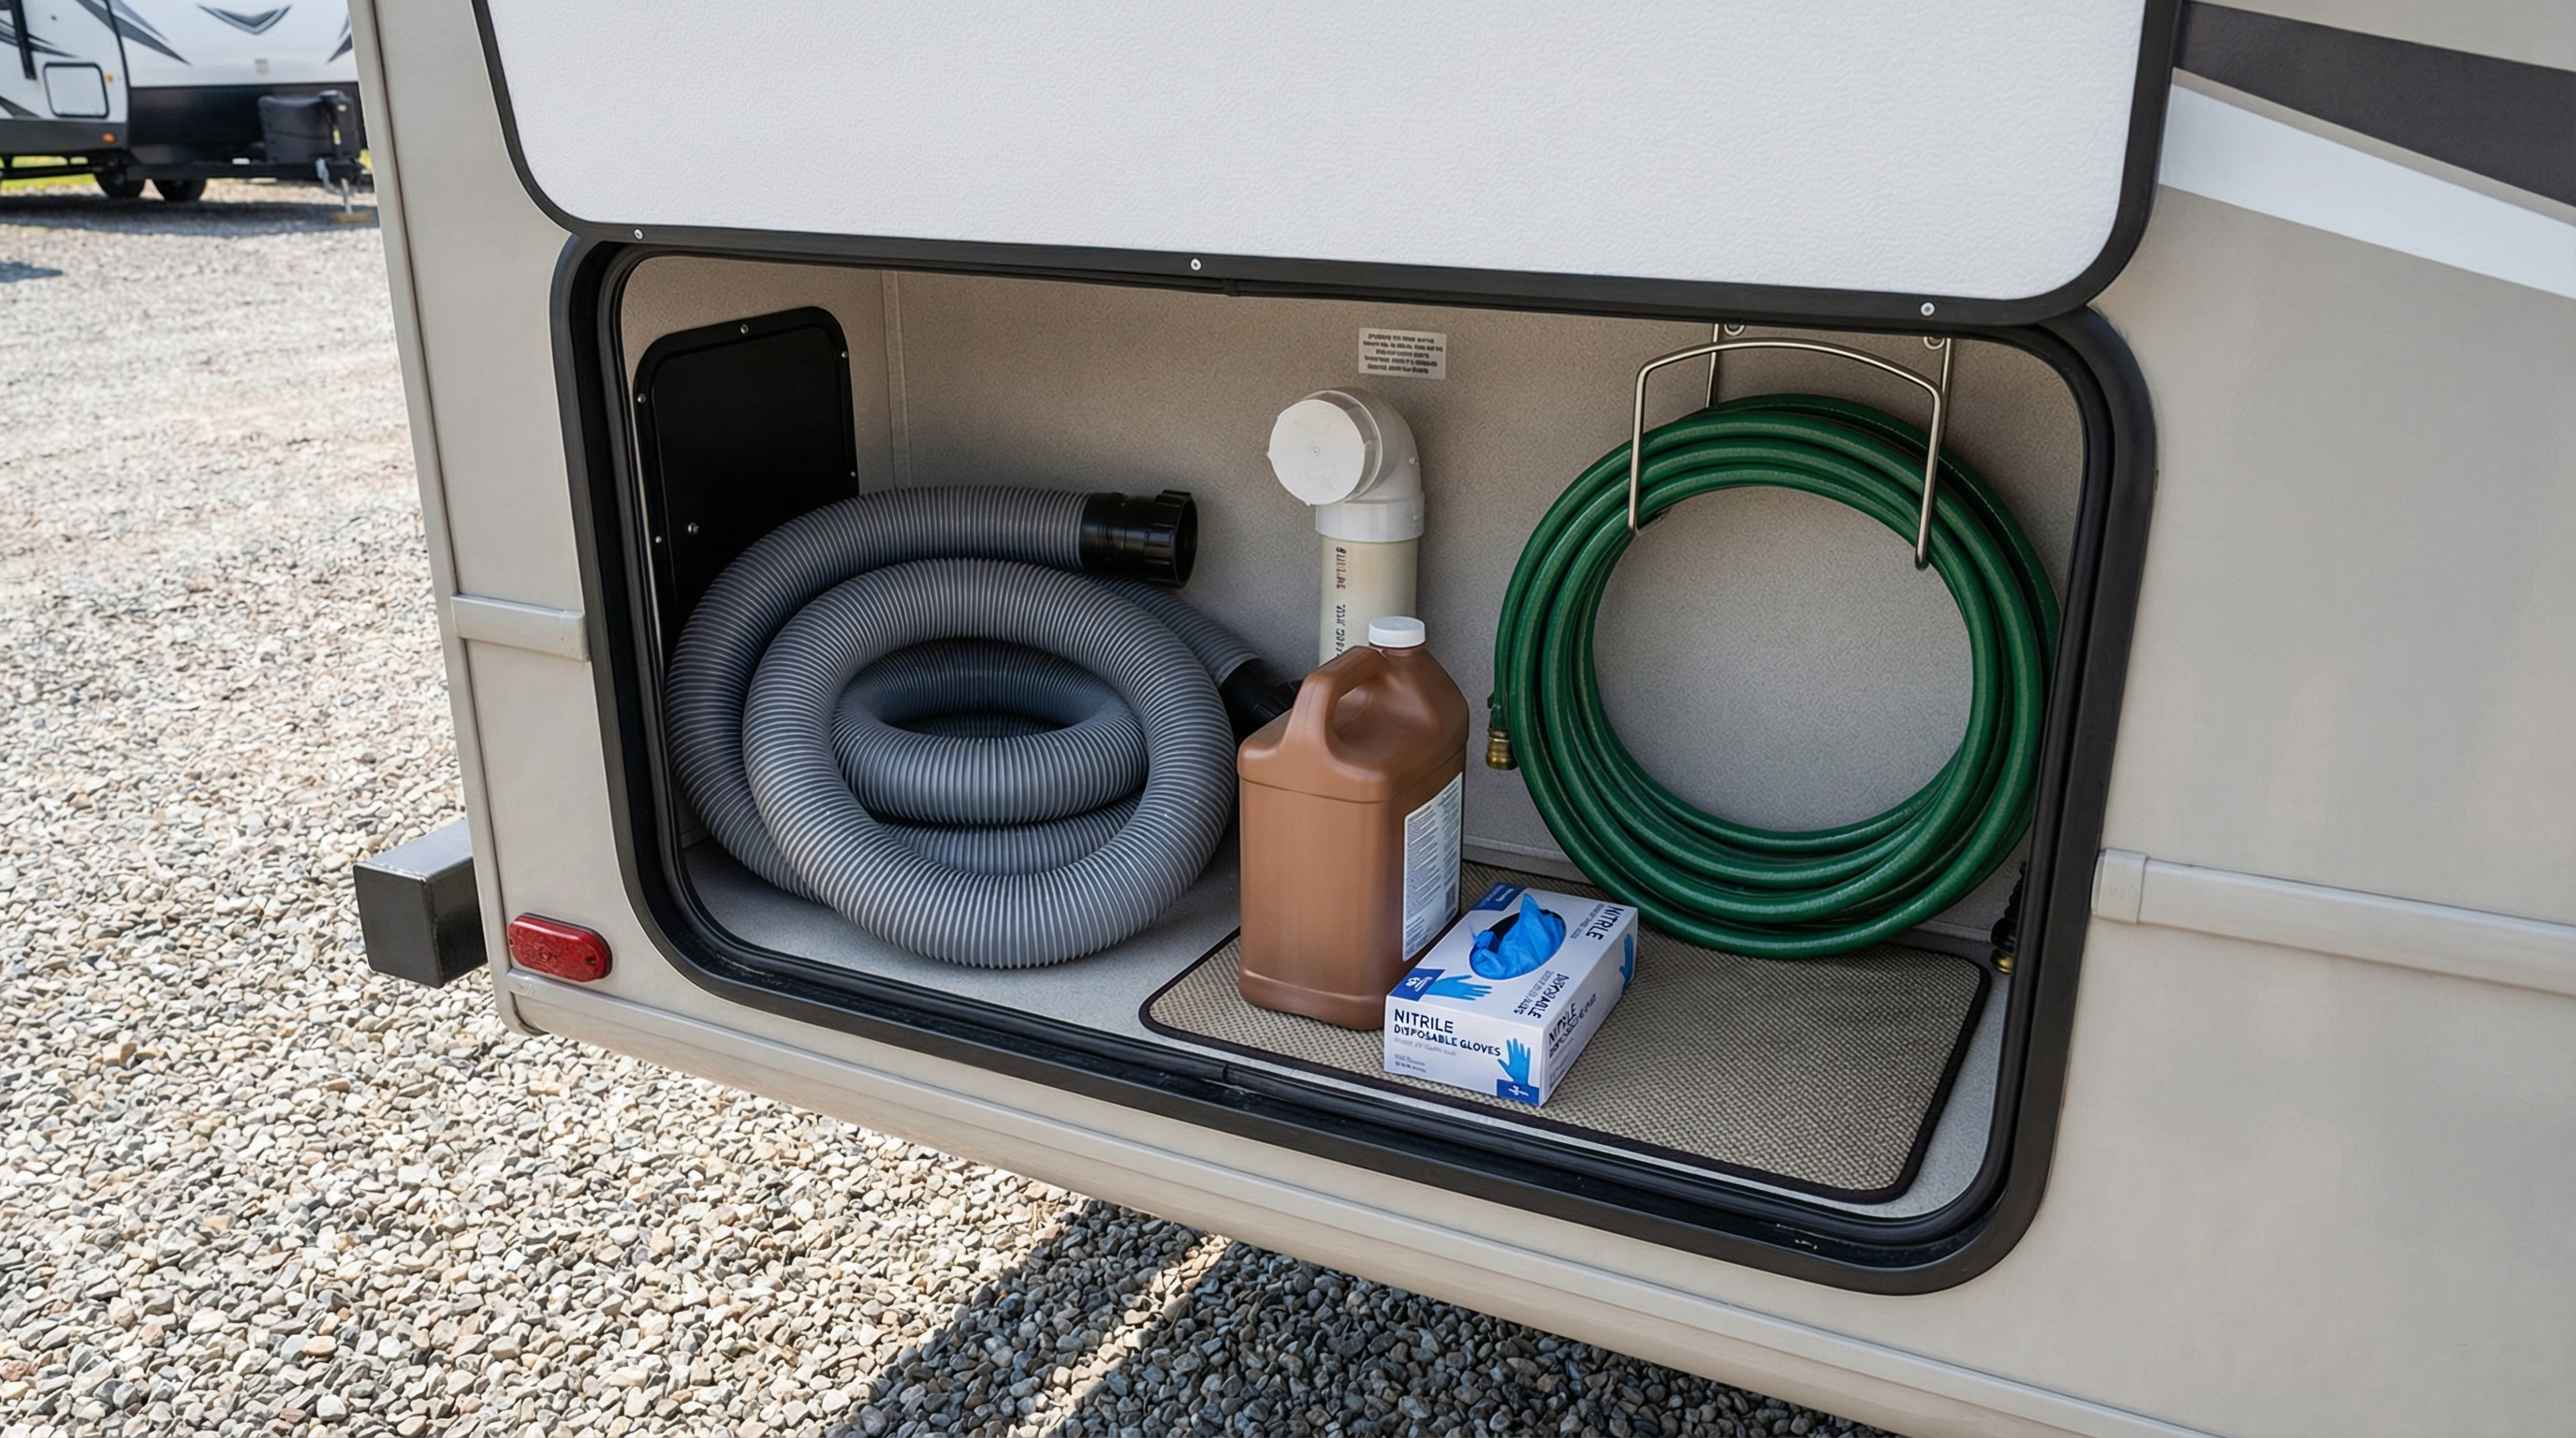
Problem it solves
Odors, buildup, sensor issues, and “why is it not draining like it used to?” moments.
What to look for
Enzyme-based treatments for regular use, plus occasional deeper cleaning options when buildup starts winning.
- Use enough water in the black tank. “Saving water” can backfire fast.
- Dump when appropriate, flush regularly, and treat consistently instead of panic-treating.
- If odors persist, check venting and seals. It’s not always the tank treatment’s fault.
Monthly rhythm: A consistent routine beats a heroic cleaning day. If you’re full-timing, you may need treatment more often based on usage and heat.
Worth calling out: Not all RV tank treatments work the same, and many only mask odors instead of addressing buildup inside the tank.
Liquified is designed to break down waste, toilet paper, and grease more completely, helping tanks drain better and sensors stay cleaner over time. Instead of relying on heavy fragrances, it focuses on treating the problem at the source.
Why Liquified stands out
Persistent odors and inaccurate tank readings are often caused by residue sticking to tank walls and sensors. Liquified targets that buildup, which can improve long-term tank performance instead of providing short-lived odor control.
When it makes the most sense
Especially helpful for full-timers, hot-weather RVing, or anyone dealing with recurring black tank smells, slow drainage, or sensors that never seem to read correctly.
For a deeper breakdown of how it works and when to use it, see the full overview here: Liquified – The RV Tank Treatment That Actually Works
Quick Cleaning Kit Checklist (Simple, Not Overkill)
Interior basics
- All-purpose cleaner (safe for RV materials)
- Glass cleaner + glass-specific microfiber
- General microfiber towels (a small stack)
- Fabric/upholstery cleaner (spot treatment)
Exterior and systems
- UV wax/protectant for fiberglass/paint
- Seal conditioner/protectant
- Waste tank treatment (enzyme-based for regular use)
- Nitrile gloves + a dedicated “gross stuff” rag
The goal is to keep cleaning friction low. If it’s easy to grab, you’ll use it. If it’s buried under 14 other “just in case” supplies, you won’t.
Material-Safe Cleaning Notes (So You Don’t Accidentally Wreck Something)
RV interiors and exteriors are full of finishes that look tough but can be sensitive to the wrong chemicals. When you’re unsure, spot test and follow manufacturer guidance. It’s boring advice, but it saves money.
Safer habits that matter
Use the least aggressive method first. Microfiber + mild cleaner beats harsh chemicals most of the time. Rinse residues where appropriate, especially on seals and exterior surfaces.
Eco-friendly alternative
If you want to reduce harsh chemicals, look into eco-friendly options like Force of Nature (especially for interior surfaces). Always confirm compatibility with your specific materials.
Final Thoughts: A Clean RV Is a Happier RV
Keeping your RV clean doesn’t need to be a whole personality trait. If you cover these five product categories, you’ll stay ahead of grime, odors, and premature wear, and you’ll spend less time fixing problems that started as “small stuff.”
If you’ve got one go-to cleaning product that never lets you down, drop it in the comments. I’m always interested in what actually works in real RV life.
FAQ: RV Cleaning Products
What are the best RV cleaning products to start with?
Start with an all-purpose cleaner, microfiber towels, and a basic glass cleaner. Those handle most daily messes. Then add a protectant for the exterior and a consistent tank treatment for black/gray tanks.
Can I use household cleaners inside an RV?
Sometimes, but be careful. RVs often use materials and coatings that can haze, stain, or dry out with harsh chemicals. Spot test first and follow your RV manufacturer’s care guidance where possible.
How do I prevent streaks on RV windows and mirrors?
Use a glass-specific cleaner (or a mild mix), a dedicated glass microfiber towel, and avoid over-spraying. Too much product is a common cause of streaking.
How often should I wax or protect an RV exterior?
It depends on sun exposure and storage. In high-UV climates or full-time travel, you may need to protect surfaces more often. The goal is to prevent oxidation and fading before it becomes a restoration project.
What’s the best way to reduce black tank odor?
Use enough water, treat consistently (enzyme-based options work well for routine use), and flush regularly. If odors persist, check venting and seals because smell is not always just a treatment issue.
How do I wash microfiber towels properly?
Wash them without fabric softener and ideally separate from lint-heavy laundry. Softener can coat the fibers and reduce their cleaning performance.


.jpg/:/cr=t:5.56%25,l:0%25,w:100%25,h:88.89%25/rs=w:1240,h:620,cg:true)


Leave a Reply