

Affiliate Disclosure: I earn commissions if you shop through the links below at no additional cost to you.
Last Updated on February 1, 2026 by Jeremy
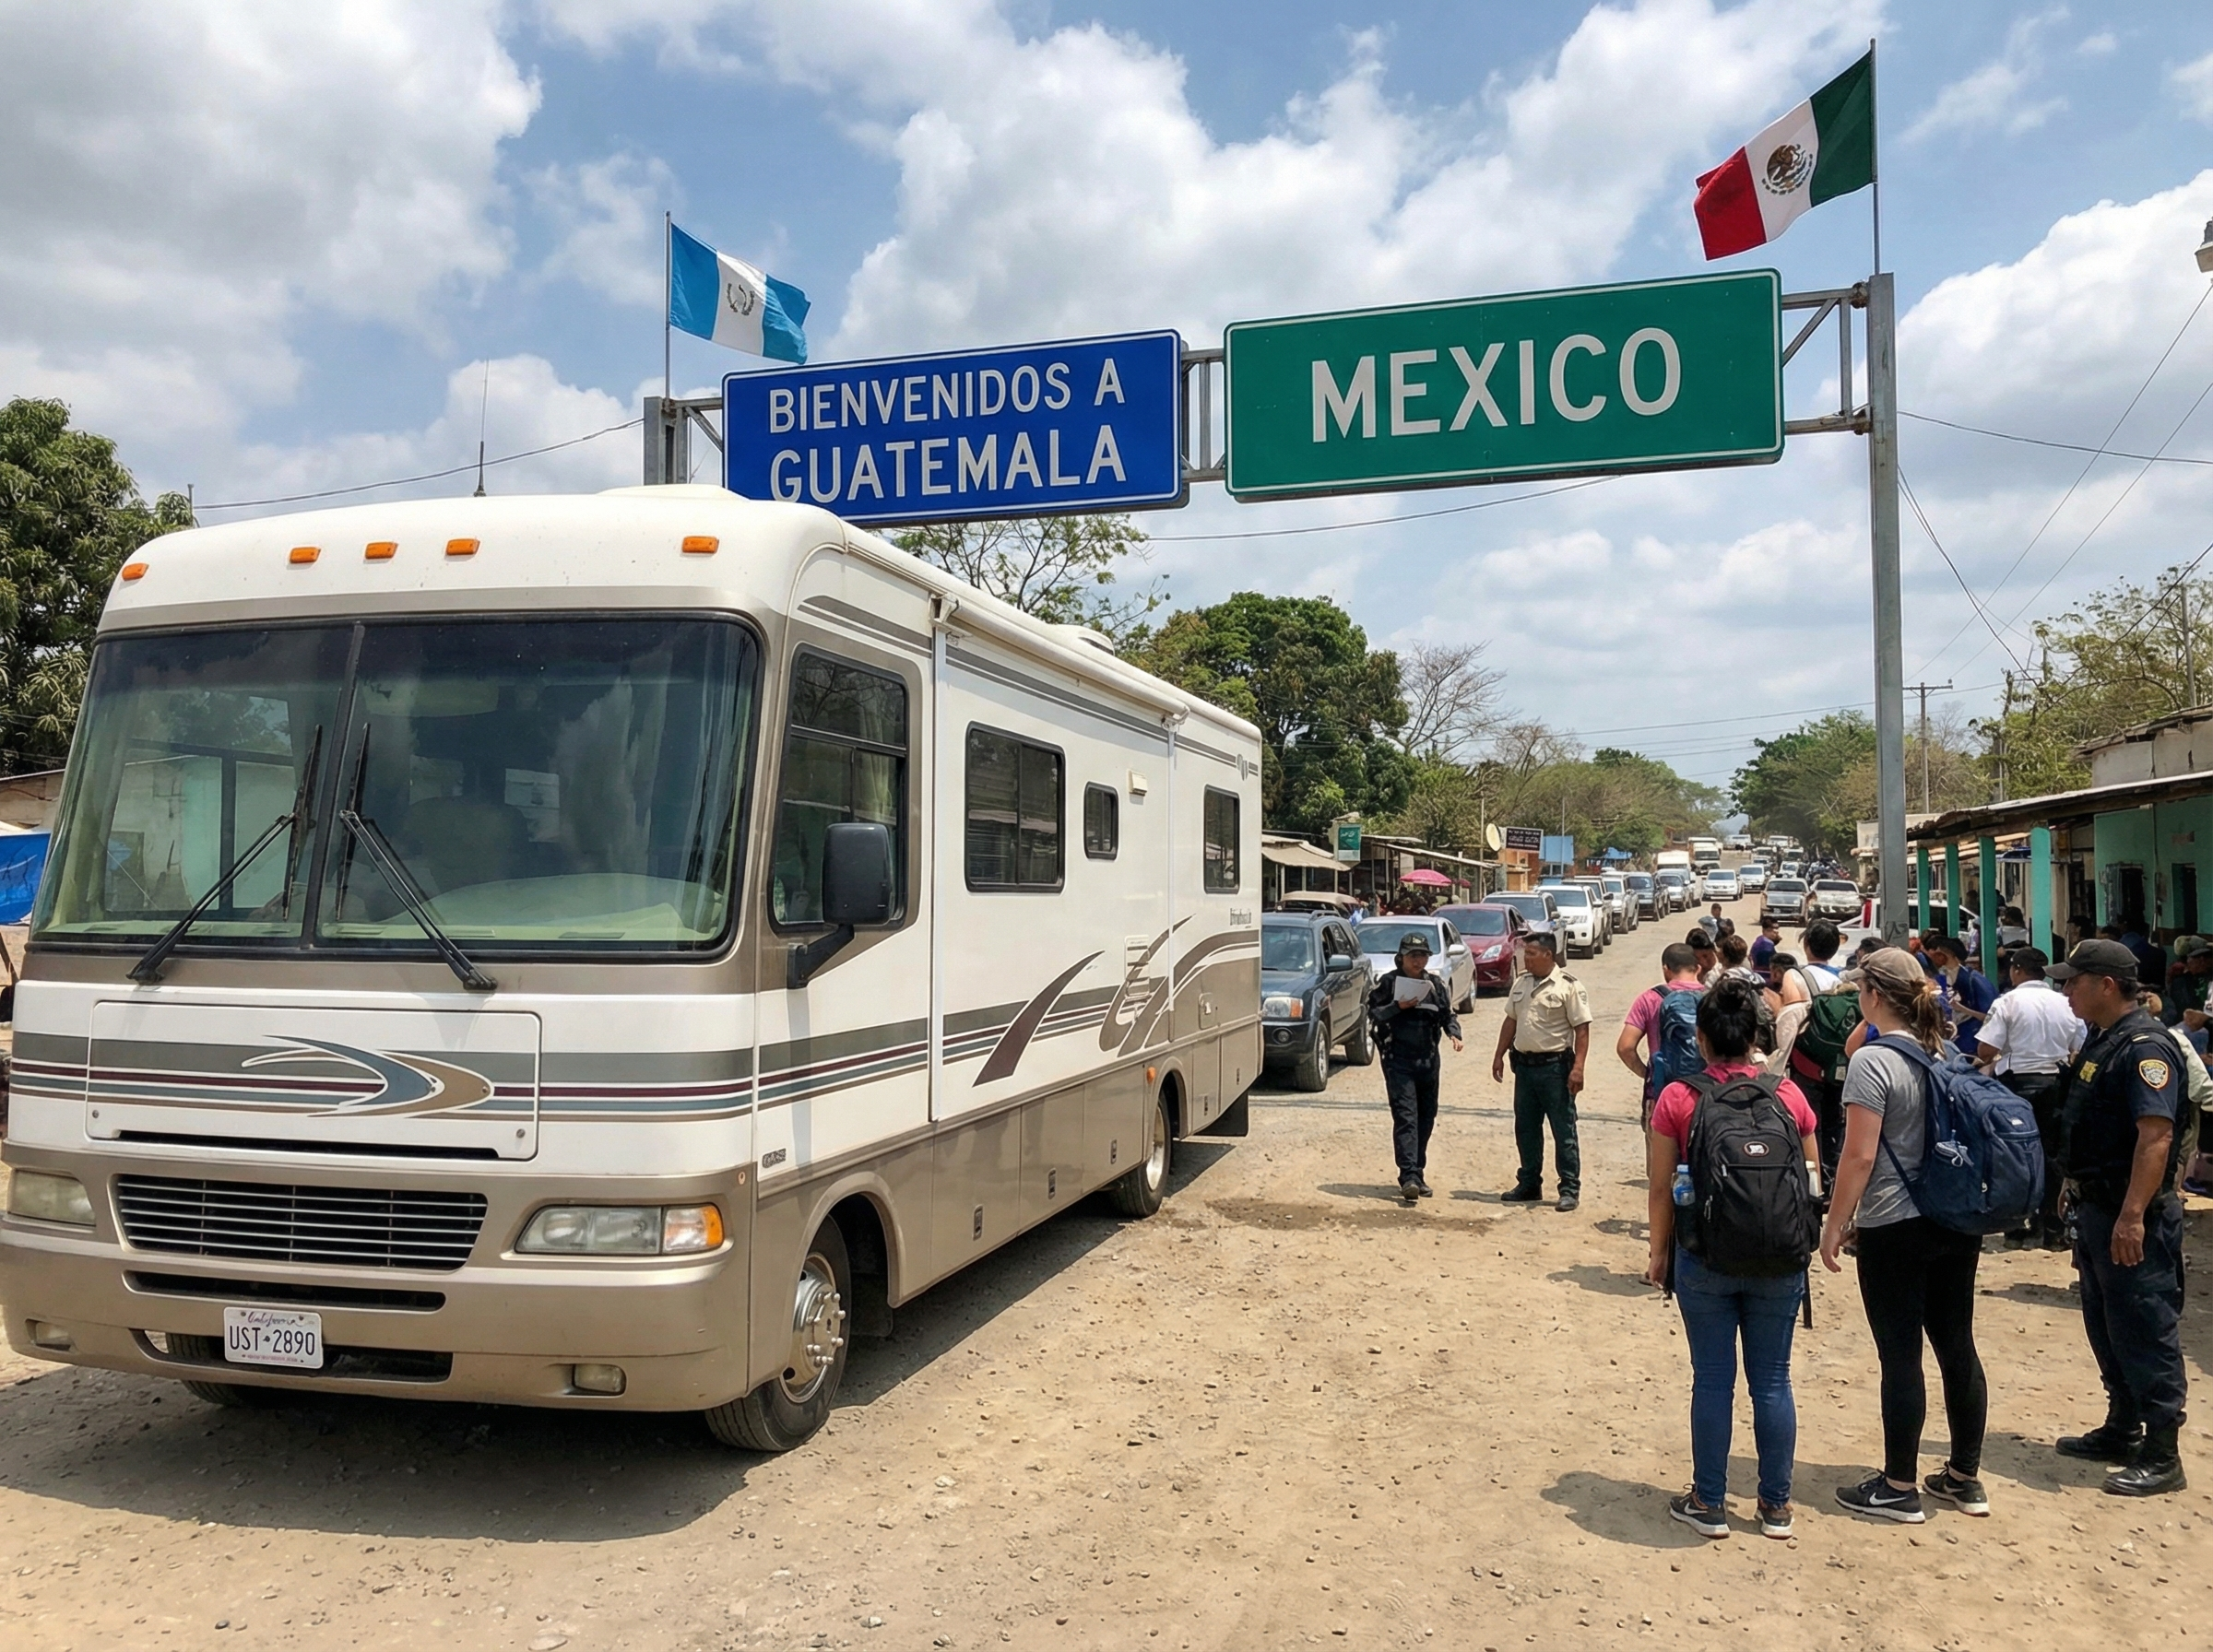
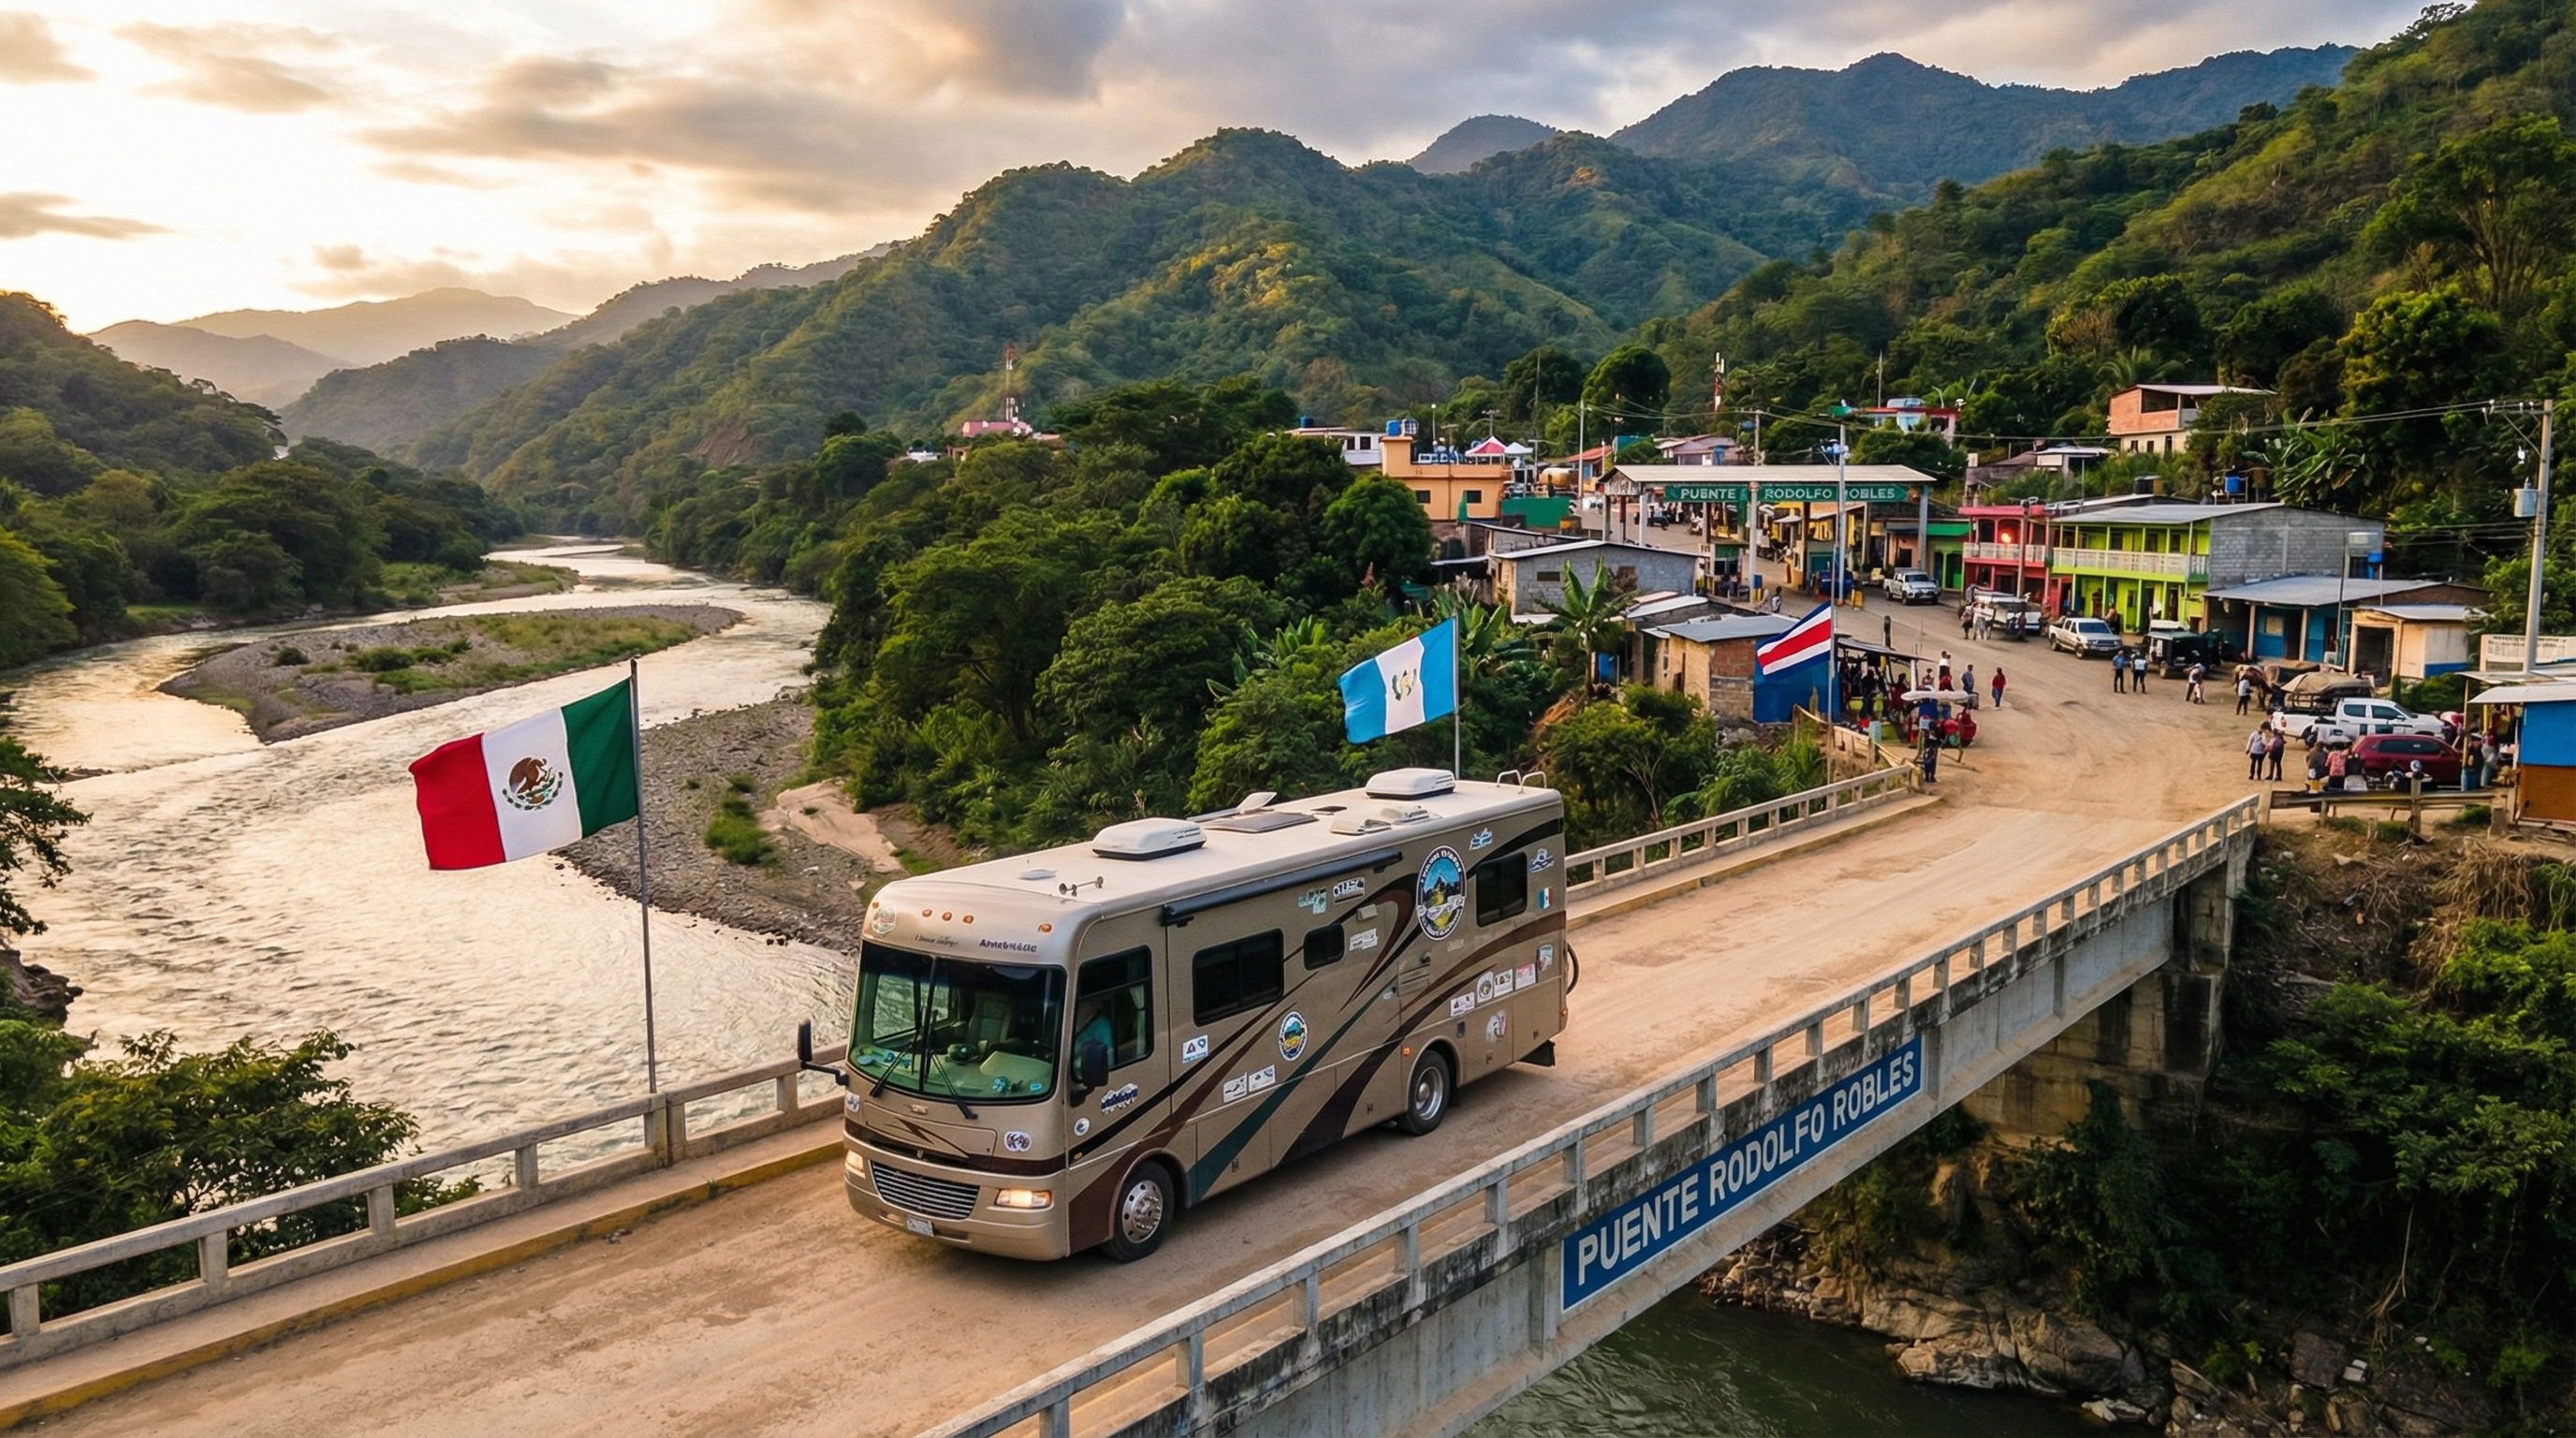
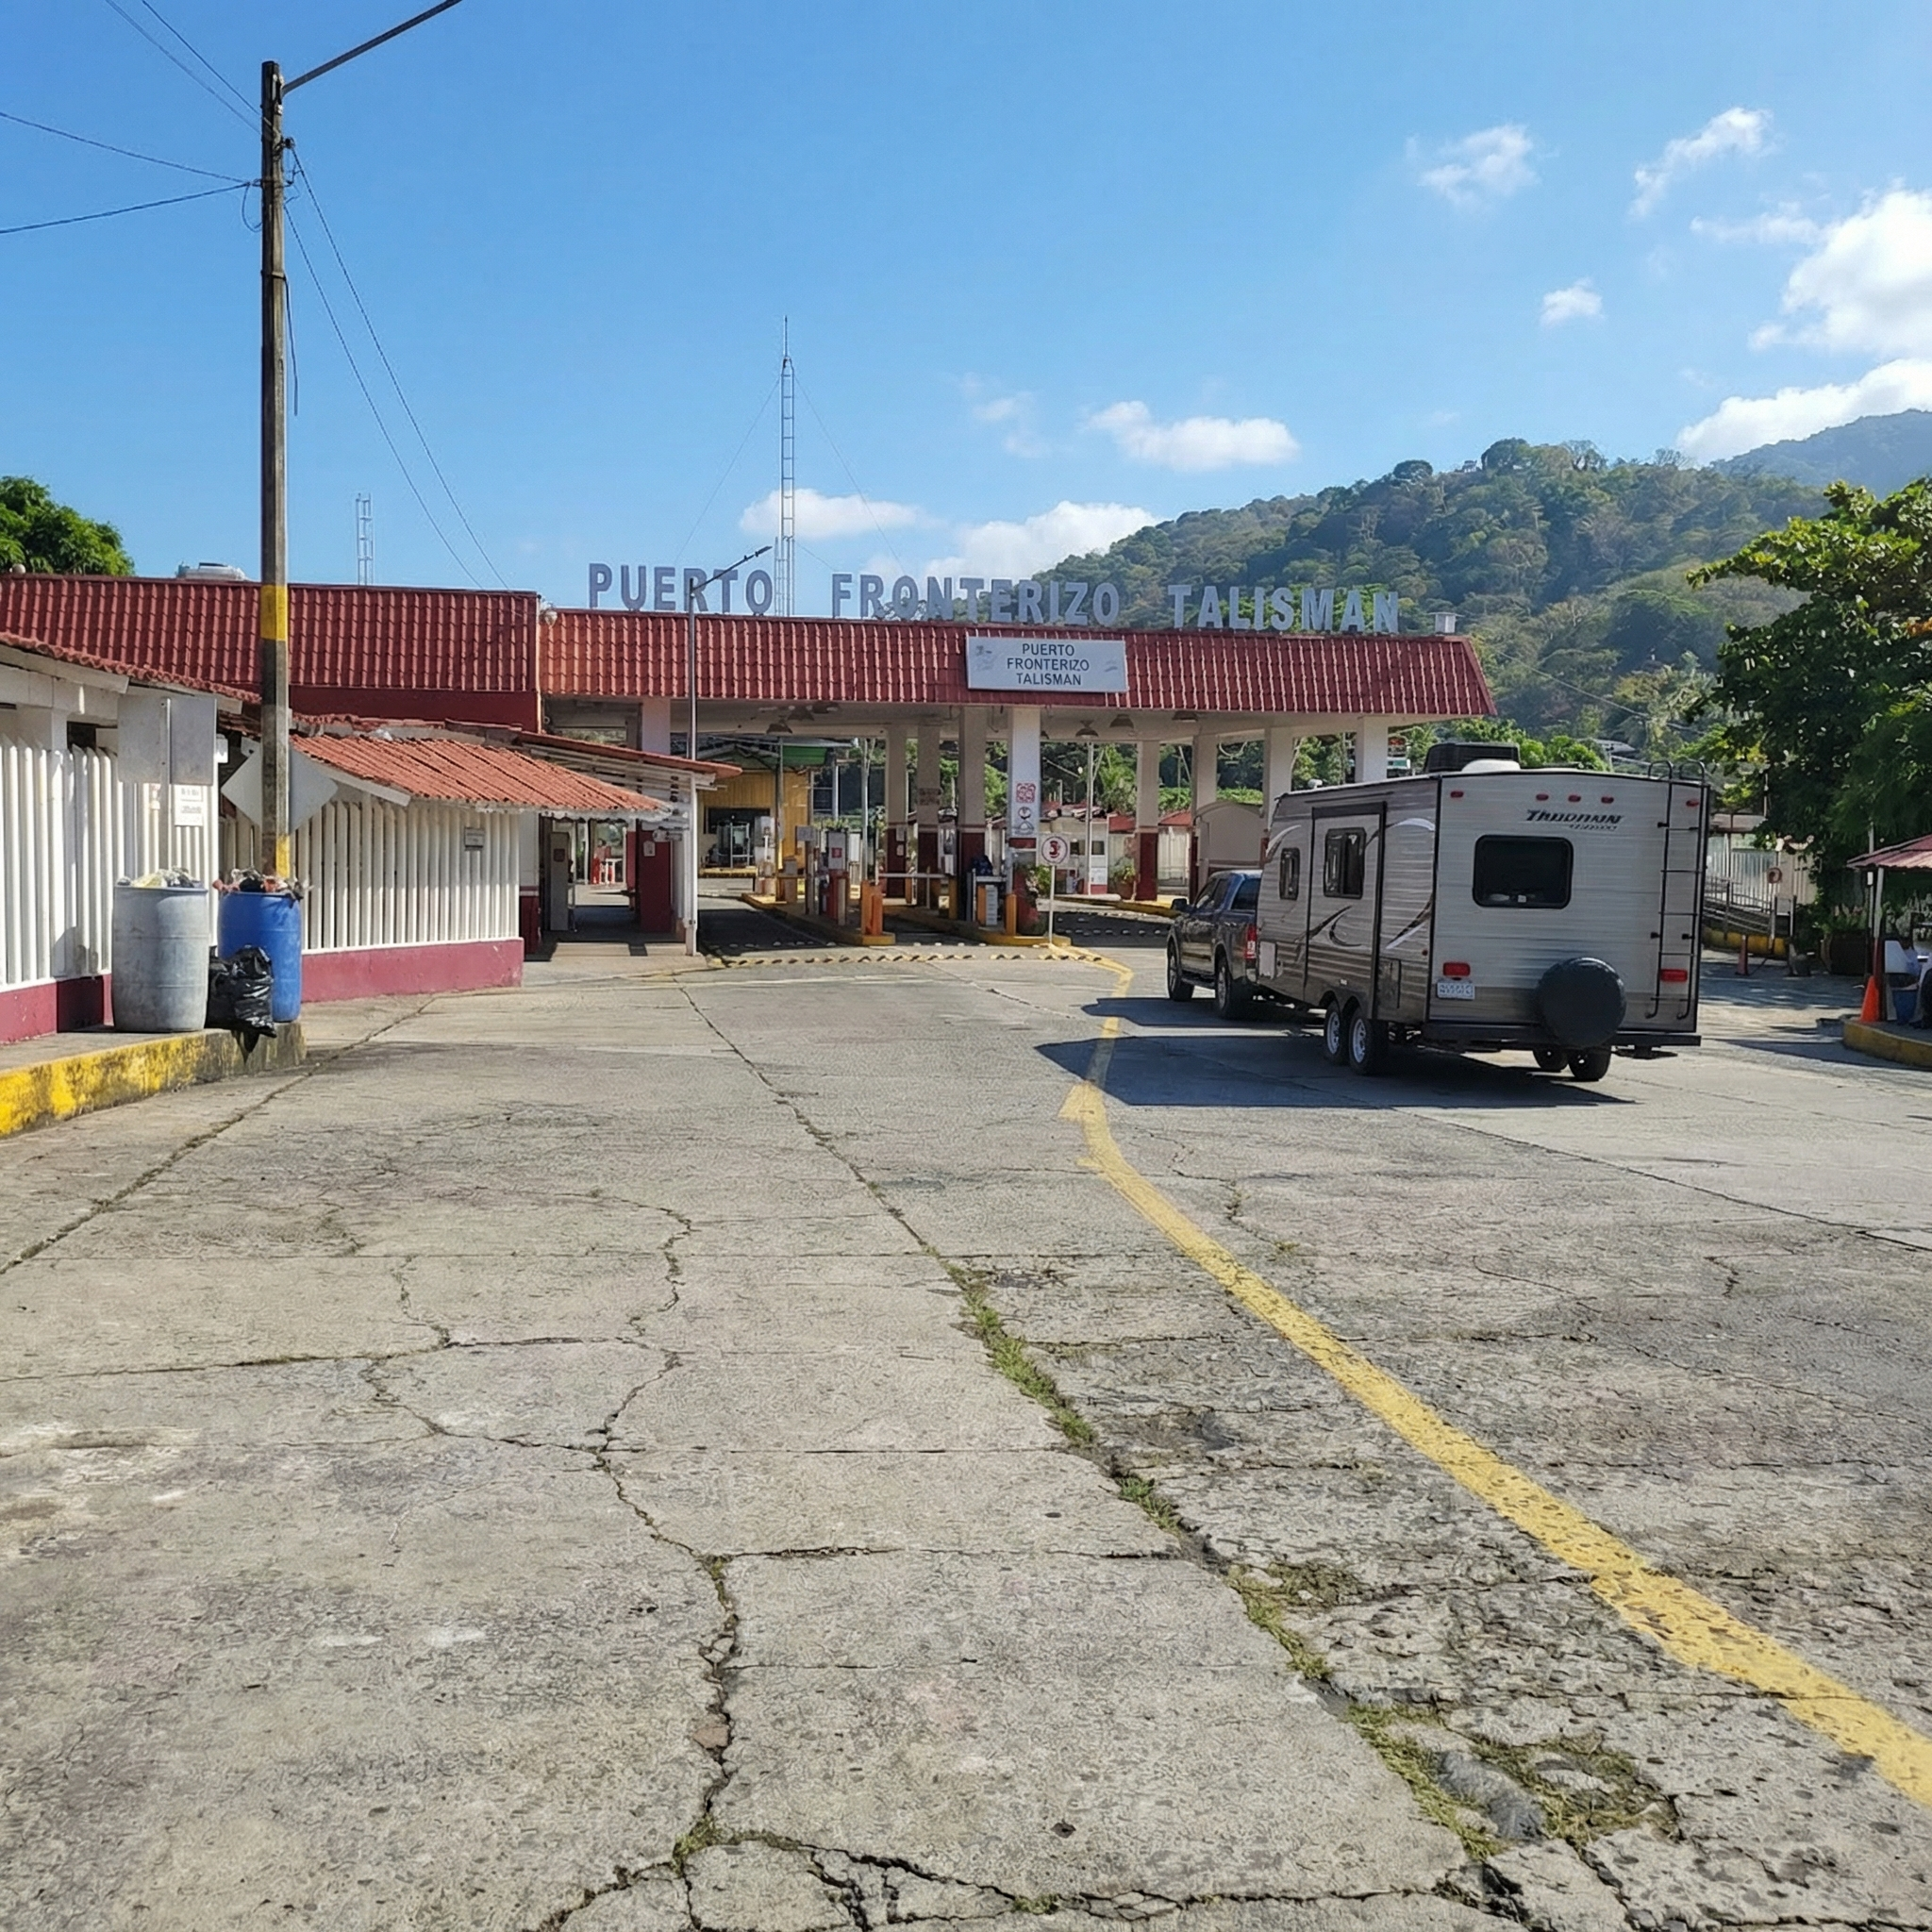
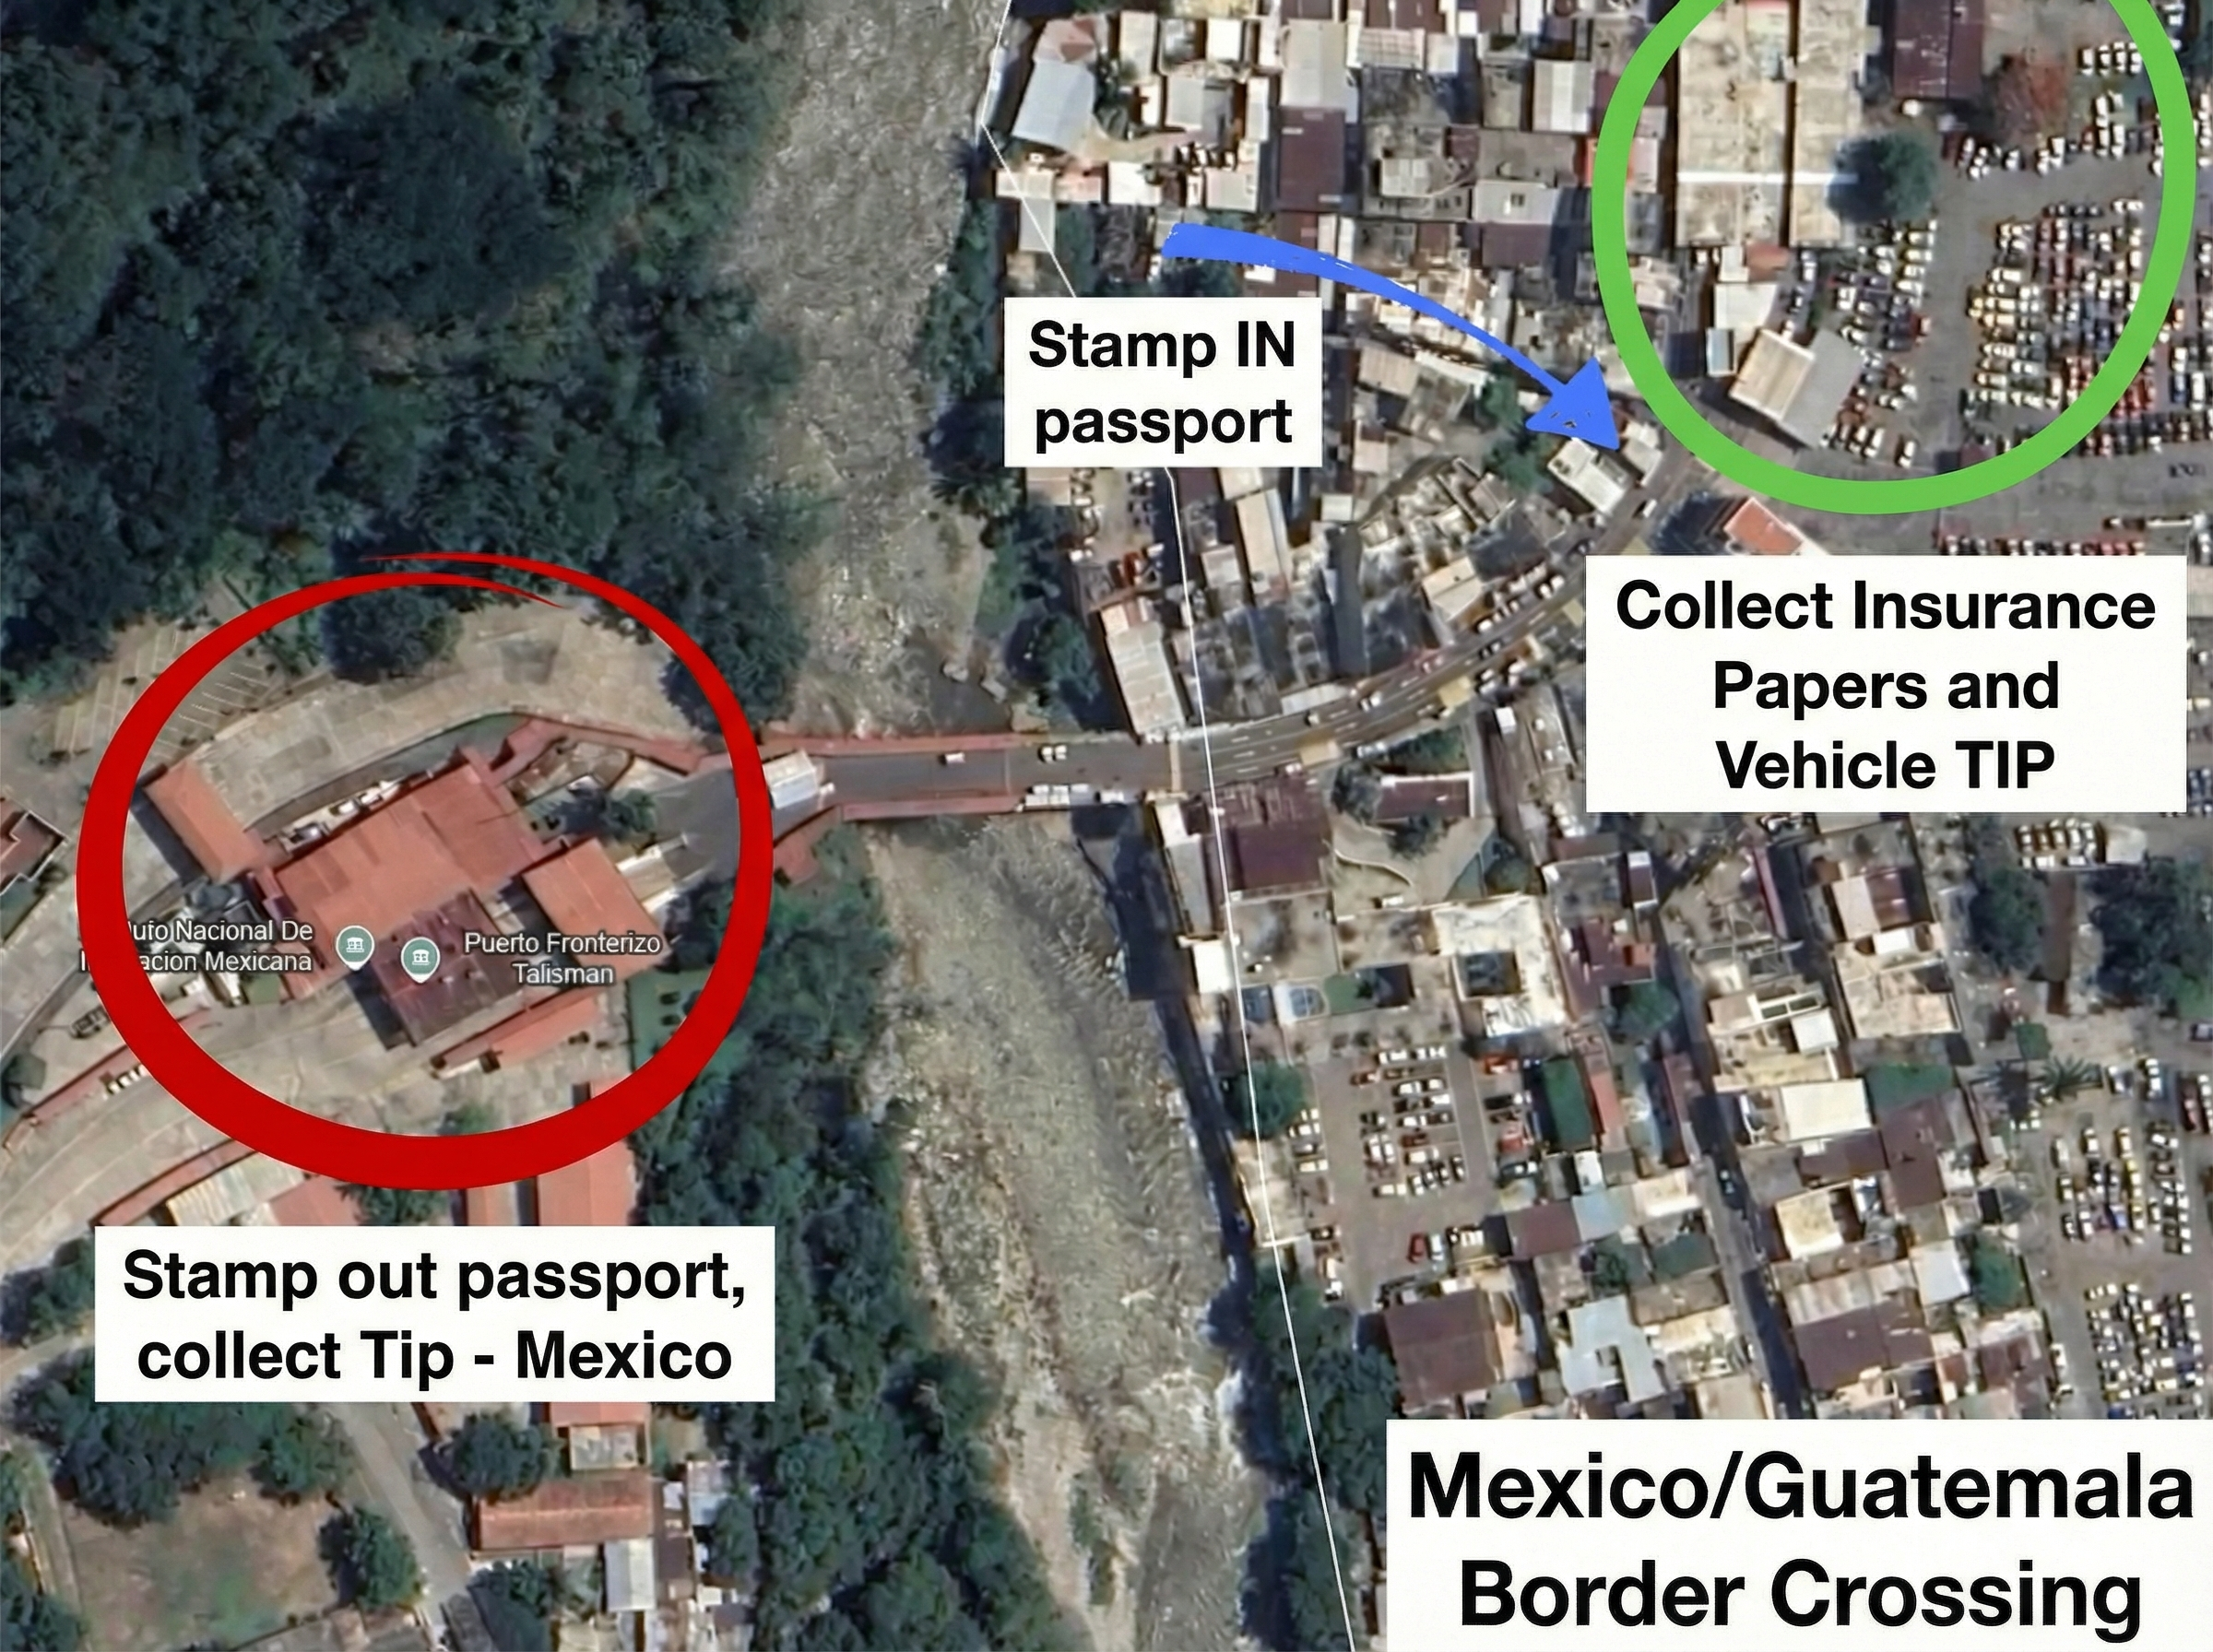
Mexico Guatemala RV border crossing days are the ones where “we’ll figure it out when we get there” turns into “okay… where do we park, and why does everyone suddenly need photocopies?” This guide is built to work for any Mexico → Guatemala crossing, but I also included the exact route and office order we used so you can duplicate it (or DIY it properly). If you’re working southbound from the north, the previous step in the corridor is here: Crossing the Mexican Border in an RV.
2026 Mexico → Guatemala RV Border Checklist
This checklist is designed for real border conditions: lines, heat, noise, and people offering help. Print it or screenshot it before you roll up.
People + travel docs
- Passports for each traveler
- Keep a pen handy (not a “maybe we can borrow one” situation)
- Have your first Guatemala stop/address ready (even just the next town)
- Cash in small USD bills (change matters)
Mexico exit items
- Mexico TIP paperwork ready to return
- Know where you stored your TIP receipt details
- Insurance coverage window in Mexico (time-based)
- Don’t leave the Mexico side until you’re confident your TIP is handled
Guatemala entry items
- Vehicle registration + multiple copies
- Driver’s license + copies
- Expect photocopies to be requested even if you already have them
- Stay calm and confirm what each payment is for
Border workflow
- Exit Mexico immigration
- Return Mexico TIP (deposit refund)
- Enter Guatemala immigration
- Guatemala vehicle paperwork
- Inspection only if requested
Fast booth/office answers
- “We’re traveling south. Next stop is ____.”
- “We need to return our Mexico TIP.”
- “We’re entering Guatemala with an RV/travel trailer.”
- “Where do we go first?” (said politely, with documents in-hand)
Step-by-Step Process: Mexico → Guatemala With an RV
Crossings vary, but the order below is the cleanest mental model. If you keep the sequence straight, the rest is just walking between buildings.
Mexico side (exit)
- Stamp out passports (Mexico immigration)
- Return/cancel Mexico TIP (vehicle import) and handle deposit refund
- Confirm you’re done on the Mexico side before rolling forward
Guatemala side (entry)
- Stamp in passports (Guatemala immigration)
- Vehicle paperwork/import steps (varies by crossing)
- Inspection only if requested
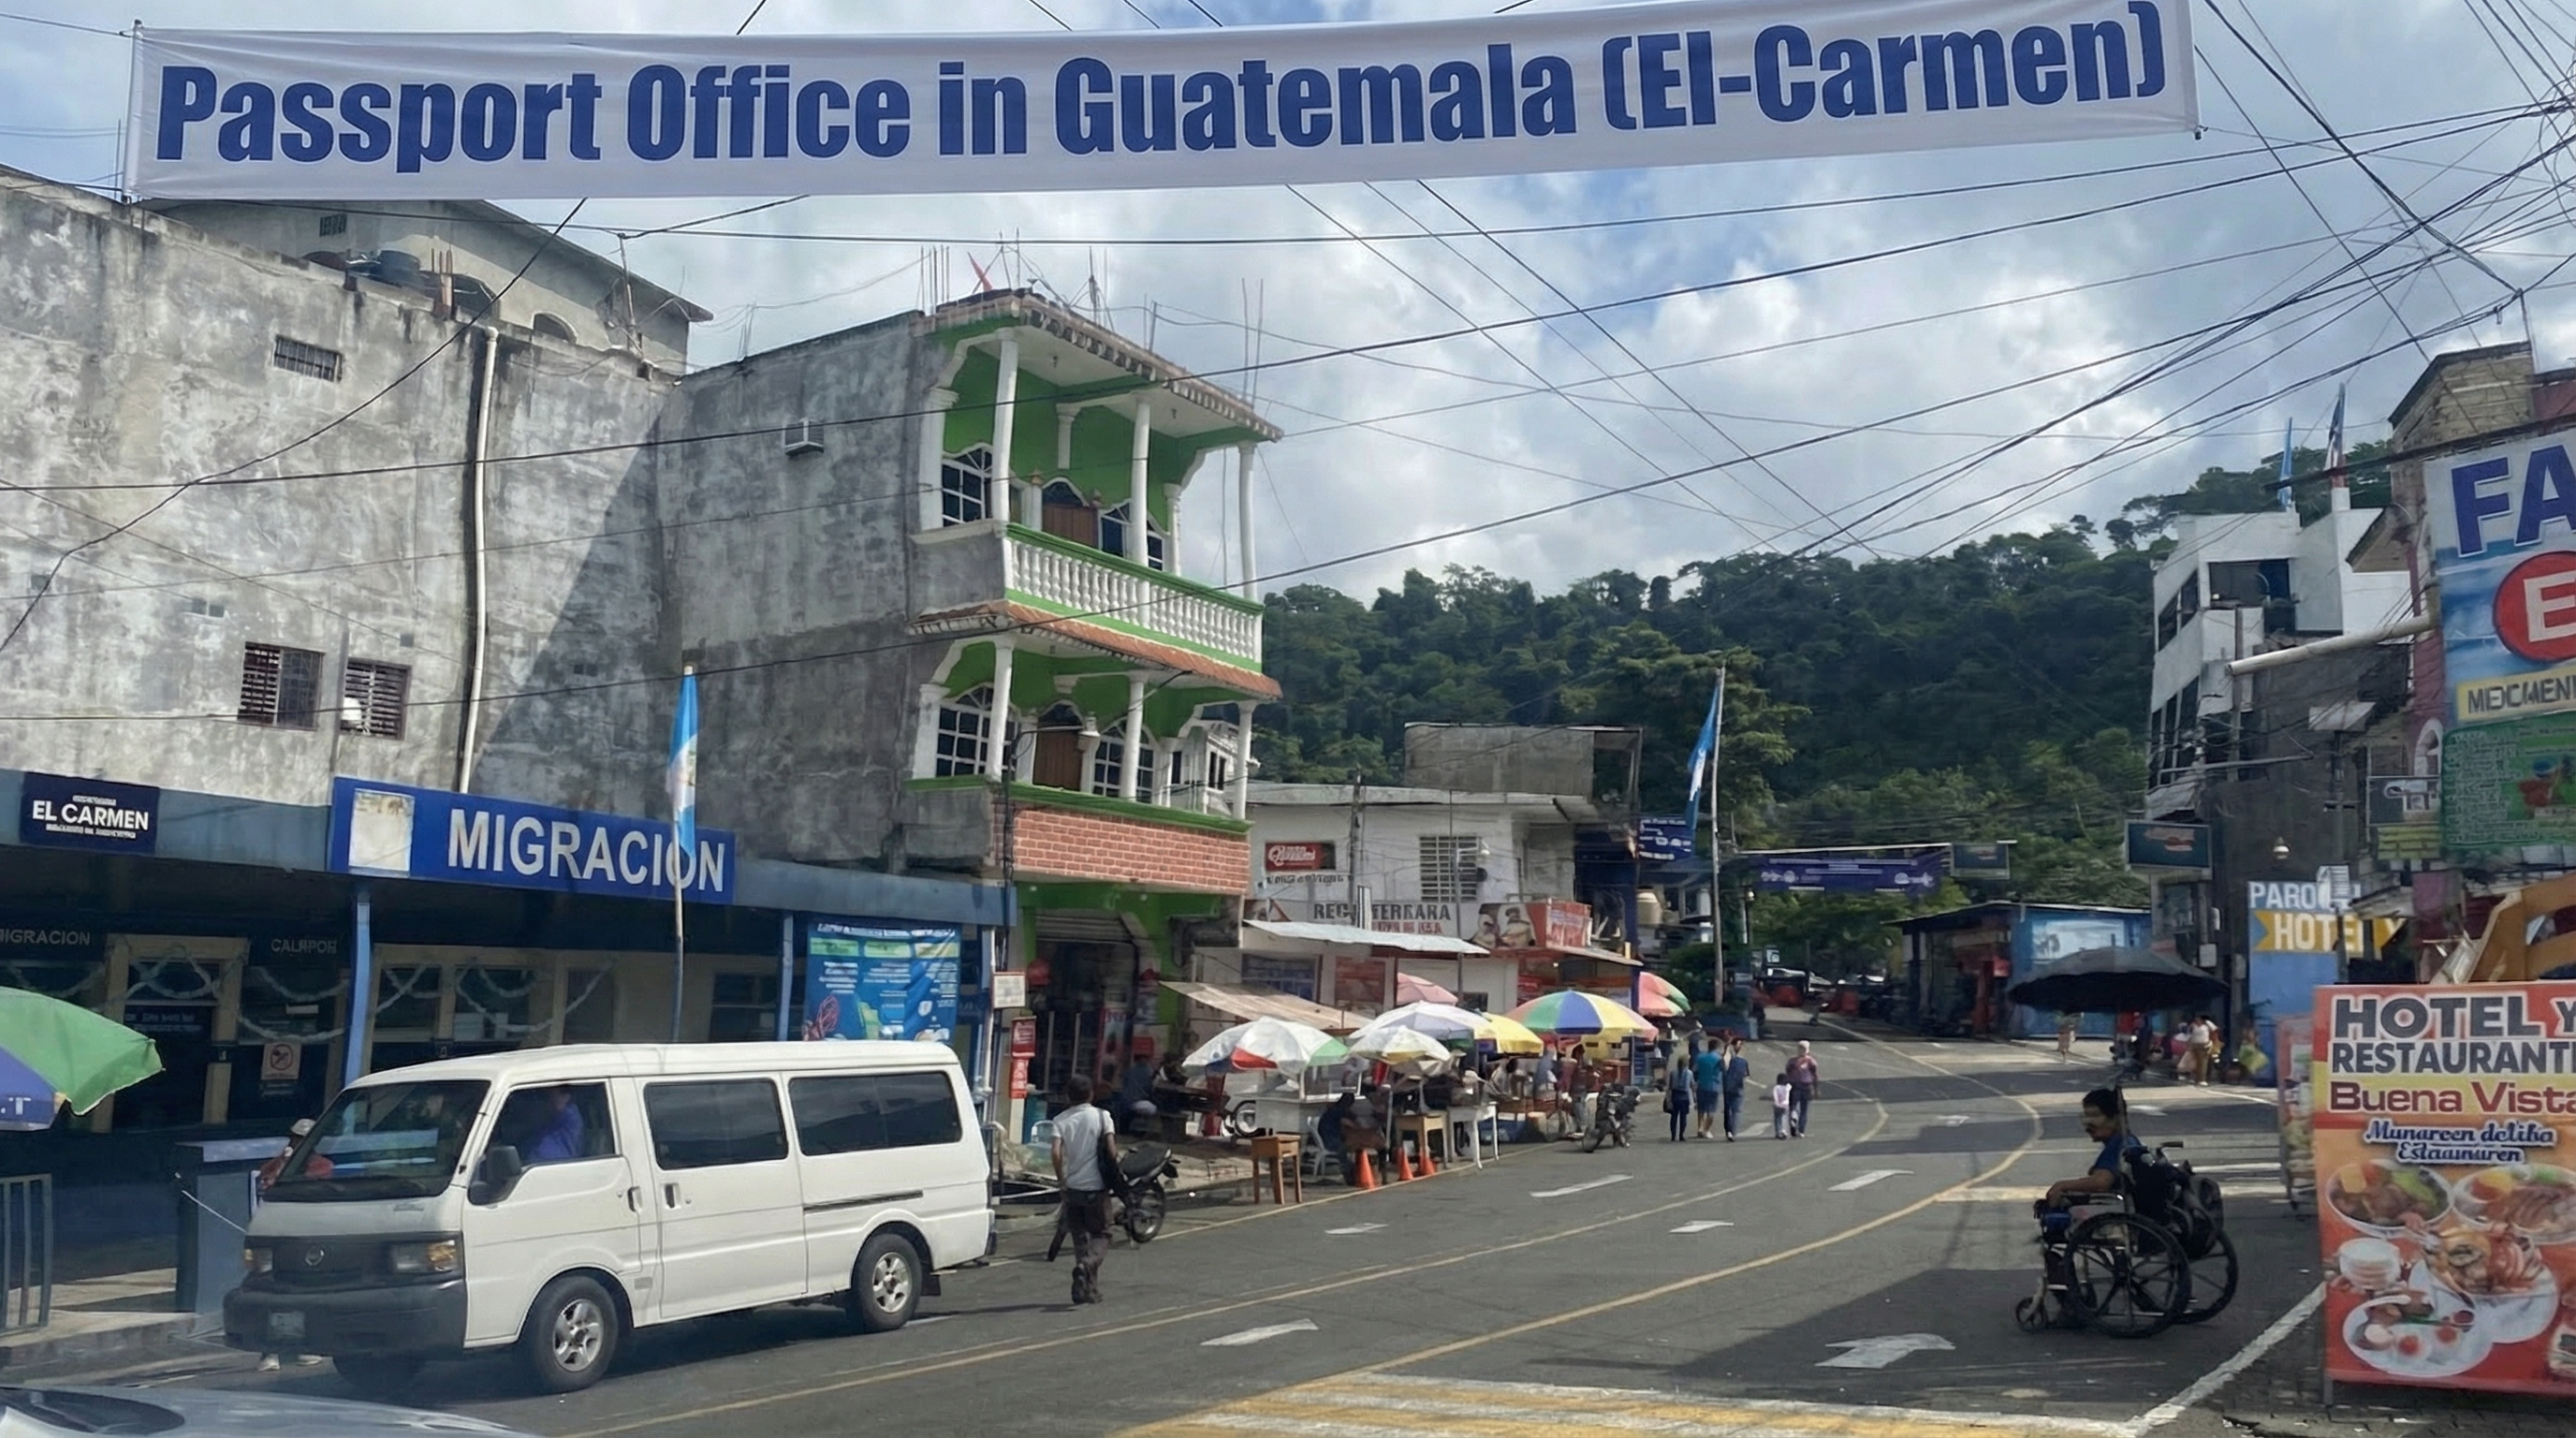
Passport Stamping in Guatemala
This is the step that anchors everything. Once your passports are handled on the Guatemala side, the vehicle paperwork steps become much easier to navigate.
Helper Route vs DIY Route
Helpers can be useful here. They can also get expensive if the scope keeps expanding. The difference is whether you know the order and you confirm pricing before you say yes.
DIY route
- Best for: travelers with time, patience, and a clear checklist
- Lowest cost (you pay official fees only)
- Works well if you can follow the operational order and stay calm
- Downside: you may do extra walking and waiting
Helper route
- Best for: first-timers, convoys, or people who want guidance between offices
- Common value: parking direction, office order, and “where do I go next?” clarity
- Risk: service fees can balloon if the price isn’t fixed up front
Our Real Experience at This Crossing
This is the honest play-by-play of what happened to us. The purpose isn’t to scare you, it’s to make sure you don’t walk in blind like we did.
What went well
- We arranged a helper before arriving on the Mexico side.
- We were told up front it would cost $20 USD to help us exit Mexico, and that part was straightforward.
- We stamped out and returned the Mexico TIP (deposit refunded). In our case, we had a limited time window for Mexico travel and stayed within it.
What got expensive (and why it matters)
Once we reached the Guatemala side, the “scope” expanded with additional charges for things like passport stamps, photocopies, and paperwork processing. We ended up paying about $210 USD total. Another convoy member completed the crossing for about $60 USD, which made it clear to us that pricing can vary dramatically.
Common Fees and “What Am I Paying For?” Questions
This is where people get frustrated. Not because fees exist, but because it’s easy to lose track of what’s official versus what’s a service. The solution is clarity, not drama.
Official fees
- Fees tied to immigration or vehicle paperwork
- Typically handled at a window/office
- Ask for confirmation of what it’s for
Photocopies
- Often requested even if you already have copies
- Not always expensive, but it adds up
- Carry multiple copies to reduce friction
Helper services
- Can be worth it for guidance
- Confirm the total price up front
- If costs keep changing, pause and reassess
Using iOverlander at This Point in the Route
This crossing was also where iOverlander became a new tool in our arsenal. When you’re linking borders on the Pan-Am route, having recent notes about parking, office order, and nearby stops helps.
Why it helps
- Confirms common crossing points and traveler notes
- Helps you find practical stops after the border day
- Gives you one more “reality check” before you commit
Links
- External reference: iOverlander official site
- Our internal guide: Essential iOverlander Camping App Guide
Language Cheat Sheet
You don’t need perfect Spanish. You need a few phrases that get you pointed to the right building without a 20-minute detour.
| English | Spanish |
|---|---|
| Where do we stamp out of Mexico? | ¿Dónde sellamos la salida de México? |
| Where do we return the TIP? | ¿Dónde devolvemos el TIP? |
| Where do we stamp into Guatemala? | ¿Dónde sellamos la entrada a Guatemala? |
| Where do we do vehicle paperwork? | ¿Dónde hacemos el trámite del vehículo? |
| Is this an official fee or a service fee? | ¿Esto es una tarifa oficial o una tarifa de servicio? |
| We are traveling with an RV and a trailer. | Viajamos con una casa rodante y un remolque. |
Continue the Route
Next border
Leaving Guatemala and continuing south:
FAQ
How do I cross the Mexico Guatemala border in an RV?
The clean sequence is: exit Mexico immigration (stamp out), return Mexico TIP (and handle any deposit/refund step), then enter Guatemala immigration (stamp in), then complete Guatemala vehicle paperwork. Crossings vary, but the order stays similar.
Do I get my Mexico TIP deposit back when leaving Mexico?
In our case, yes. We returned our TIP paperwork when exiting Mexico and received our deposit refund. Always confirm you’ve completed the TIP step before you fully leave the Mexico side.
Is it better to use a helper or DIY?
DIY is the lowest cost if you have time and you follow the office order. A helper can be useful for first-timers, but confirm the full price up front and clarify what each payment is actually for.
Why do people say this crossing can get expensive?
Because costs can include a mix of official fees, photocopies, and optional helper services. The best approach is to ask whether a fee is official or a service charge and confirm pricing before you proceed.
Do I really need photocopies if I already have documents?
Sometimes yes. Even if you arrive prepared, photocopies are often requested at crossings. Carry extras to reduce friction and avoid repeated copy runs.
How can iOverlander help with border crossings?
It can provide recent traveler notes and practical details (parking, office order, nearby stops). Here’s our internal guide: Essential iOverlander Camping App Guide .


.jpg/:/cr=t:5.56%25,l:0%25,w:100%25,h:88.89%25/rs=w:1240,h:620,cg:true)


Leave a Reply