
Affiliate Disclosure: I earn commissions if you shop through the links below at no additional cost to you.
Last Updated on January 29, 2024 by Jeremy
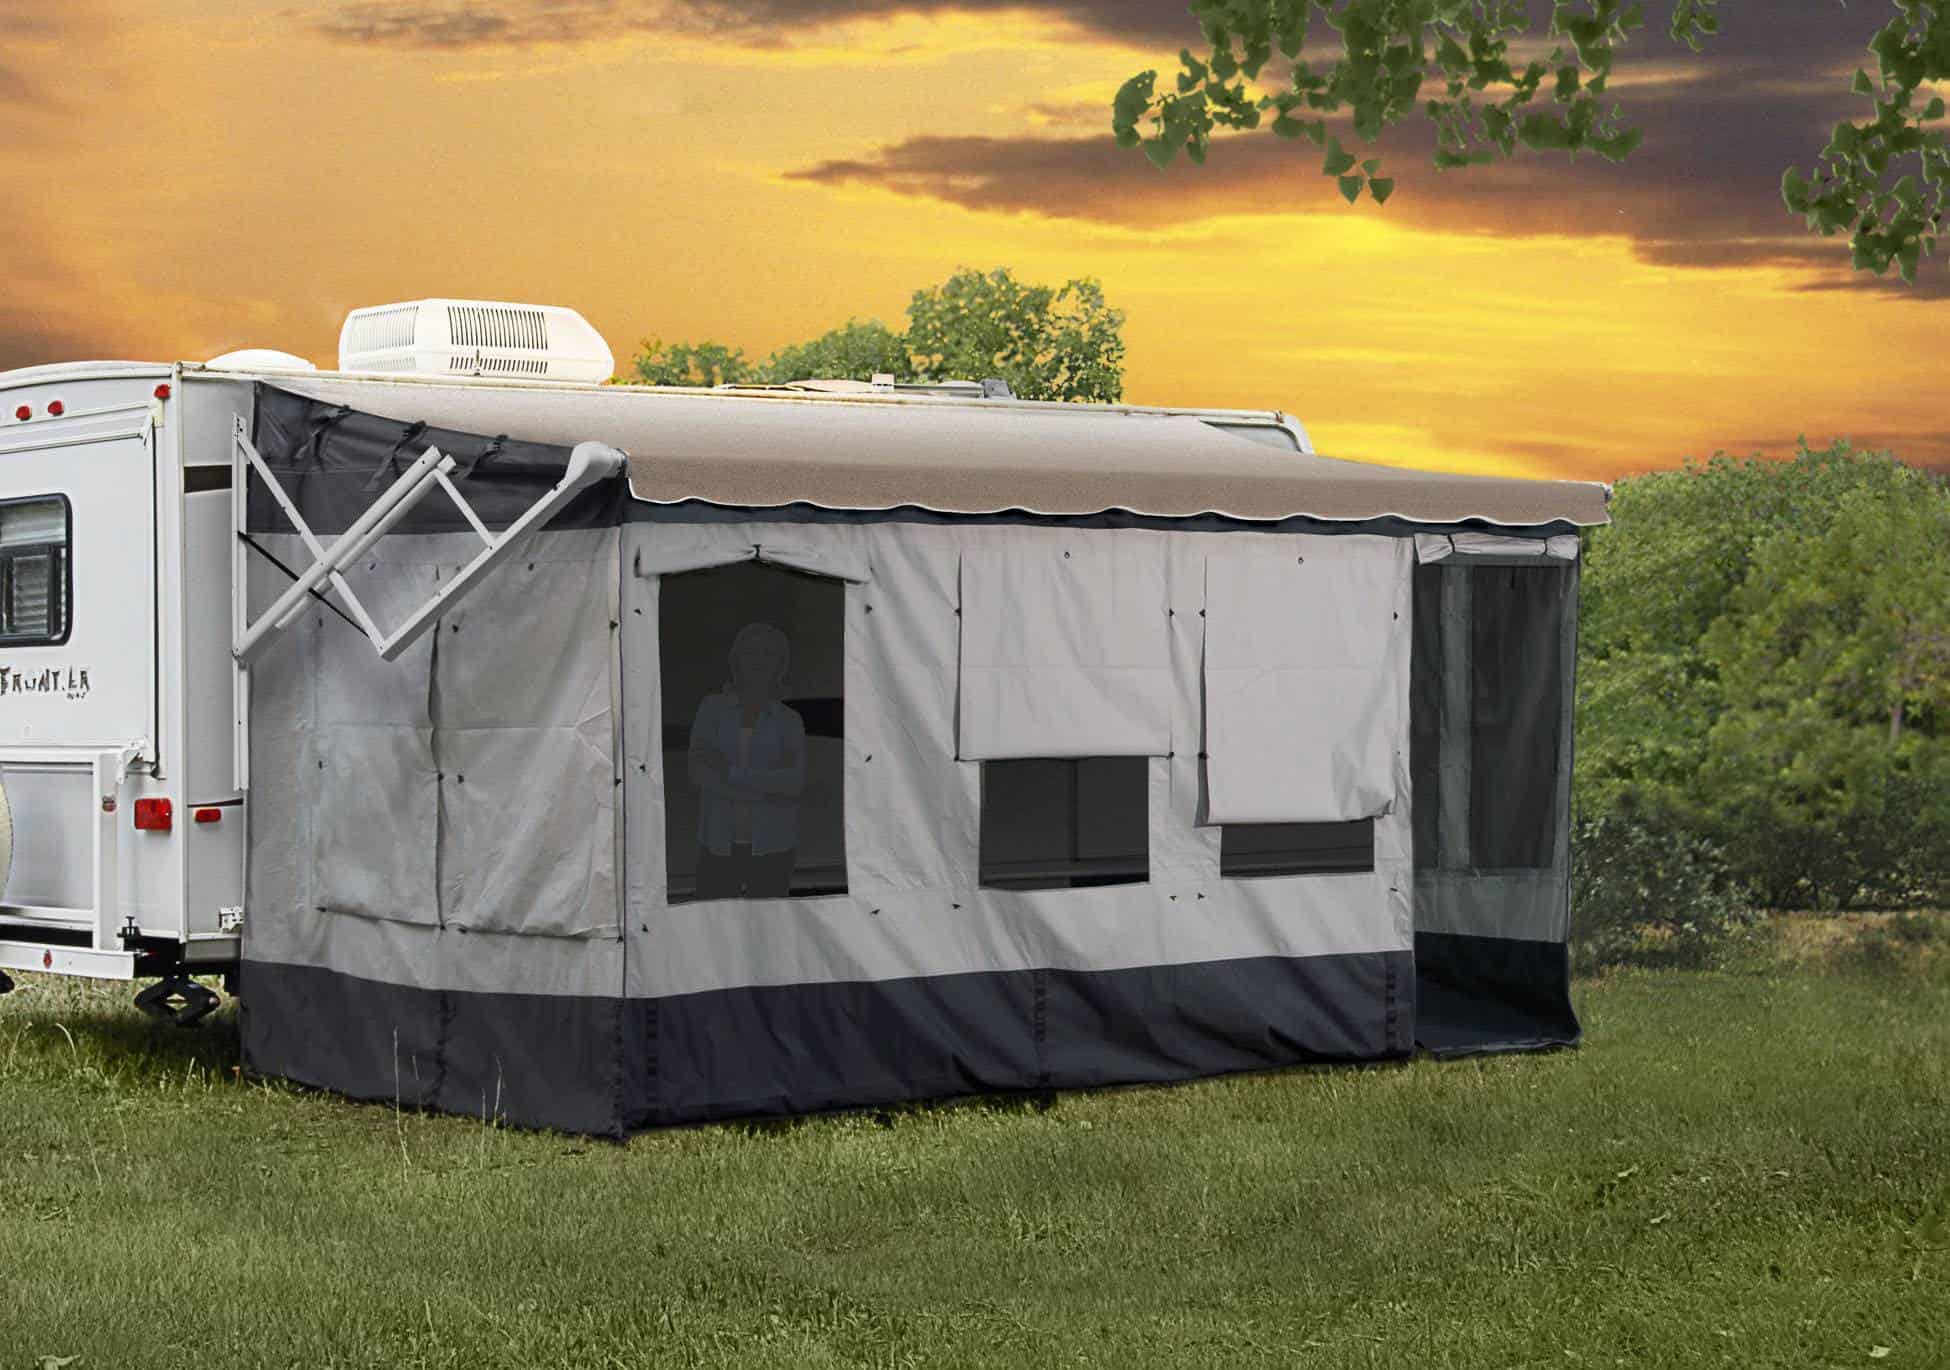
To be protected from the elements of nature on your camping adventure, consider an RV Awning Add a Room. My Review of this product is to educate you on the set up and take down of this particular version of an Add a Room (which can also be referenced to a Family Room, or Screen Room, not to be confused with an awning shade screen).
I will also cover the quality of the product and give you my personal pros and cons of it. Let’s begin!
Name: Solera RV Awning Add a Room / Solera Family Room RV Awning Screen Room
Website: LIPPERT – Home | Lippert (lci1.com)
Price: Starting at $985.95
Owners: Larry (Founder & CEO – 1956), Doug (CEO – 1976-1977), Jason (CEO – 2003)
Product Video: YES
Overall Rank: 8/10
Quick Facts & Specs of the Add a Room
- -Can be used on most manual or power awnings ranging from 10 feet to 21 feet.
- -Turns your awning into an enclosed extra room, outdoors.
- -Adds extra shade and privacy to your awning.
- -Comes with mounting hardware and carry case.
- -Easy DIY Installation.
- -Is designed to accommodate 130″ rail to ground awning types.
- -Originated from Mexico
How to Install the Add a Room to your Awning
So as our version of the Add a Room is a bit older, I’ll give the run down of installation that we’ve used a few times. It should also be said first and foremost here, that this should be a 2-person job (although it’s mentioned as a DIY).
When we first received this product, it did not come with instructions, so it was basically trial and error as far as installation goes. Let me be the first to say, that the newer versions, look a lot simpler than the way we did attach ours, also they have some additional features that I wished ours had!
- 1- You must remove all pieces out of the carry case. What you’ll want to do is sort them out based on front, sides, and hardware. Note that the screen side, should be up in this situation, so when you lift to attach from the ground, it will be facing the correct way when it’s inserted into the awning.
- 2- Unroll / Unfold all weatherproof panels, if you haven’t done so in step 1 already. What this does are determine where all your pieces go.
- 3- Place the panels by the fully extended awning in which they will be put up, still lying on the ground.
- 4- Start at one end of your awning and lift the main panel up. You’ll want to feed this panel through from the opposite end of the awning roller towards the end where your panel needs to be (as it was placed on the ground). Note that there should be a nylon coated wire rope on the longest panel. This should have extra length sticking out on each end. It’s critical that you do not let this go inside of the panel. *Hint: Have the pitch of your awning as low as it can go for this step so you’re not over-reaching, or need a ladder in this instance.*
- 5- Once this main panel is in place, you should have a 3-foot gap on the one end of the awning (this can be optional, as this is where your door section will go).
- 6- Next, you’ll want to obtain your mounting hardware and tools to go with it. I believe you need a drill and bit, screws (if not supplied), and some sealant tape for the back of the brackets you are given. With our older version, we had 2 extended poles that feed through the side panels, and attach to the awning arm brackets.
- 7- Once the mounting hardware is secured in place, (which should be at the top of the RV, next to the awning arm brackets on the inside of the awning) you’ll want to attach via zipper on each panel, the side panels to the main panel. Note that the second panel may not be able to be attached to the main panel yet, as this is where the door section will go.
- 8- Now, you can attach your door section via zipper to each of the remaining zippers on the opposite panels. You can also raise the pitch of the awning at this stage, so it conforms to the groundwork evenly.
- 9- Lastly, you’ll want to use the provided ground stakes, or a heavier object, to secure the remaining excess of panel to the ground. What we found is on real windy days was to use cut log rounds as well as ground stakes, for that added weight.
- 10- What you should have now is a complete setup of your new family room / screen room.
A key piece of advice once set-up is complete, is to have a slight pitch on one corner of your awning, and opposite the door. That way, if it rains, your awning does not bow or break in due to the extra weight on your awning arms.
Pros of the Add a Room
- -Long lasting Polyester material – Made with a cool, gray fabric
- -Durable and Weather-proof – Withstands wind, rain and direct sun
- -Added privacy, shade and space – For dining with family, entertaining guests, or sleeping outdoors
- -Relatively easy to install with 2 people – no ladder required when following the above directions
- -Not a lot of tools needed – Unless you have an older version, it seems that the majority of the installation is all zippers and tie-downs.
- -Added Rain coverage – As opposed to other free standing pop-up shade tents, this is directly attached to your trailer/RV.
- -Zipper attachments – Quickly attach with zippers or adjust with zippers.
Cons of the Add a Room
- -No instructions provided – At least not with our version, and from what I’ve read, they don’t provide clear instructions within the carry bag.
- -DIY takes longer than suggested – easier with 2 people.
- -May cause additional stress on the awning arms (weather pending) – replacement parts are available for such instances.
- -Screen easily rips – constant storage when folded adds creases in the screen which weaken it over time.
- -Open air gaps – On our model, the sides didn’t have a specific place to go on the top part, so there was always a way for rain to get in, plus there was no direct attachment to trailer. With the new versions, they have the attachment hardware, but nothing to connect to on the bottom side. Innovation is to be used here.
Personal Stories of the RV Awning Add a Room
This product was given to us to trial out at one of the campsites we stayed at. What we learned after the first few weeks of it being erected, was that the arms did not want to support the weight of snow. This accounted for us to brace the arms with 2×4’s in order to support the weight with the Add a Room attached. Eventually we took it down, wiped all the pieces down, and stored it for the remainder of the winter.
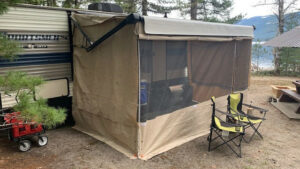
The next stage where we put it to use was for 5 months in the summer. In the main picture above, we saw multiple modifications done to have it stays stationary that long.
We of course set it up in the manner above, and for the first couple of days were fine; Until we endured the wind. What we realized we needed to do is place a wind-block around our travel trailer. Similarly to putting up skirting in the winter time, this protected the underside from being cool in the add-a-room.
Another time, we were woken up to the sound of the awning arms folding backwards, due to the amount of rain that compiled on top of the awning. It created quite the mudslide running through an area that should ideally stay dry. A quick adjustment which was learned from the winter story above, saw 2 more support boards be utilized on either side of the awning.
Additionally, I created a support beam on the underside of the awning, so that there was extra support all the way around, while still having the added privacy and shade from the sunny days that amounted ahead.
What I would like to do with our version is create a way to Velcro or zipper the awning directly to the flaps of the panels, to create that ultimate air tight gap between trailer and panels.
Where to Purchase an Add a Room
These Solera Add a room, particularly made by Lippert, can be purchased directly through their website Shop, or they can also be found on Amazon for a reasonable price.
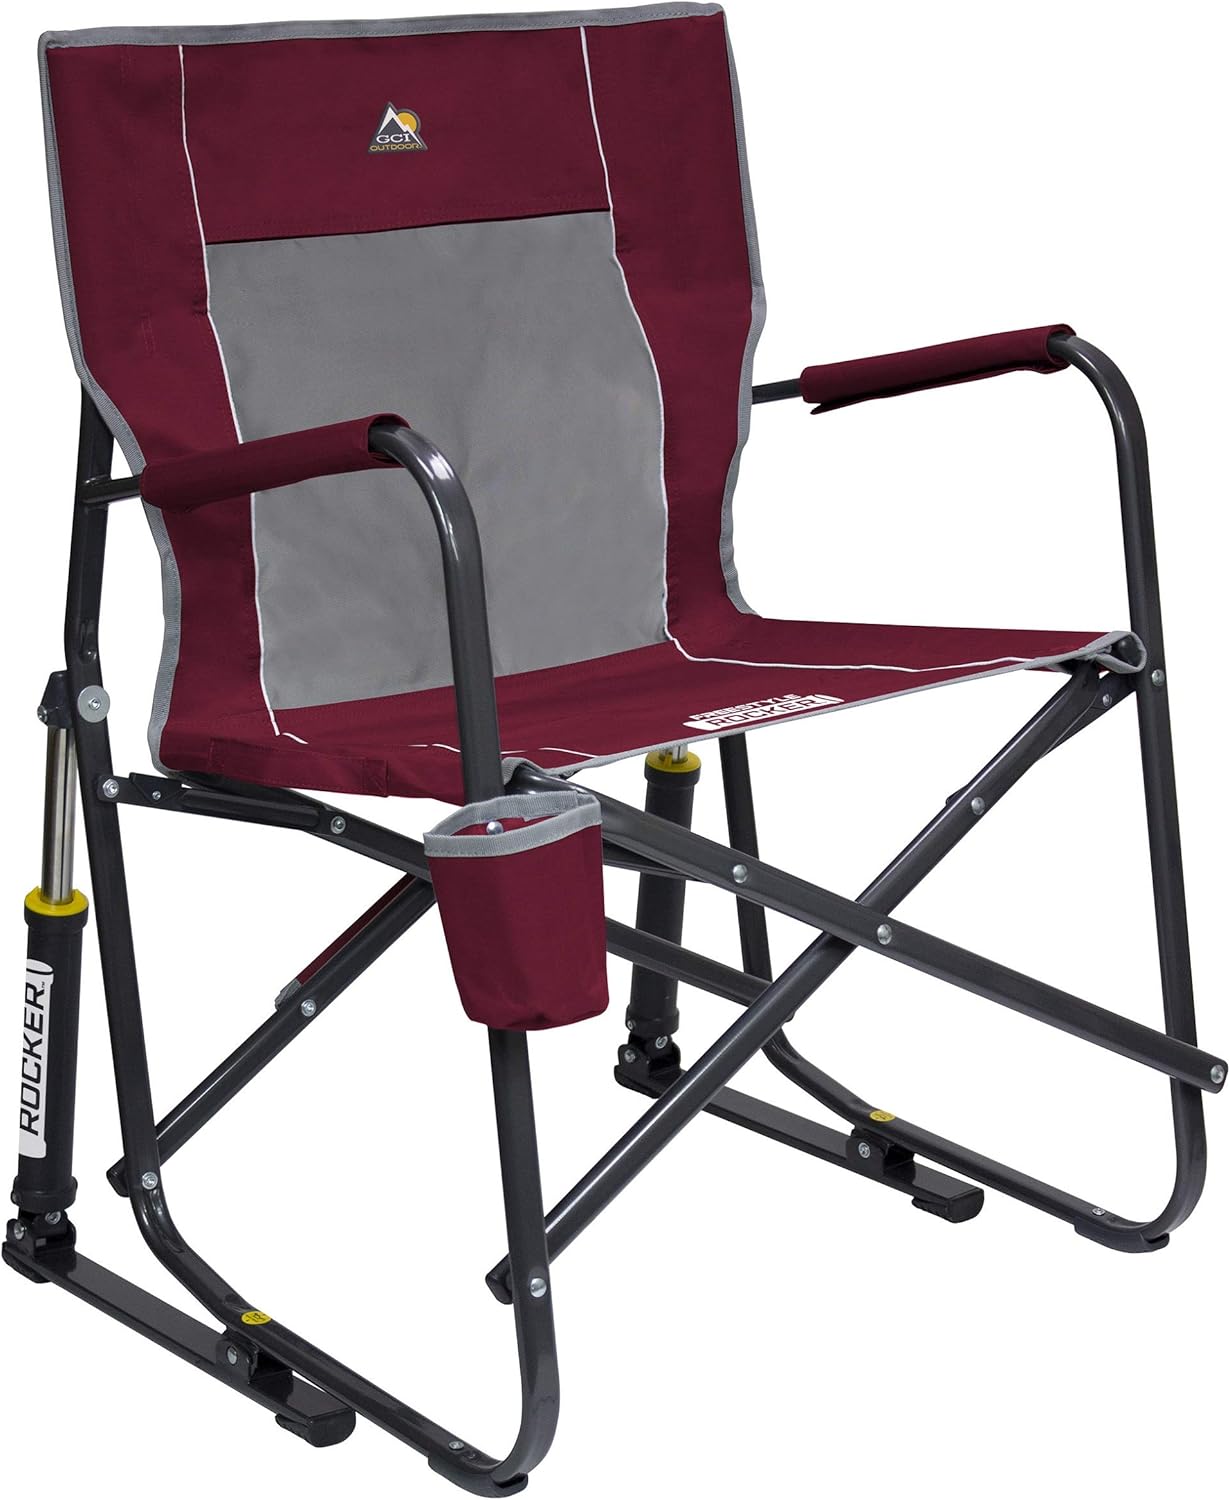
We stock a more heavier-duty, different name brand version of this product on our store page as seen below:


.jpg/:/cr=t:5.56%25,l:0%25,w:100%25,h:88.89%25/rs=w:1240,h:620,cg:true)


Leave a Reply