
Affiliate Disclosure: I earn commissions if you shop through the links below at no additional cost to you.
Last Updated on December 11, 2024 by Jeremy
When you’re tackling a cross-country journey, every part of your rig plays a crucial role in getting you to your destination safely. For us, the hitch connecting our bumper pull travel trailer to our truck became the unexpected star of the show during our trip from Canada to Costa Rica. From navigating bumpy roads to enduring countless miles, our hitch faced challenges we never anticipated.
In this article, we’ll walk you through how we managed to repair a bent trailer hitch in a foreign country with limited resources, the lessons we learned along the way, and the practical tips every traveler should keep in mind. Whether you’re an RV enthusiast or planning your first big trip, knowing how to handle unexpected issues like this is essential.
The Incident: A Bent Hitch in Mexico
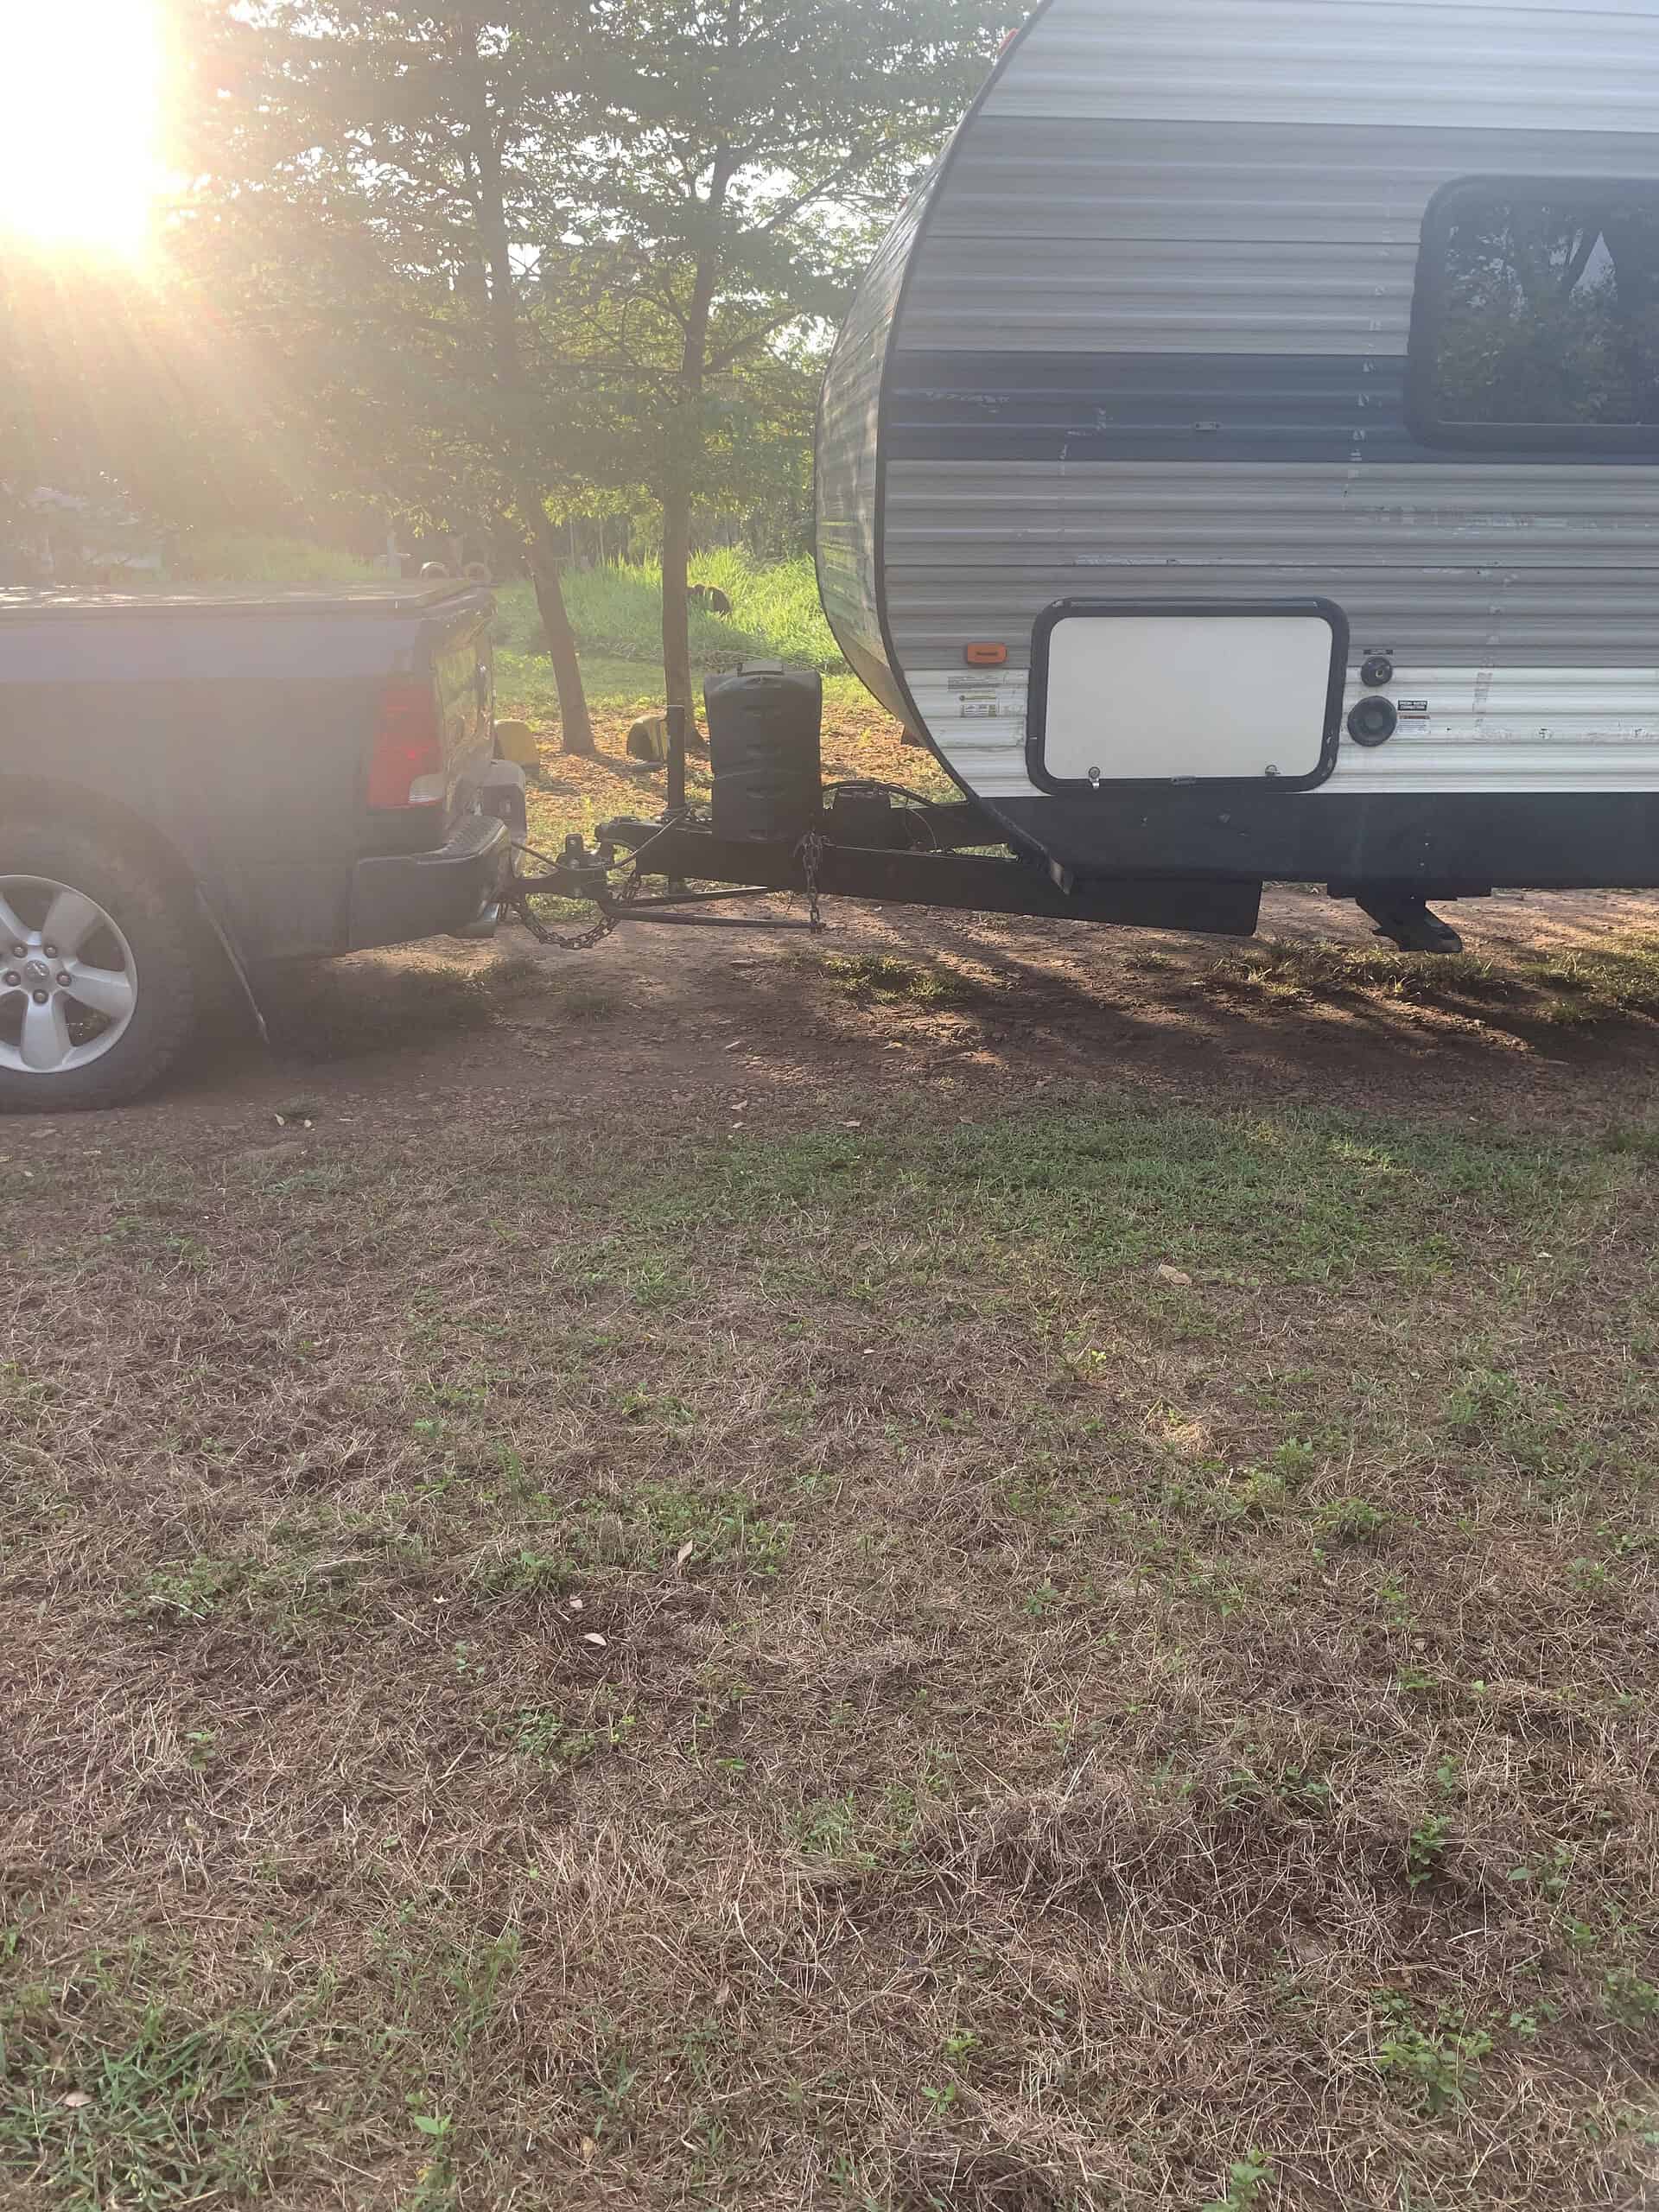
The day started like any other on our Pan-American Highway adventure. We were leaving a Pemex gas station in Mexico, ready to cross into Guatemala. Little did we know, a combination of potholes, unmarked speed bumps, and a steep decline at the gas station had bent our trailer hitch to the point where our propane tanks were practically kissing the trailer.

The hitch was severely compromised, making it unsafe to tow further. With no tools on hand and no familiar faces around, the situation seemed daunting. But as every seasoned RVer knows, adaptability and a little ingenuity can go a long way.
Step 1: Assess the Damage
After pulling over to inspect, it was clear the hitch was no longer at a safe towing angle. The frame supporting the hitch had bent under the stress. Here’s what we looked for:
- Structural integrity: Was the hitch still attached securely to the frame?
- Propane tank clearance: Were they at risk of being damaged?
- Immediate towing risks: Could we move the trailer safely to a repair site?
The answer to the last question was a resounding “no.” We needed immediate repairs.
As you can see from the photo above, I already took the precautions and braced the trailer for safety reasons.
Step 2: Find Help
In situations like this, you’ll often find help where you least expect it. A local translator—who happened to also be a border crossing assistant—stepped in and connected us with a welder in the area.

This is where community and communication become key. Even with limited Spanish, tools like Google Translate can bridge the gap.
Pro Tip: Before hitting the road, download an offline version of Google Translate for the countries you’ll be traveling through. It can be a lifesaver in remote areas.
Step 3: Temporary Repairs
Within 30 minutes, the welder arrived with his 1983-era equipment and a readiness to tackle the issue. Here’s what the process looked like:
- Reinforce the hitch in place: The welder used 3/16-inch angle iron to brace the existing hitch without removing it.
- Straighten and support: Using heat and brute force, the welder straightened the hitch as much as possible and added the angle iron for structural reinforcement.
- Reinspection: After reinforcing, the hitch was inspected to ensure it was safe for the next leg of the journey.

While this “band-aid” repair was enough to get us moving again, we knew it wouldn’t last forever. It was critical to plan for a more permanent solution.
Cost Breakdown:
– 300 pesos (~$15 USD) for welding services
– Two six-packs of cerveza to thank our helper and welder
Step 4: The Permanent Fix
A few days later, we arrived at La Combi campground in Guatemala. Knowing the temporary repair wouldn’t make it to Costa Rica, we removed the hitch entirely and found a professional welder to rebuild it with new materials.

Here’s what made this repair different:
- New box iron: The welder used 1/8-inch thick box iron, doubled up for added strength.
- Precision welding: Ensured the hitch was structurally sound and could handle the journey ahead.
- Fresh paint: Applied to prevent rust and improve durability.
After hours of hard work, the new hitch was installed, tested, and deemed roadworthy. However, the road ahead revealed more challenges.

Step 5: Further Repairs in El Salvador
Despite the permanent fix in Guatemala, the rough roads of El Salvador took their toll on the hitch again. The welds bent and broke during this leg of the journey, forcing us to stop for additional repairs.

Over two separate incidents, local mechanics reinforced the hitch further with 1/4-inch channel iron and angle iron.

Here’s how they tackled the issue:
- Bracing with channel iron: The mechanics used 1/4-inch channel iron to provide additional structural support.
- Welding reinforcements: More precise welding ensured the hitch could withstand the demands of Central American roads.
- Repainting: After the repairs, the hitch was repainted to prevent rust and maintain durability.
These repairs cost an additional $500 USD between the two jobs. While expensive, the result was a hitch strong enough to get us to Costa Rica safely.

Lessons Learned
This experience taught us invaluable lessons about being prepared for unexpected breakdowns. Here are some tips to help you avoid or handle a similar situation:
- Carry basic tools: A socket set, wrenches, and a small hydraulic jack can make minor repairs easier.
- Know your limits: Temporary fixes are just that—temporary. Plan for a permanent repair as soon as possible.
- Build a network: Whether through apps like iOverlander or connecting with locals, having a network of support is crucial when traveling in unfamiliar territory.
- Invest in a quality hitch: Starting with a high-quality, durable hitch can save you from a world of trouble down the road.
Final Thoughts
Repairing a travel trailer hitch on the road isn’t ideal, but it’s not impossible. With a clear head, resourcefulness, and a bit of luck, we turned a potential disaster into a manageable hiccup. If you ever find yourself in a similar situation, remember to stay calm, assess your options, and trust that help is often closer than you think.
Safe travels and, as the Costa Ricans say, “Pura Vida!”


.jpg/:/cr=t:5.56%25,l:0%25,w:100%25,h:88.89%25/rs=w:1240,h:620,cg:true)


Leave a Reply