

Last Updated on September 16, 2026 by Jeremy
Our travel trailer hitch bent in Mexico while we were towing toward Costa Rica. This is the story of how we got off the road, found help, and eventually rebuilt it—not a field-repair manual. A damaged hitch is structural, and towing again before a qualified inspection can put the trailer, tow vehicle, and everyone around you at risk.
What Happened to Our Hitch
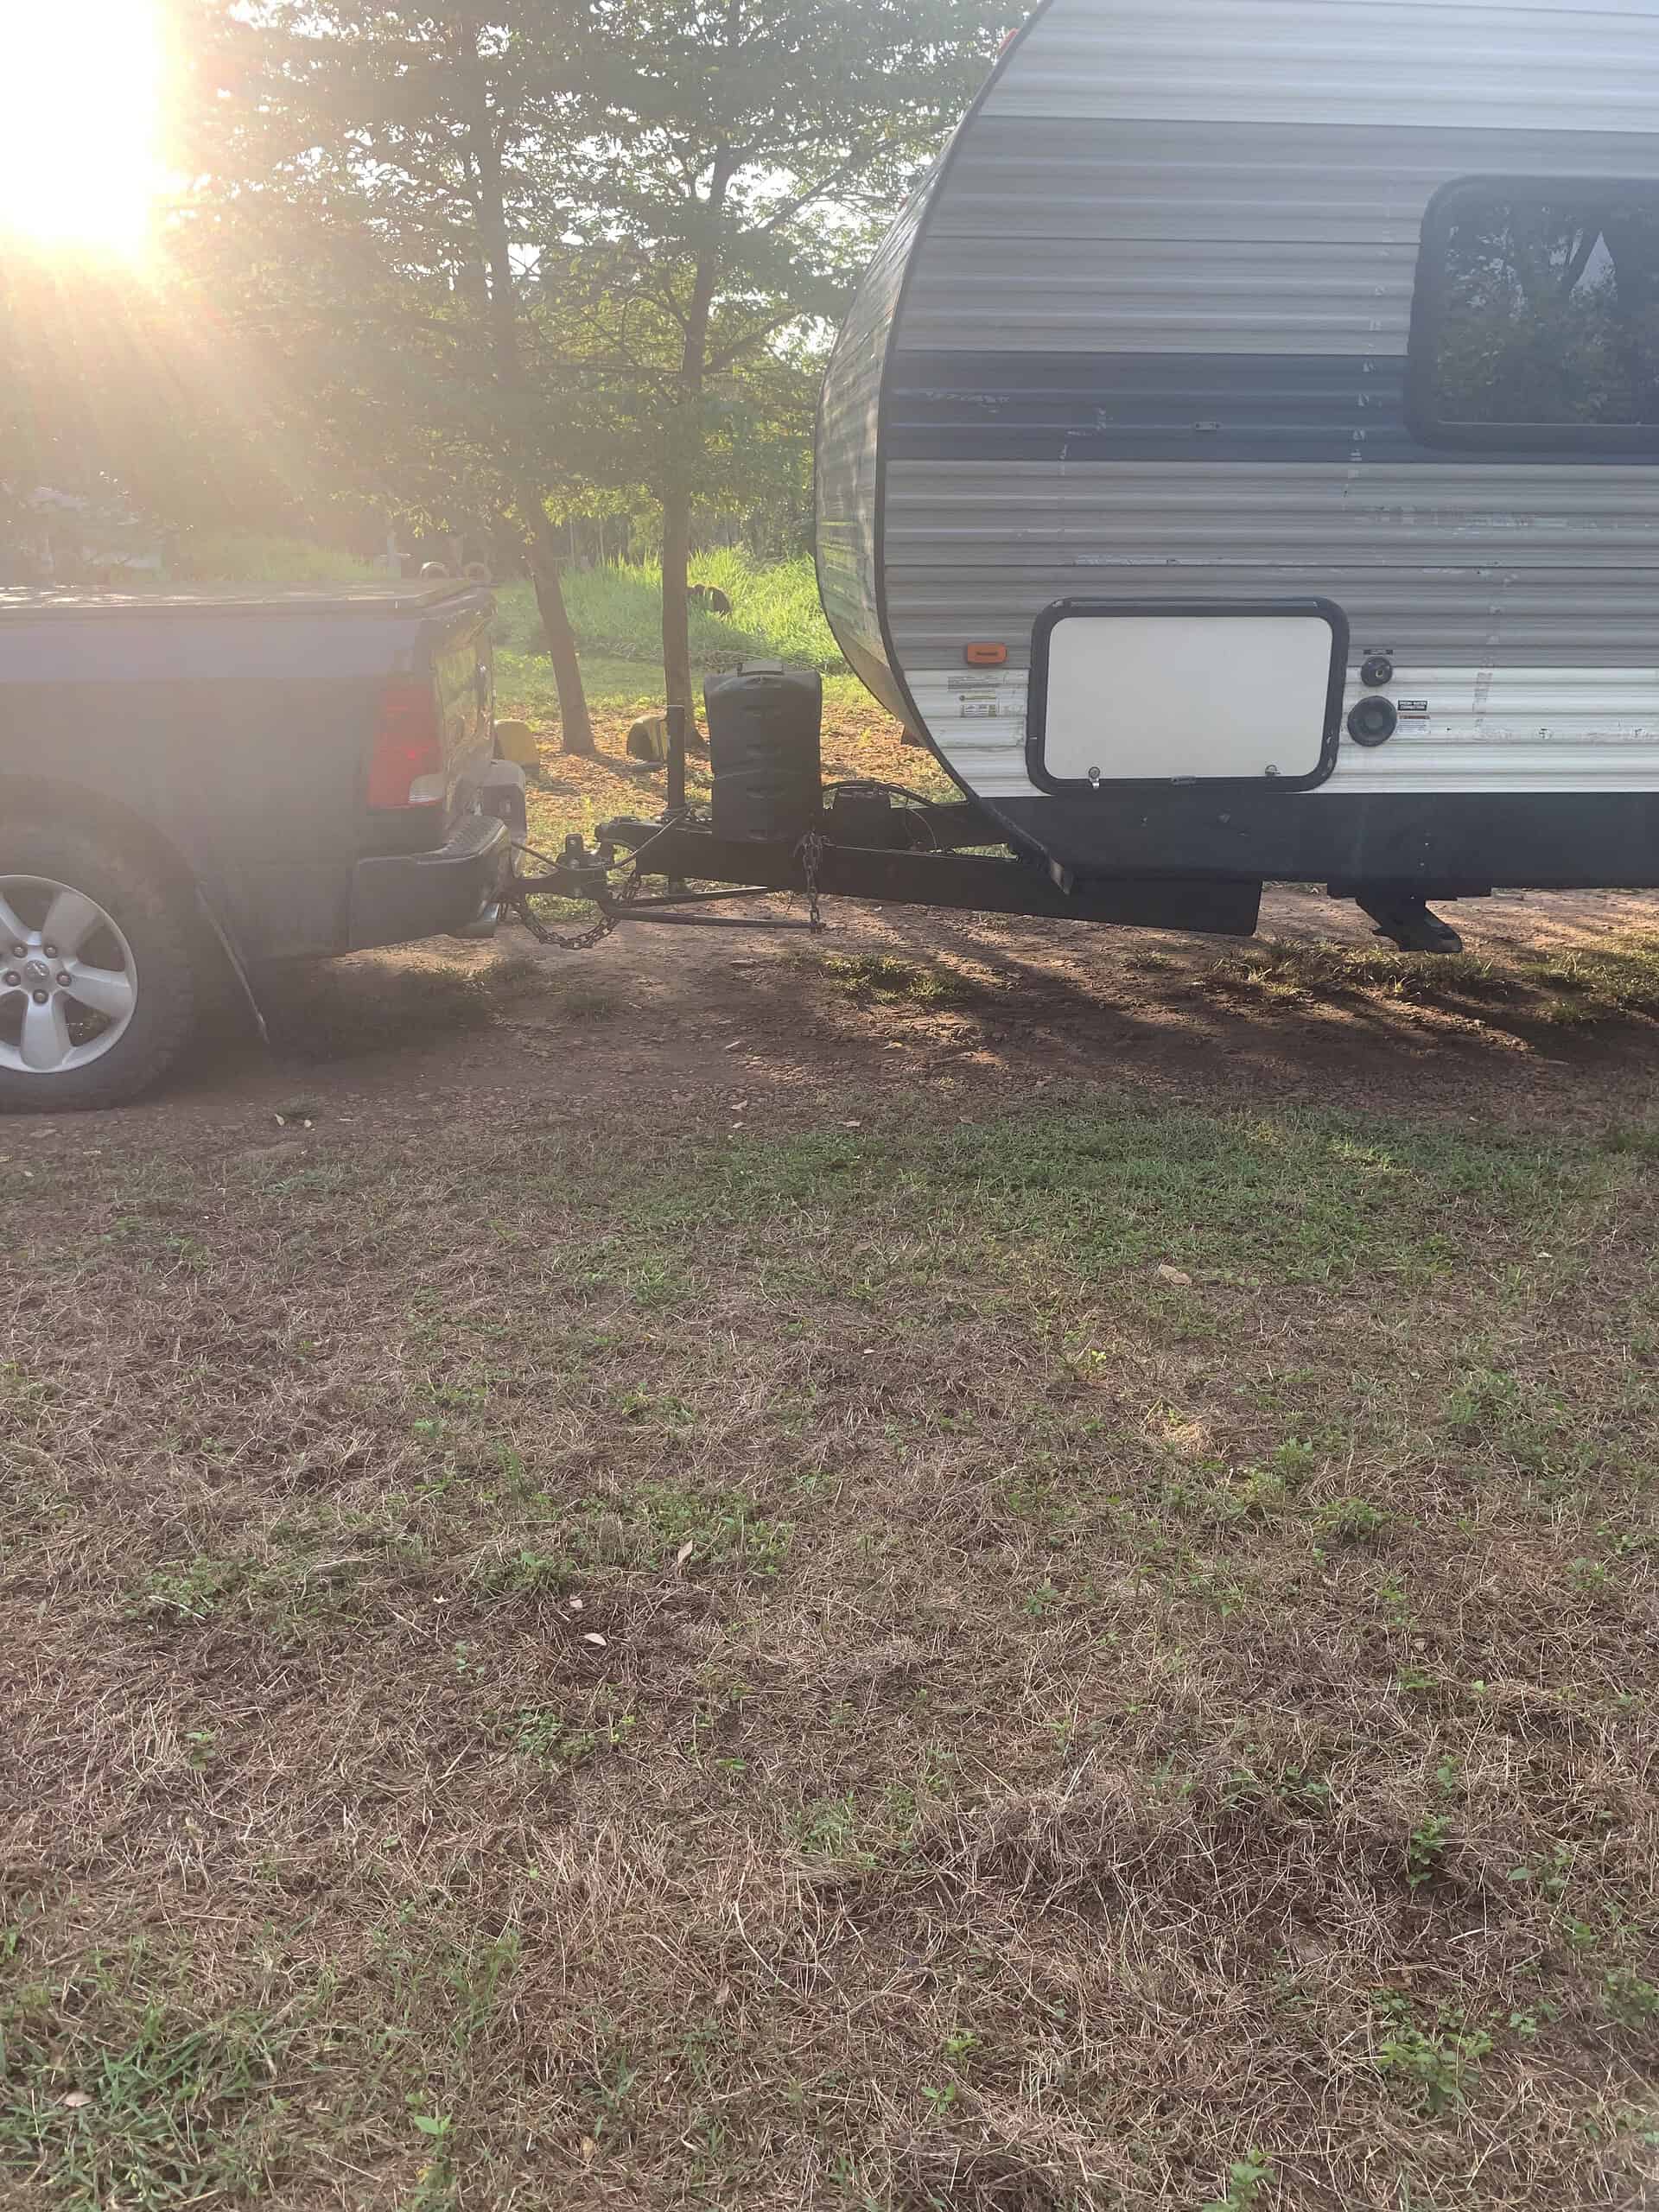
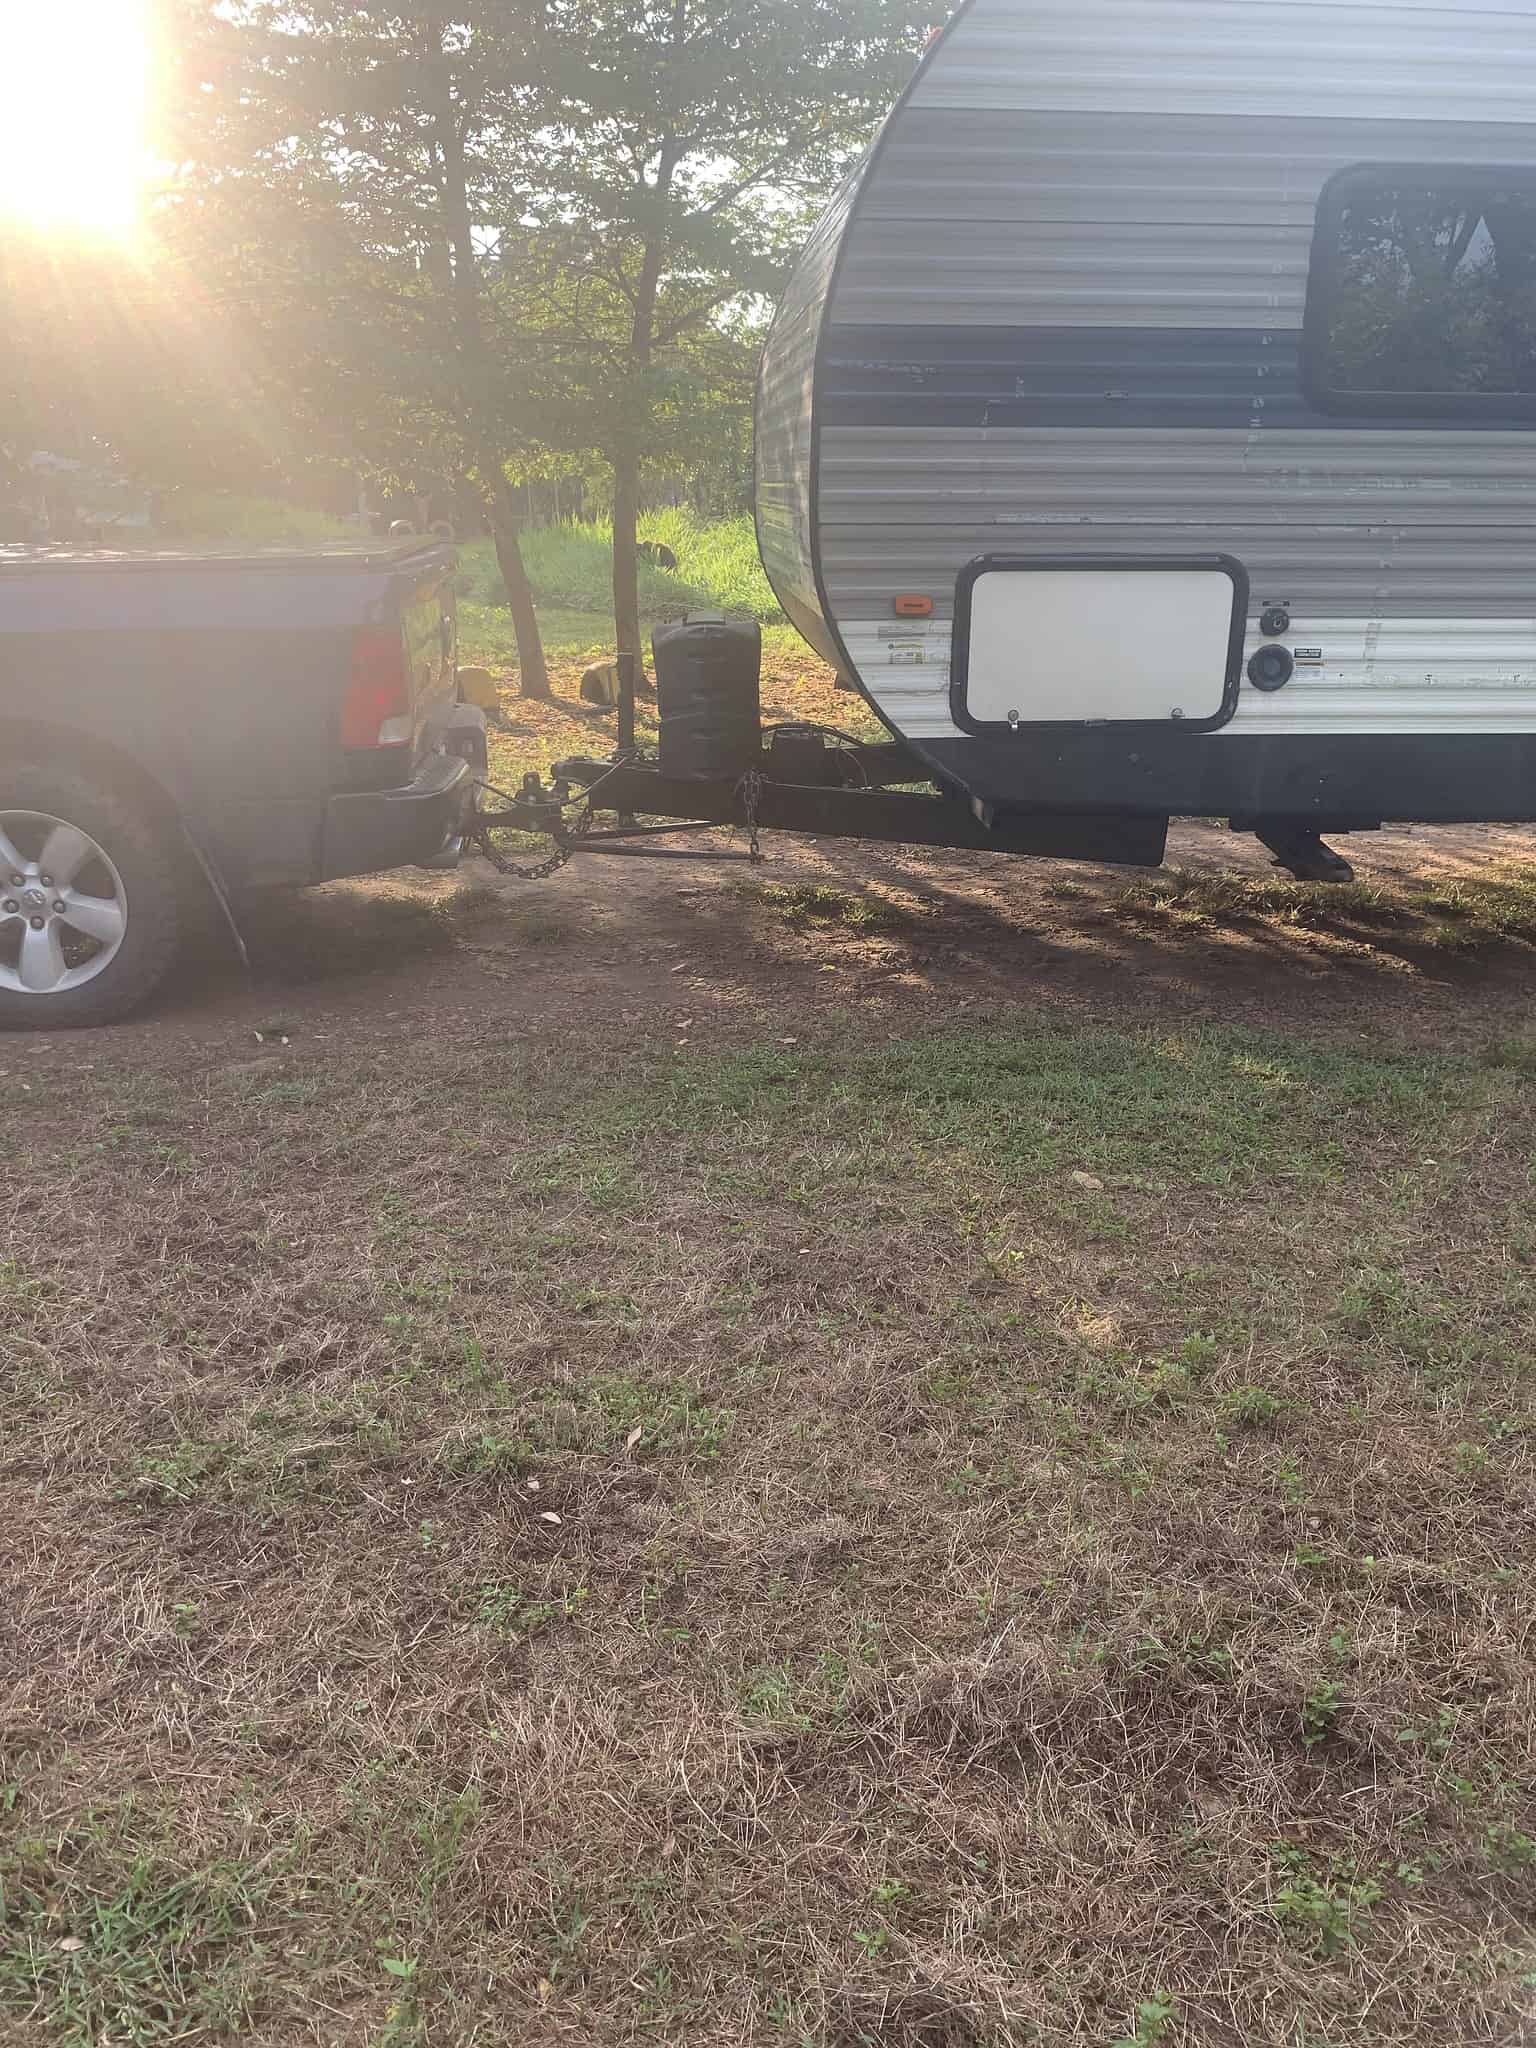
We were travelling the Pan-American route from Canada toward Costa Rica. After leaving a Pemex station in Mexico, a combination of rough pavement, unmarked speed bumps, and a steep decline put far more stress on our bumper-pull setup than expected. The hitch structure bent until the propane tanks were nearly touching the front of the trailer.
We stopped. The visible problem was not a loose accessory or a simple adjustment—the structural support itself had moved.
Step 1: Get Safely Off the Road
Our first priority was preventing more damage. Continuing to tow could have changed the trailer’s tracking, tongue geometry, braking behaviour, and the loads transferred into the tow vehicle.
- Move only as far as needed to reach a safe stopping place.
- Chock and stabilize the trailer before examining it.
- Photograph the hitch, frame, coupler, welds, chains, wiring, propane mounts, and weight-distribution parts.
- Do not crawl under an unsupported trailer.
Step 2: Find Qualified Local Help
We did not have the equipment or structural expertise to solve this ourselves. A local translator and border assistant helped us find a welder. That local connection mattered: it helped us explain the failure clearly and locate someone with the right tools.
The first repair straightened and braced the damaged area with 3/16-inch angle iron. It cost 300 pesos—about US$15 at the time—plus two six-packs. It was an inexpensive way to get moving, but we treated it as a temporary repair, not a permanent engineering sign-off.
Step 3: Rebuild, Inspect, and Reassess
At La Combi campground in Guatemala, the hitch was removed and rebuilt with doubled 1/8-inch box iron, precision welding, and paint. Later, in El Salvador, the structure bent again. Two further repairs used 1/4-inch channel and angle iron, bringing those repairs to roughly US$500.
We eventually reached Costa Rica, but the repeated failures taught us that fixing the visible bend is only part of the job. The entire system—and the forces that caused the failure—must be assessed.
What We Would Check Before Towing Again
- Trailer A-frame and main-frame alignment
- Coupler position, latch operation, and mounting points
- Every nearby weld for cracking, separation, or fresh rust lines
- Safety-chain and breakaway-switch attachment points
- Propane mounts, wiring, jack, battery tray, and front storage
- Weight-distribution hitch setup and component ratings
- Actual loaded tongue weight, trailer weight, and tow-vehicle limits
- Tire condition and axle alignment after the impact
In hindsight, heavier material may have helped, and our sway-control or weight-distribution setup may have contributed to the stress. That is our interpretation—not a universal diagnosis. A qualified professional needs to evaluate each rig as a complete system.
Lessons From the Road
The most useful lesson was not how to weld a hitch. It was knowing when to stop, ask for local help, document what happened, and question whether a repair truly addressed the cause. Remote travel rewards self-reliance, but structural towing repairs are a place to bring in qualified expertise.
For the wider story, read our Canadian travel to Costa Rica journey. If you need a manufacturer, repair provider, or RV service resource, explore the Everything RVs Brand Directory.


Leave a Reply