

Affiliate Disclosure: I earn commissions if you shop through the links below at no additional cost to you.
Last Updated on February 9, 2026 by Jeremy
Disclosure: This page may contain affiliate links. If you purchase through them, I may earn a commission at no extra cost to you.
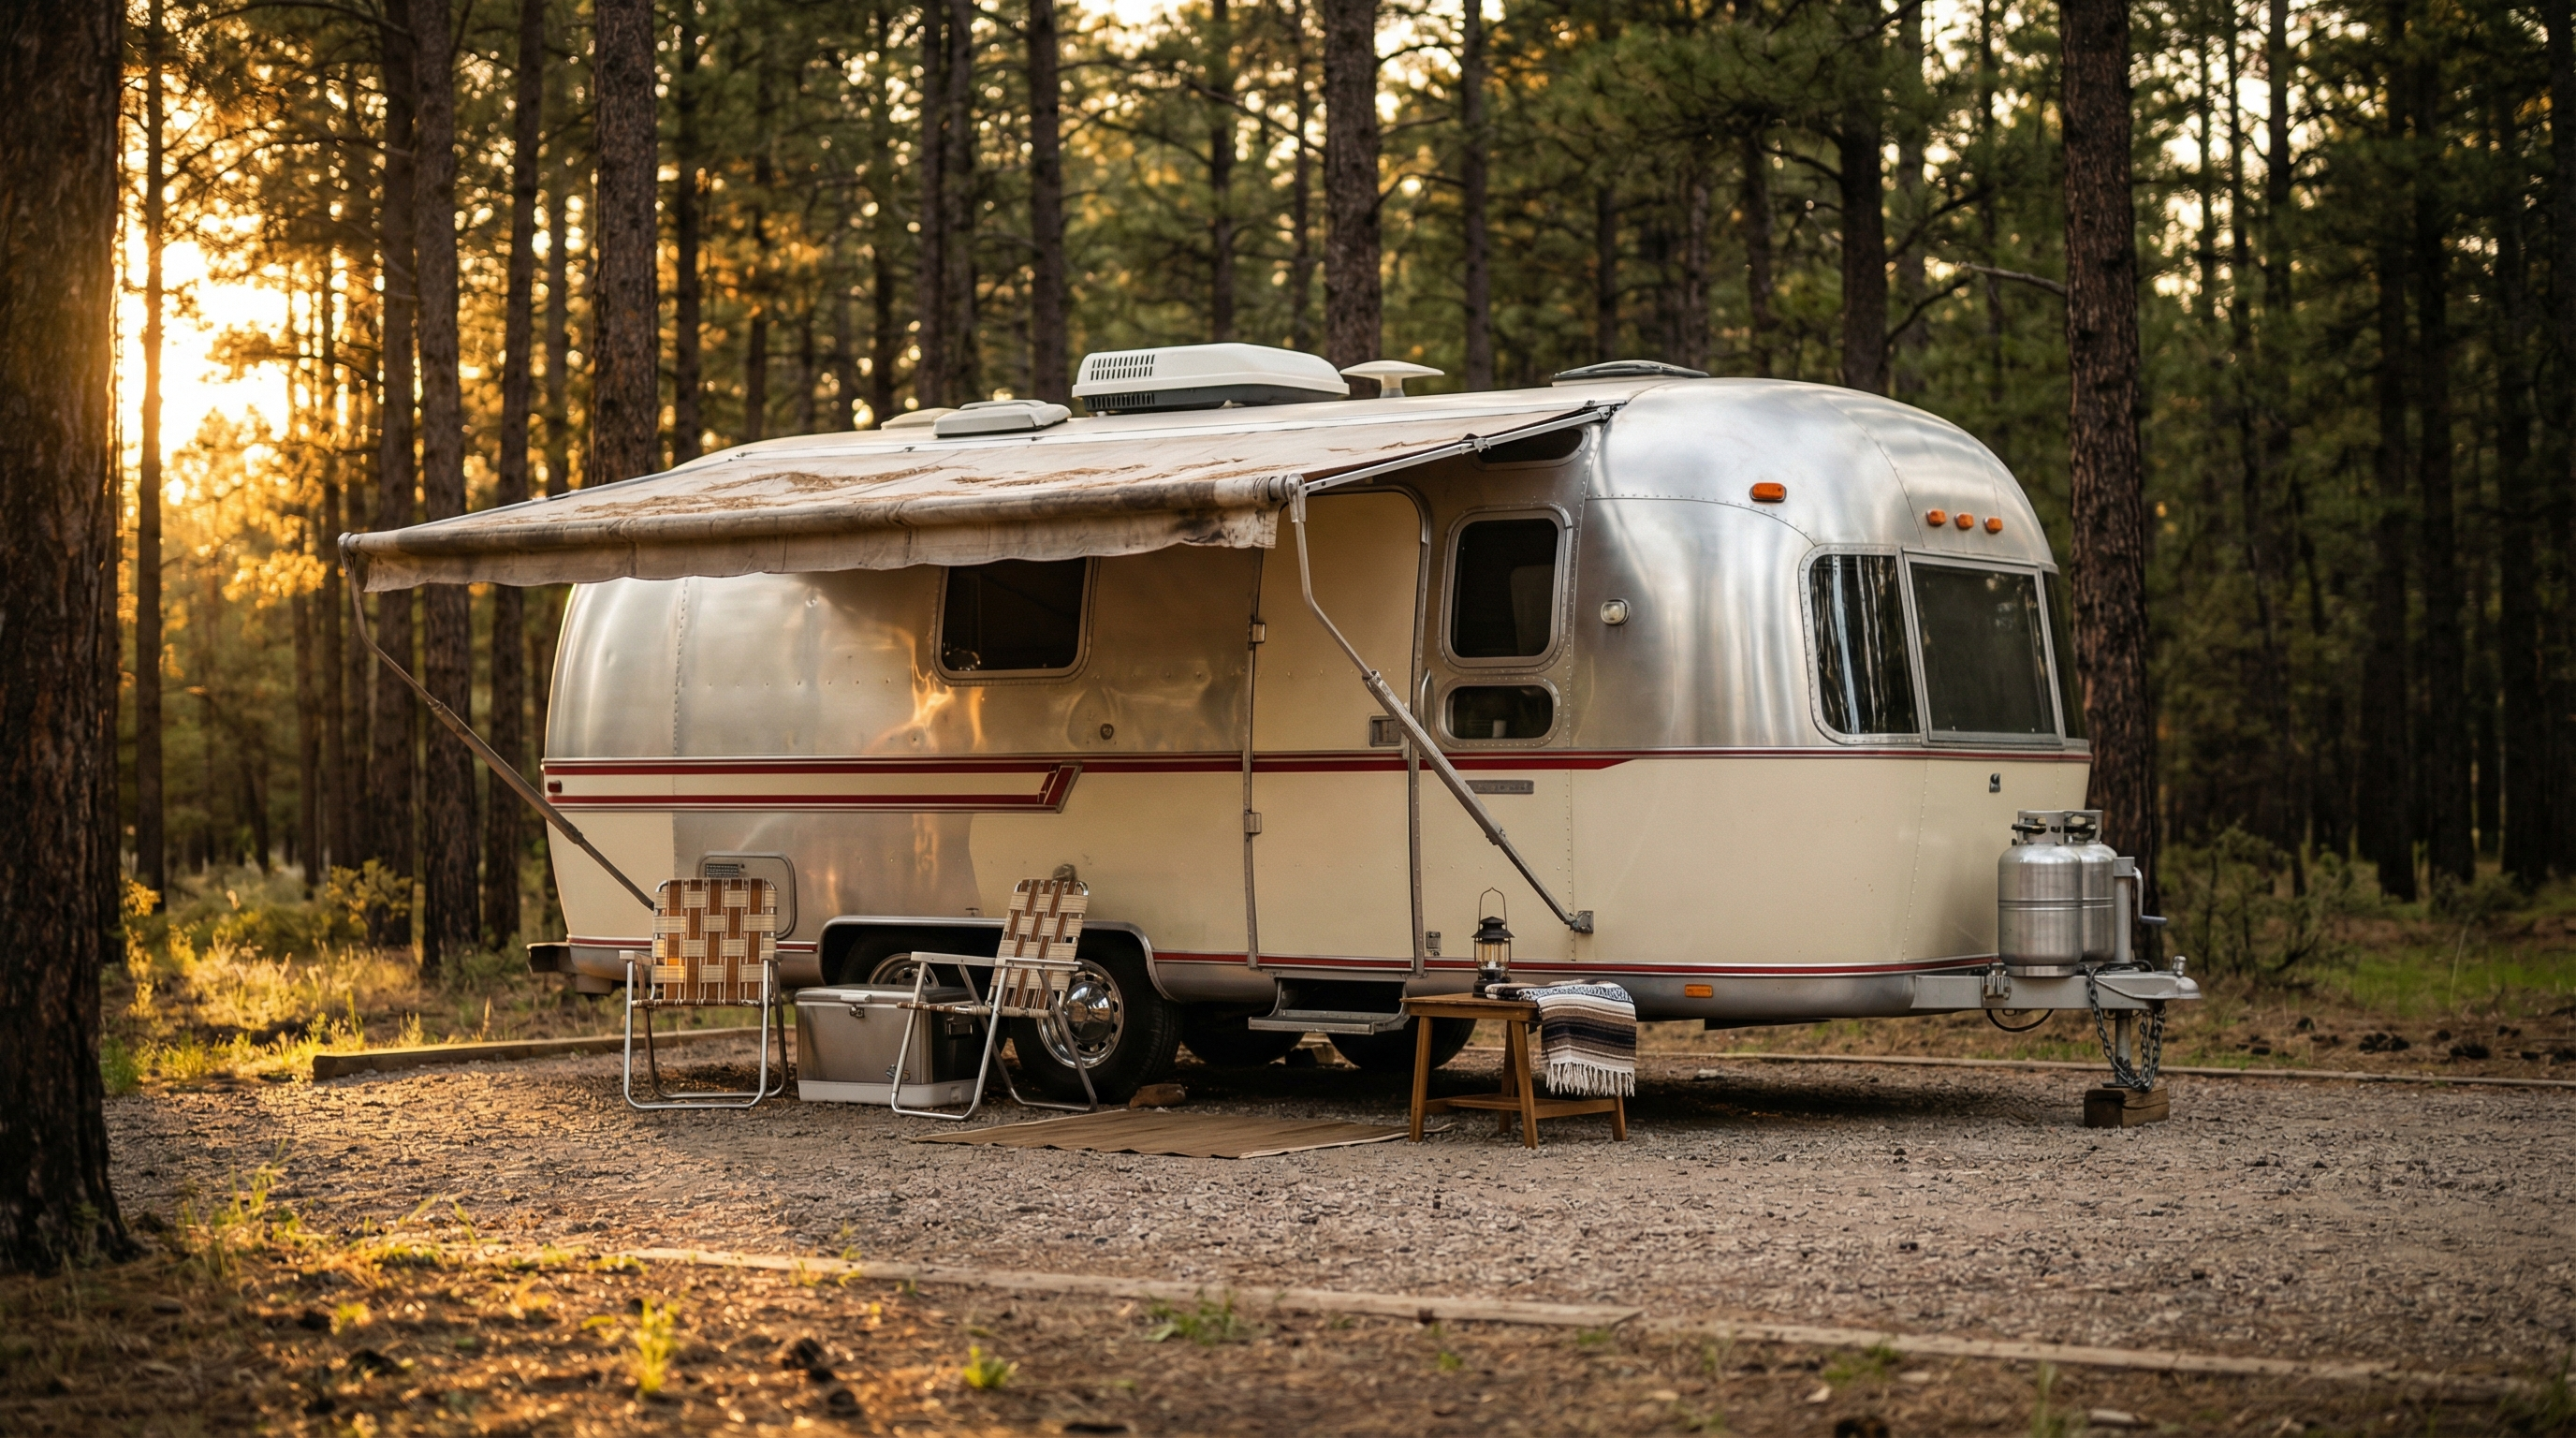
The tricky part about vintage trailer restoration isn’t always the work. It’s the parts. You can rebuild a cabinet door. You can patch paneling. You can polish aluminum until you can see your questionable life choices reflected back at you. But the moment you need the one latch, light, seal, hinge, or trim profile that actually matches your trailer? Welcome to the treasure hunt.
And here’s the trap: modern RV parts are often “good enough” mechanically, but visually they can kill the whole vibe. A vintage build is half function, half authenticity. If you care about keeping the trailer’s character, sourcing matters.
The Problem With Vintage Parts (And Why “Close Enough” Usually Isn’t)
Vintage trailers love being almost-standard. The window is “about” this size. The door latch is “kind of” this style. The trim profile is “similar” to something you saw online, except it isn’t.
- Fit issues: older rigs can be off by fractions that matter a lot when sealing water out.
- Style mismatch: modern hardware can look out of place instantly.
- Materials mismatch: lighter modern parts sometimes don’t hold up the same way.
- Water intrusion: the wrong seal or window fit can undo weeks of work.
If you want to enjoy your restoration later, the best “upgrade” is often the boring one: proper fit + proper sealing.
Start Here: The Parts Hunt Checklist
Before you start shopping, you want to avoid the classic mistake: buying first and measuring later. Here’s the quick checklist that saves money and frustration.
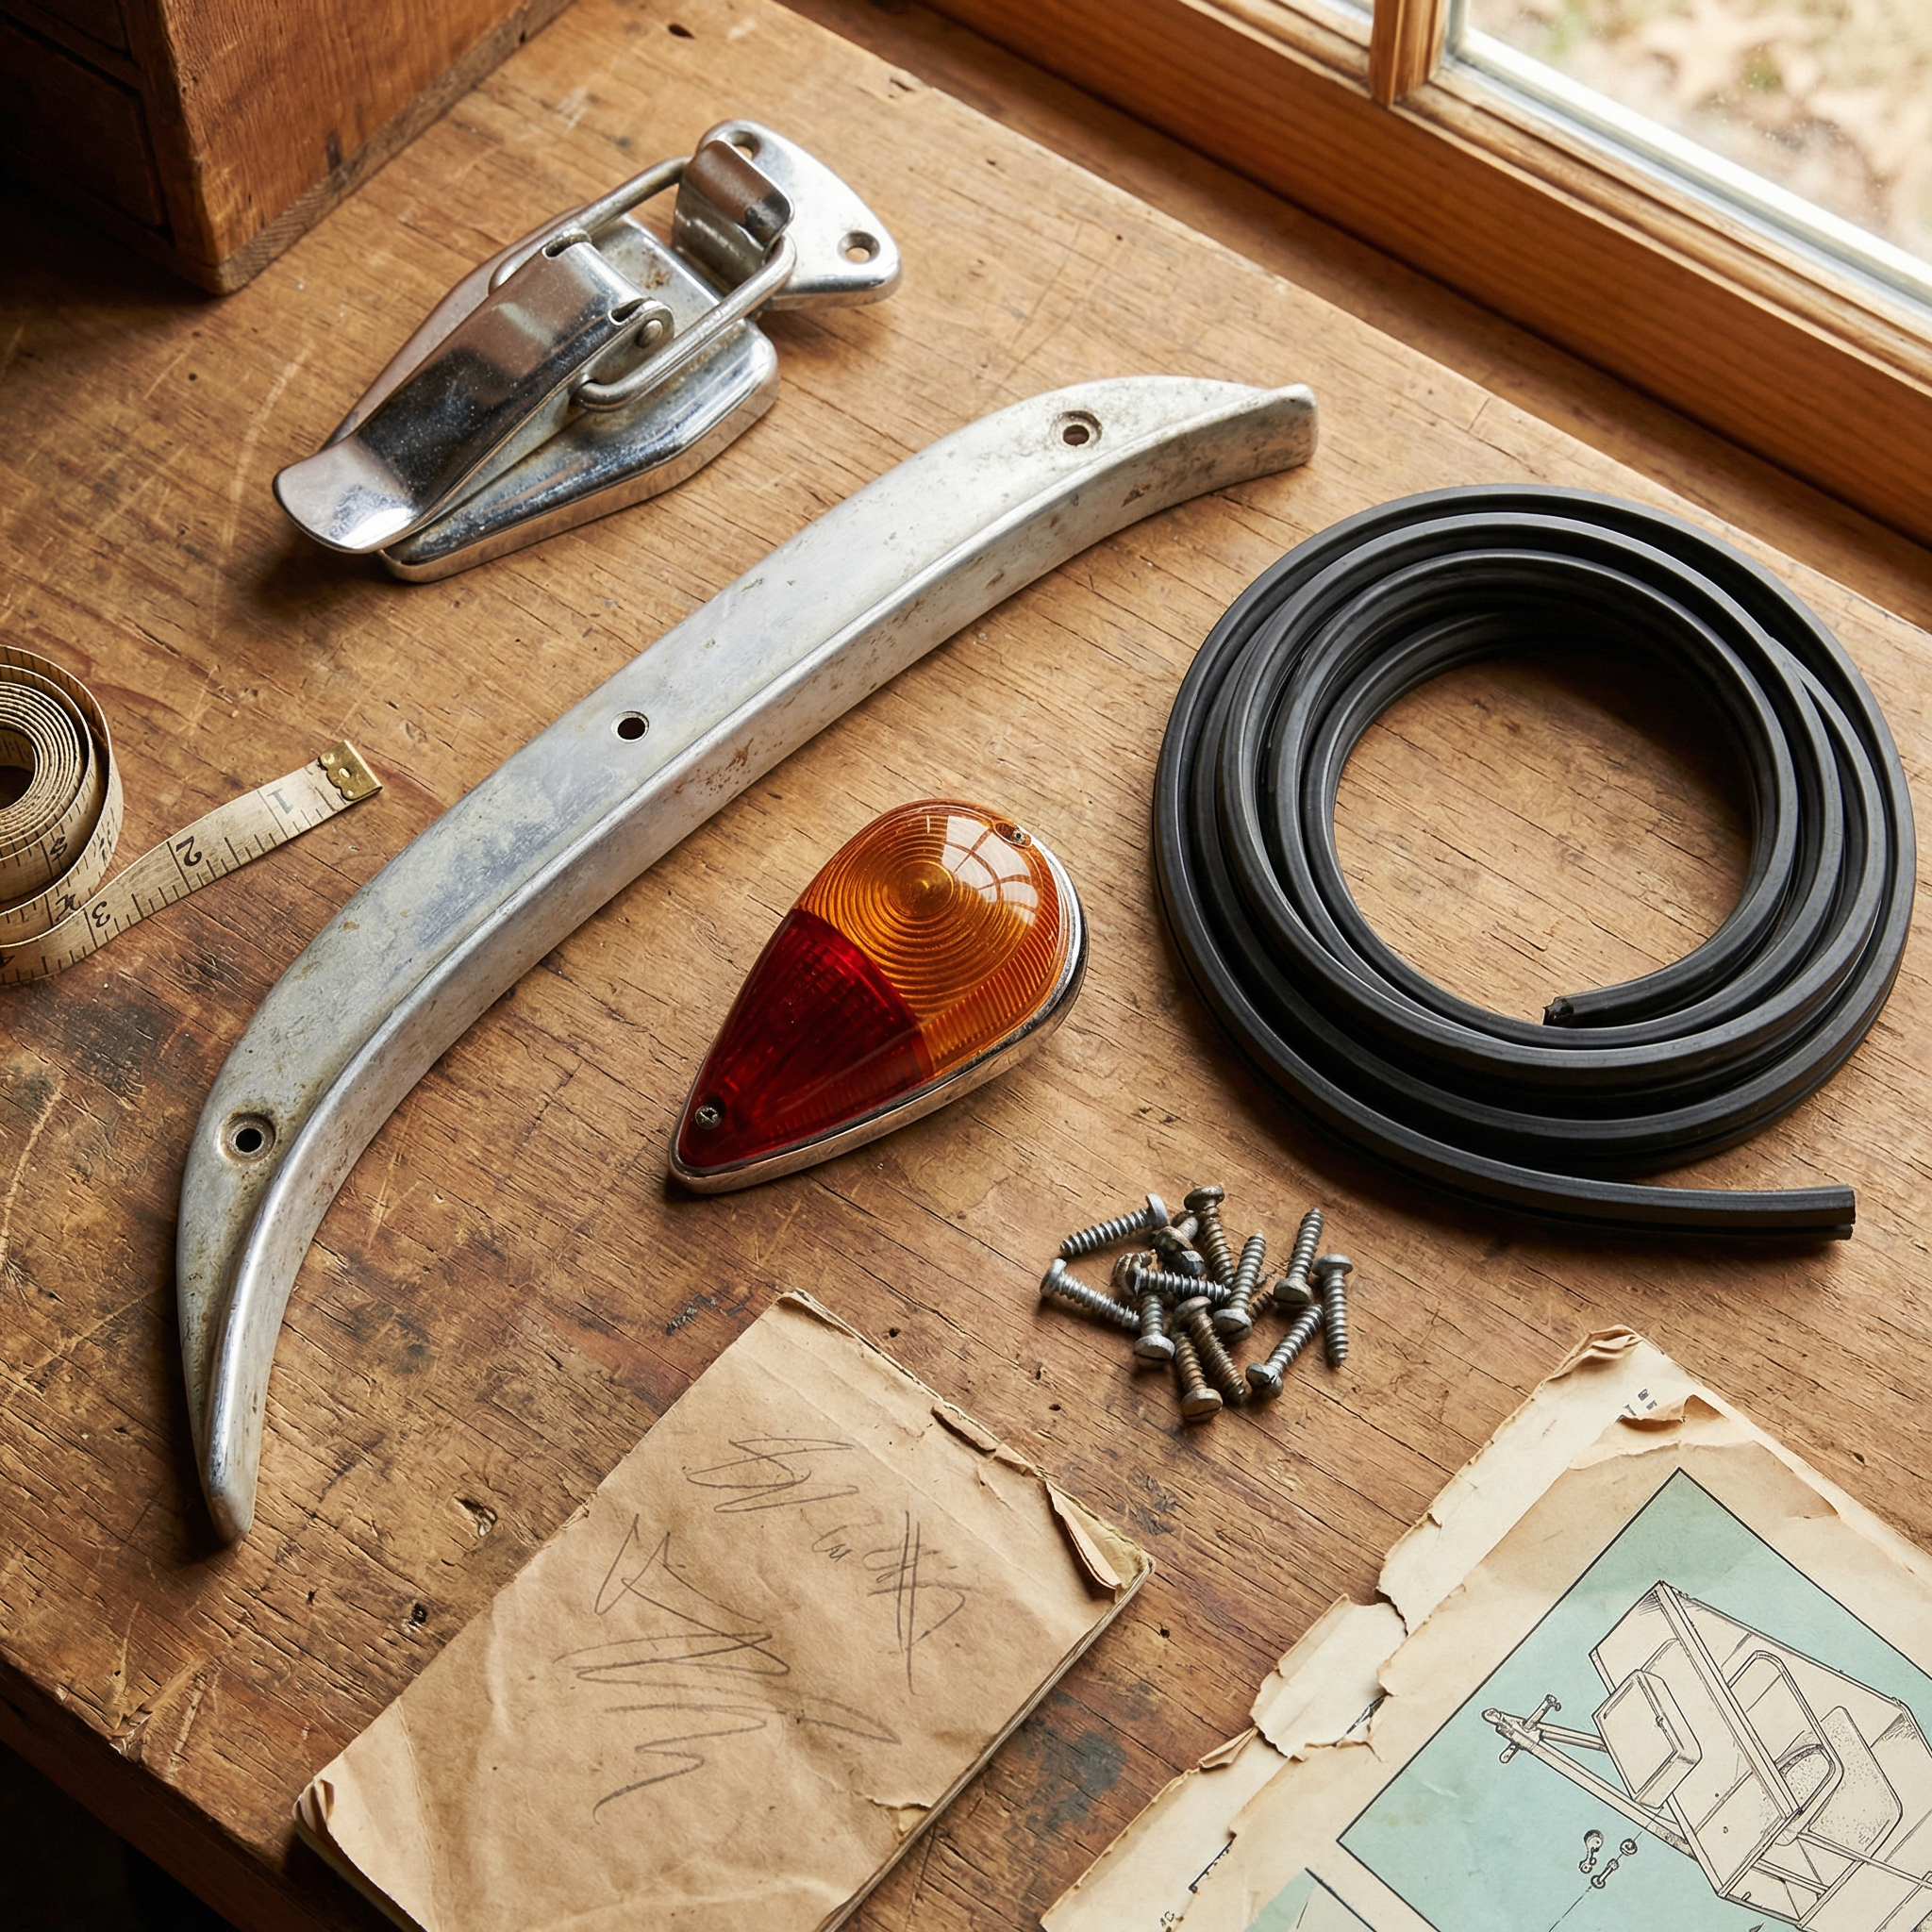
- Take photos of the part installed and removed (close + wide).
- Measure width/height/depth and record the smallest measurement if the opening isn’t perfectly square.
- Note how it mounts (screws, rivets, track, flange, interior clamp ring, etc.).
- Identify the “style cues” you want to keep (chrome finish, rounded corners, ribbed trim, lens color).
- Decide your goal: period-correct, “looks vintage,” or purely functional replacement.
Pro tip: write your measurements in your phone notes with the trailer make/model and the location (front street-side window, rear curb-side marker light, etc.). “Window 24×18” will mean nothing to you in two weeks. Ask me how I know.
Step-by-Step: Where to Look for Vintage Trailer Parts
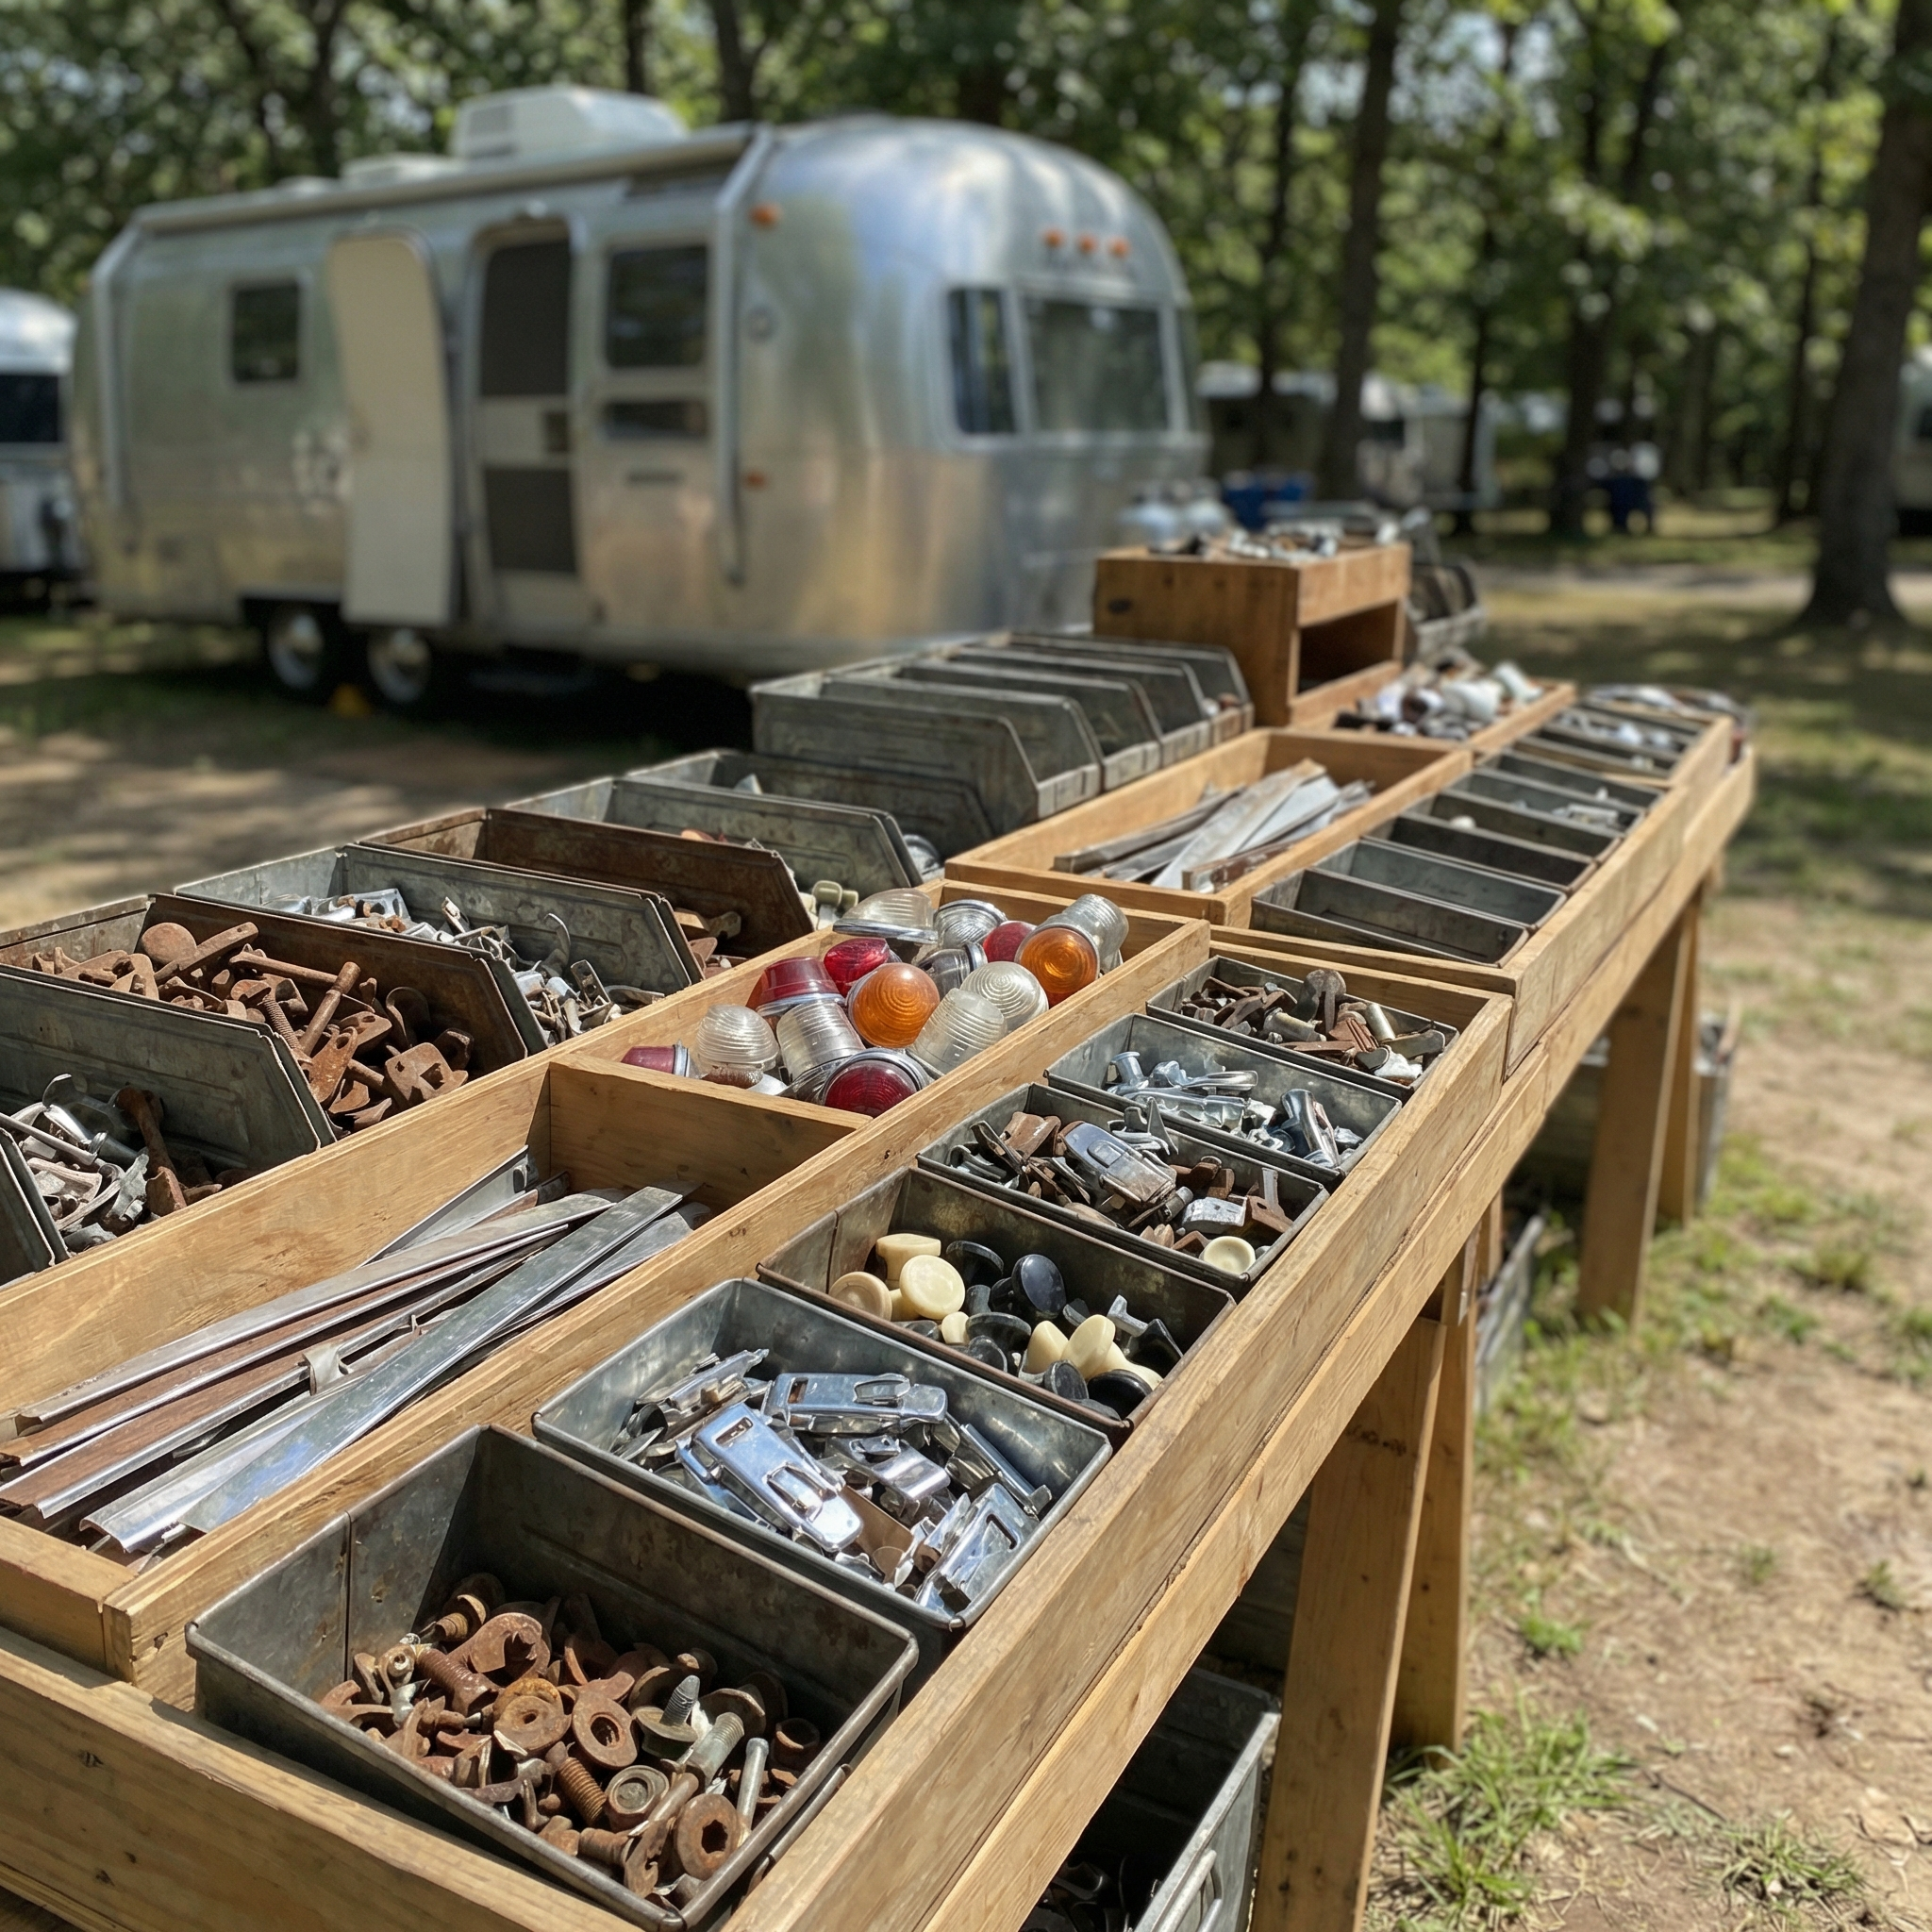
1) Salvage Yards (Best for Originals, Worst for Predictability)

Salvage yards are where you find the real-deal original stuff. It’s also where you find parts that have lived a hard life. If you’re hunting for a specific window style, door hardware, or fixture you can’t find anywhere else, this is worth checking.
- Go here when: you need original pieces you can clean up, rebuild, or use as a pattern.
- Watch for: bent frames, pitted chrome, cracked lenses, missing mounting rings, and hidden rot.
- Pro move: bring measurements and a small tool kit so you don’t “guess” your way into buying junk.
Salvage yard math: the part might be cheap, but the time isn’t. Go in with a list so the day doesn’t disappear into a rusty scavenger hunt.
2) Rallies, Swap Meets, and Vintage Trailer Events (Best for Random Gold)
If you’ve ever stumbled across “the exact thing” you needed by accident, it probably happened at a swap meet. These events are perfect for knobs, trim pieces, hardware, lights, and oddball items people kept in a bin for years.
- Go here when: you’re restoring slowly and want authentic pieces without paying “rare part” pricing online.
- Watch for: mismatched sets, missing hardware, or parts that look right but mount differently.
- Pro move: bring a reference photo album on your phone so you can compare on the spot.
Bonus: talk to people. The vintage community is small, and half the best leads come from someone saying, “Oh, I’ve got one of those in my garage…”
3) Online Marketplaces (Good for Finds, Bad for Guessing)
Marketplaces can be great for discontinued or original pieces, but the risk is always the same: listings that don’t include measurements. If the seller can’t confirm size and mounting, assume you’re gambling.
- Go here when: you’re hunting for something discontinued or you need an original replacement.
- Watch for: blurry photos, “universal fit” claims, and sellers who can’t answer basic fit questions.
- Pro move: ask for measurements and a photo of the mounting side before you buy.
If you’re ordering online, your best friend is a seller who answers questions like a normal person, not a copy/paste machine.
Canadian sourcing note: If you’re based in Canada and prefer working with a physical RV parts supplier, Young Farts RV Parts is another name that comes up often. They’re a long-standing brick-and-mortar retailer with a solid reputation for service, and can be a practical option when you need general RV components quickly or want in-person support.
That said, when it comes to period-correct vintage restoration parts where fit, finish, and historical accuracy matter, specialist suppliers tend to be the better path.
4) Modern RV Retailers (Fine for Function, Often Wrong for Looks)
Sometimes you need a working part today and you’re okay with a modern look. That’s where general RV retailers shine. Just don’t expect period-correct aesthetics without extra work.
- Go here when: you need function fast (seals, generic latches, plumbing, electrical).
- Watch for: “fits most” parts that don’t match vintage openings or trim profiles.
- Pro move: use these for hidden systems, and save specialist suppliers for visible exterior/interior features.
A modern replacement can be the right choice in the right spot. Just don’t put the wrong-looking thing right in the middle of the trailer’s face.
5) Specialist Vintage Suppliers (Best Balance of Fit + Vintage Look)
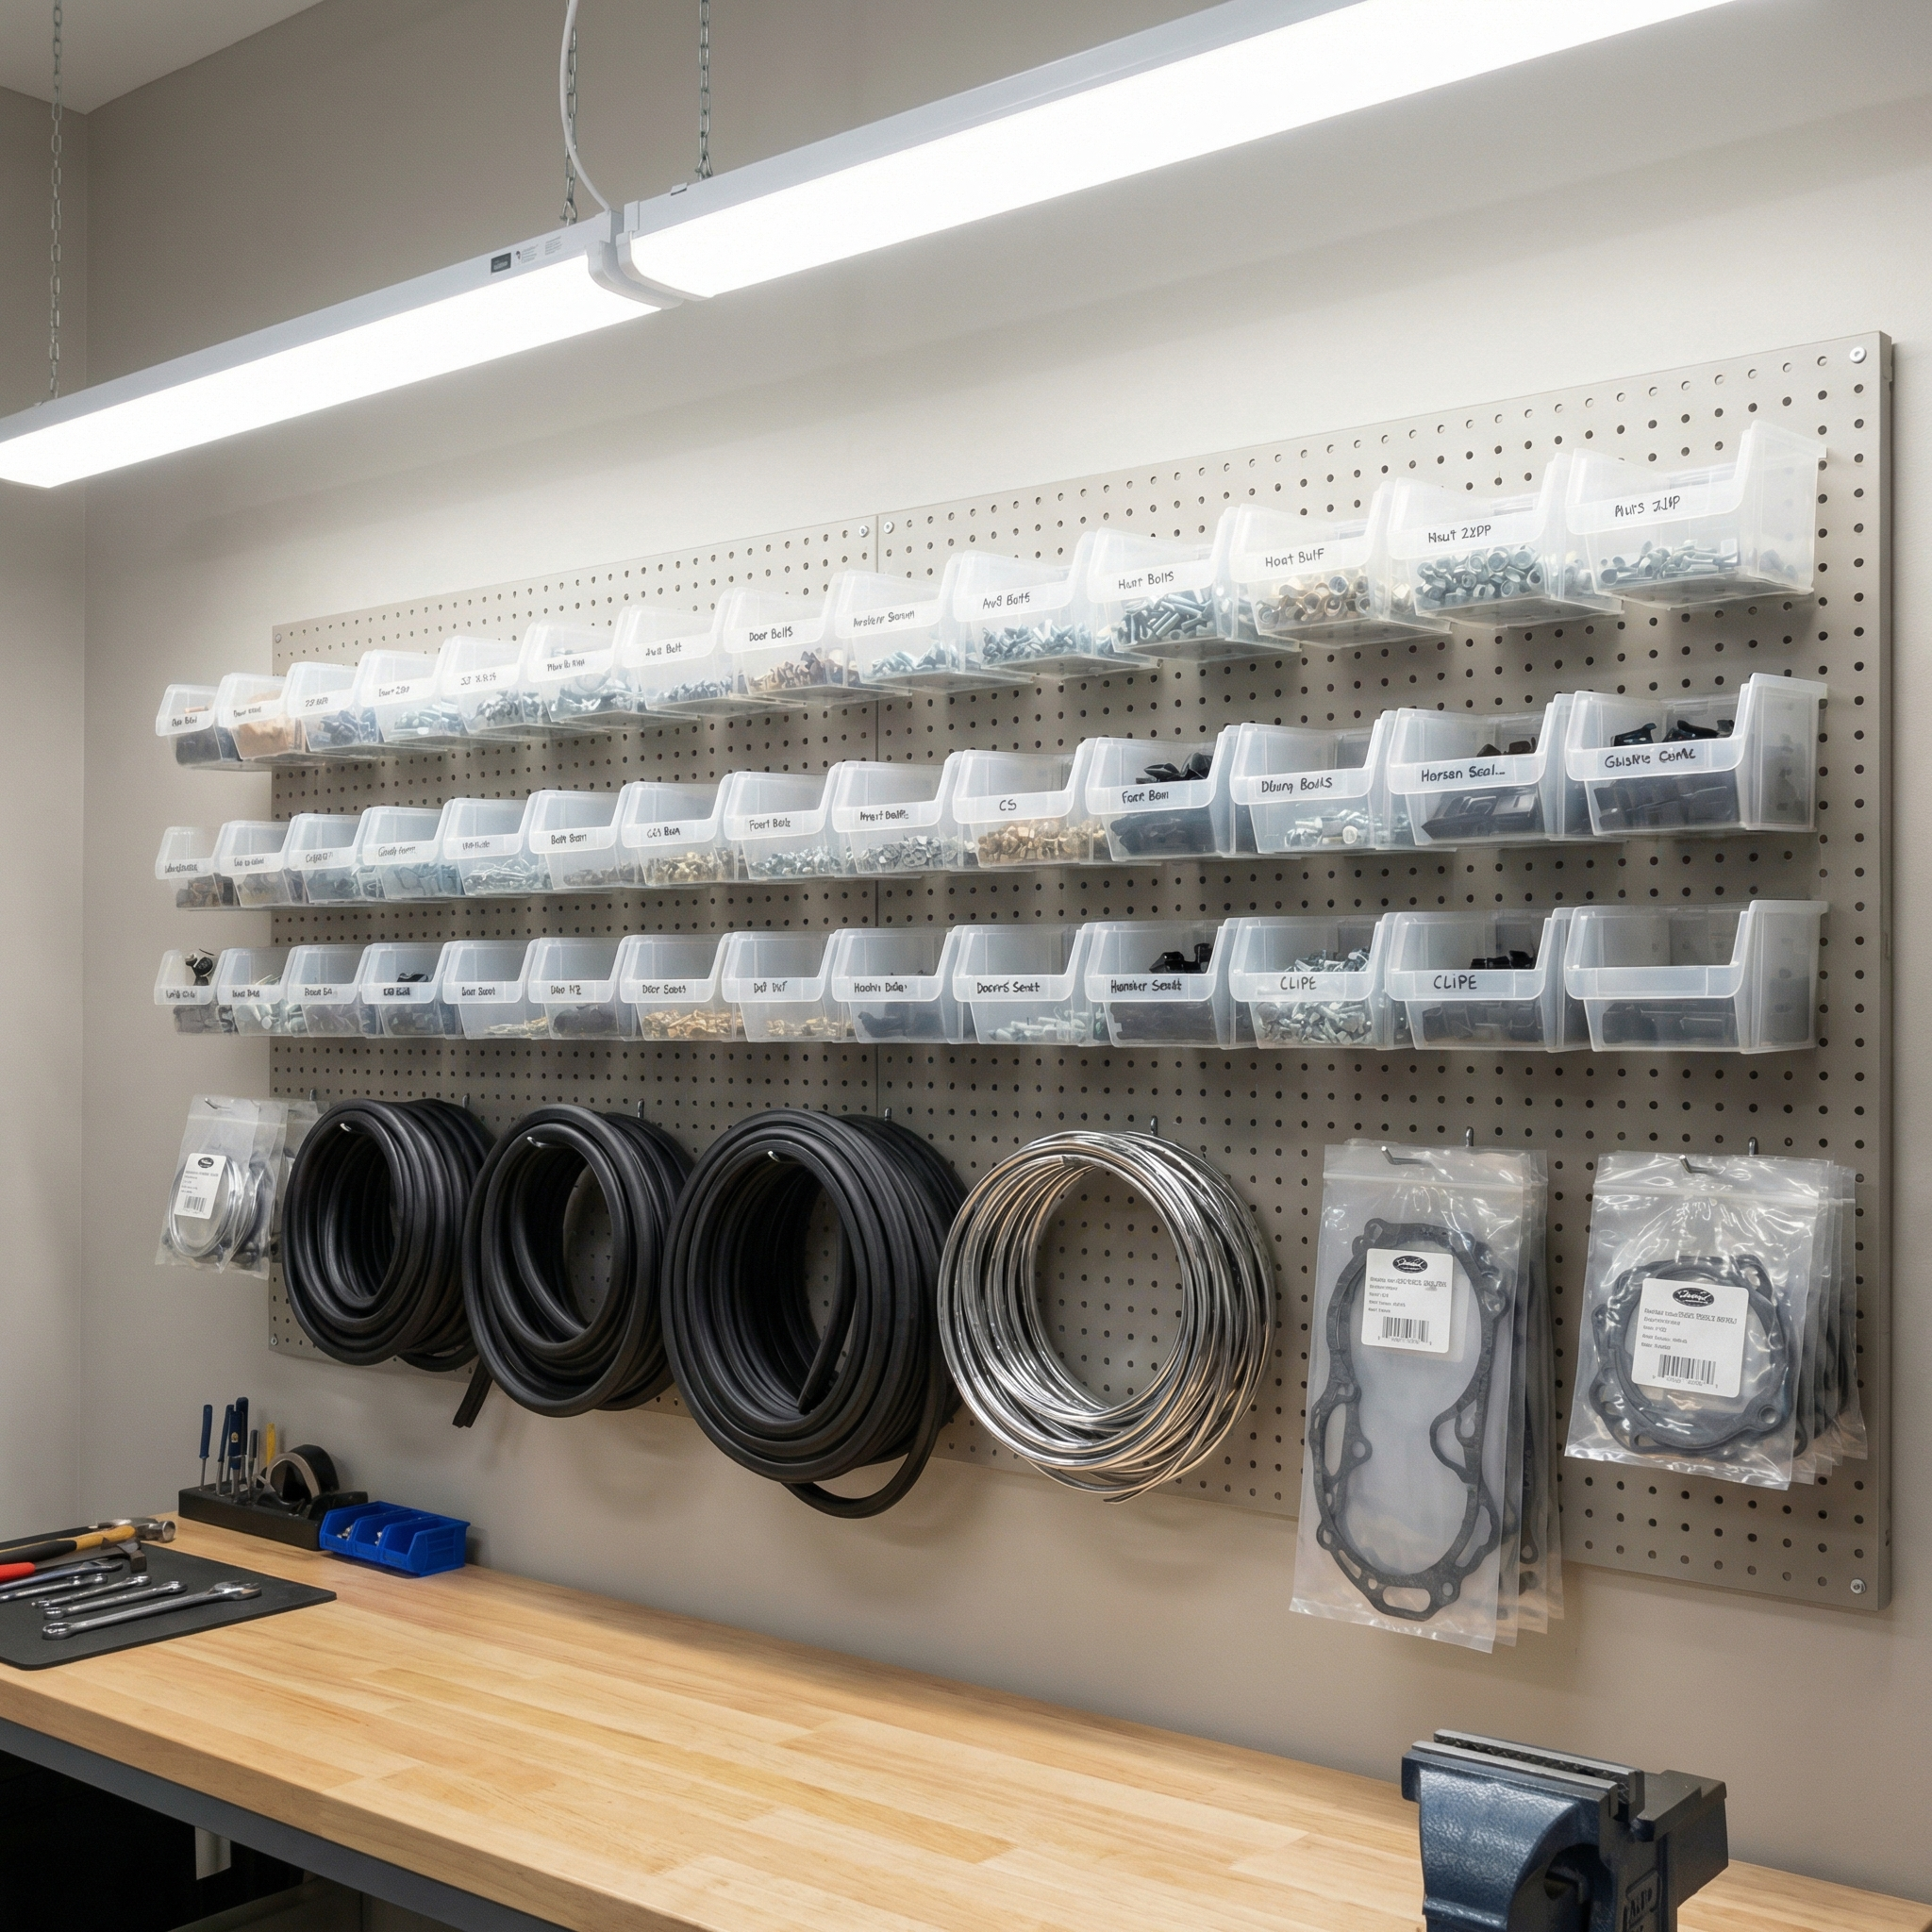
This is the category that saves your sanity when you’re trying to keep the trailer looking right. Specialist suppliers focus on vintage restoration parts that are made to match classic trailers, and that usually means better odds of correct fit, correct style, and the right little pieces that make installs easier.
- Go here when: you want “period-correct” or “looks right” without hunting for weeks.
- Watch for: lead times on custom items (awnings, specialty doors, some window parts).
- Pro move: if the part keeps water out, don’t cheap out. Seals, windows, and trim deserve the good stuff.
This is also where you stop wasting weekends searching for a trim profile that “looks close” and just get something that actually belongs.
The Measuring Step That Prevents Leaks
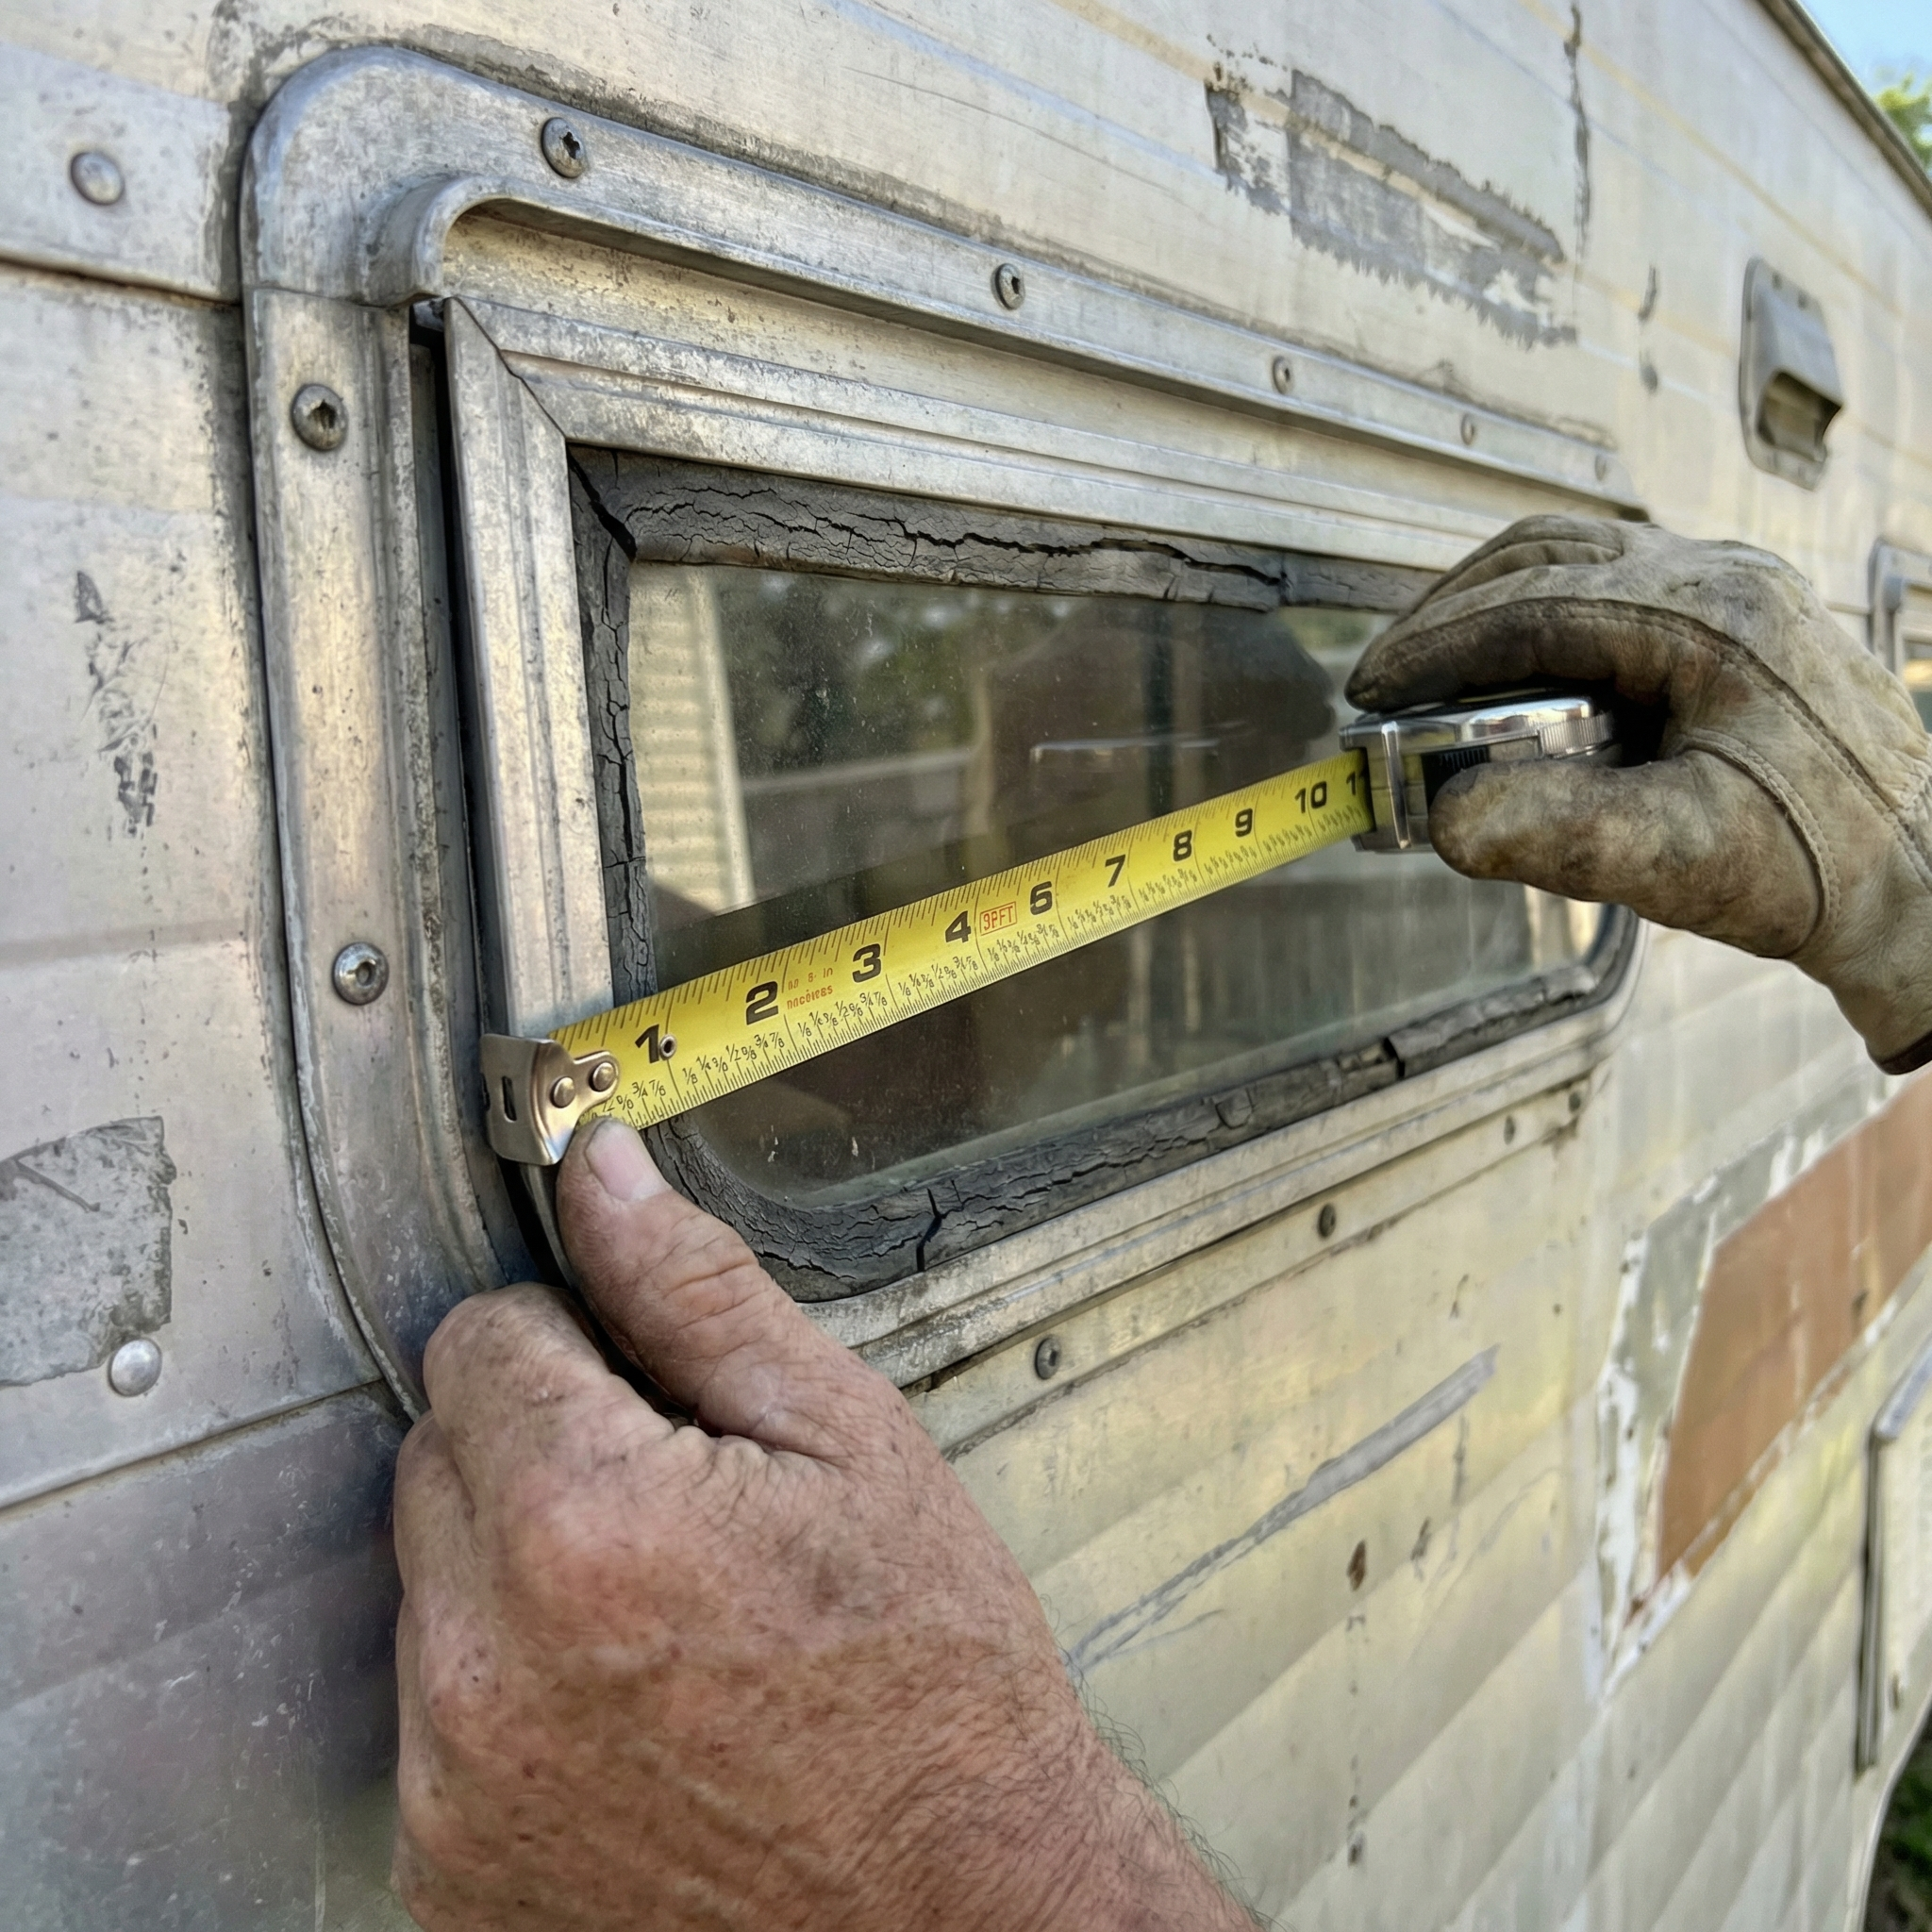
Most restoration pain starts with windows, doors, and seals. If you only do one thing carefully, do this. Vintage trailers can be out of square and old openings can “relax” over time, which means your measurements need to be real, not hopeful.
- Measure the opening top, middle, bottom. Use the smallest measurement.
- Measure height left, center, right. Use the smallest measurement.
- Check depth if you’re mounting inside a frame or track.
- Confirm mounting style (flange, clamp ring, track, screw points).
- Take a photo of the part’s mounting side before removing it if possible.
The “almost fits” part is the one that lets water in. Water doesn’t need a big gap. It needs one stupid gap.
A Quick Reality Check on “Restoration Priorities”
If you’re new to vintage trailers, here’s the order I like to think in. It keeps you from rebuilding pretty stuff while the trailer is still quietly trying to rot itself from the inside out.
- 1) Keep water out: windows, seals, roof penetrations, trim, door fit.
- 2) Keep it rolling safely: tires, bearings, brakes, suspension, lighting.
- 3) Make it livable: interior layout, storage, beds, ventilation.
- 4) Make it pretty: finishes, paint, period-correct details, decor.
Restoration feels slower when you do it this way, but it saves you from doing the same job twice.
When Vintage Trailer Supply Makes Sense
If you’re restoring a classic trailer and you care about keeping it authentic, a specialist supplier is usually the cleanest route for visible components: trim, windows, doors, awnings, lighting, and classic hardware.
- Use a specialist when: you want period-correct style without the marketplace guessing game.
- It’s especially worth it for: exterior trim, vintage-style awnings, seals, doors, and hardware that’s “always the wrong size” elsewhere.
- Plan ahead: some custom items can have lead times, so order early in the build.
This is the difference between “it functions” and “it looks like it belongs.”
Want a Dedicated Vintage Restoration Supplier?
I put together a focused brand page on Vintage Trailer Supply with a clean breakdown of what they’re best for, plus a few standout picks for classic restorations.
Go to the Vintage Trailer Supply Brand PageFinal Thoughts
The best vintage restorations aren’t the ones with the most money thrown at them. They’re the ones where the owner stayed consistent: parts that fit, materials that last, and style choices that don’t fight the trailer’s original personality.
If you’re mid-build right now, you’re probably juggling a dozen little decisions at once. That’s normal. Just keep your process tight: measure, verify mounting, then buy. Your future self will thank you when you’re camping instead of fixing leaks.


.jpg/:/cr=t:5.56%25,l:0%25,w:100%25,h:88.89%25/rs=w:1240,h:620,cg:true)


Leave a Reply