

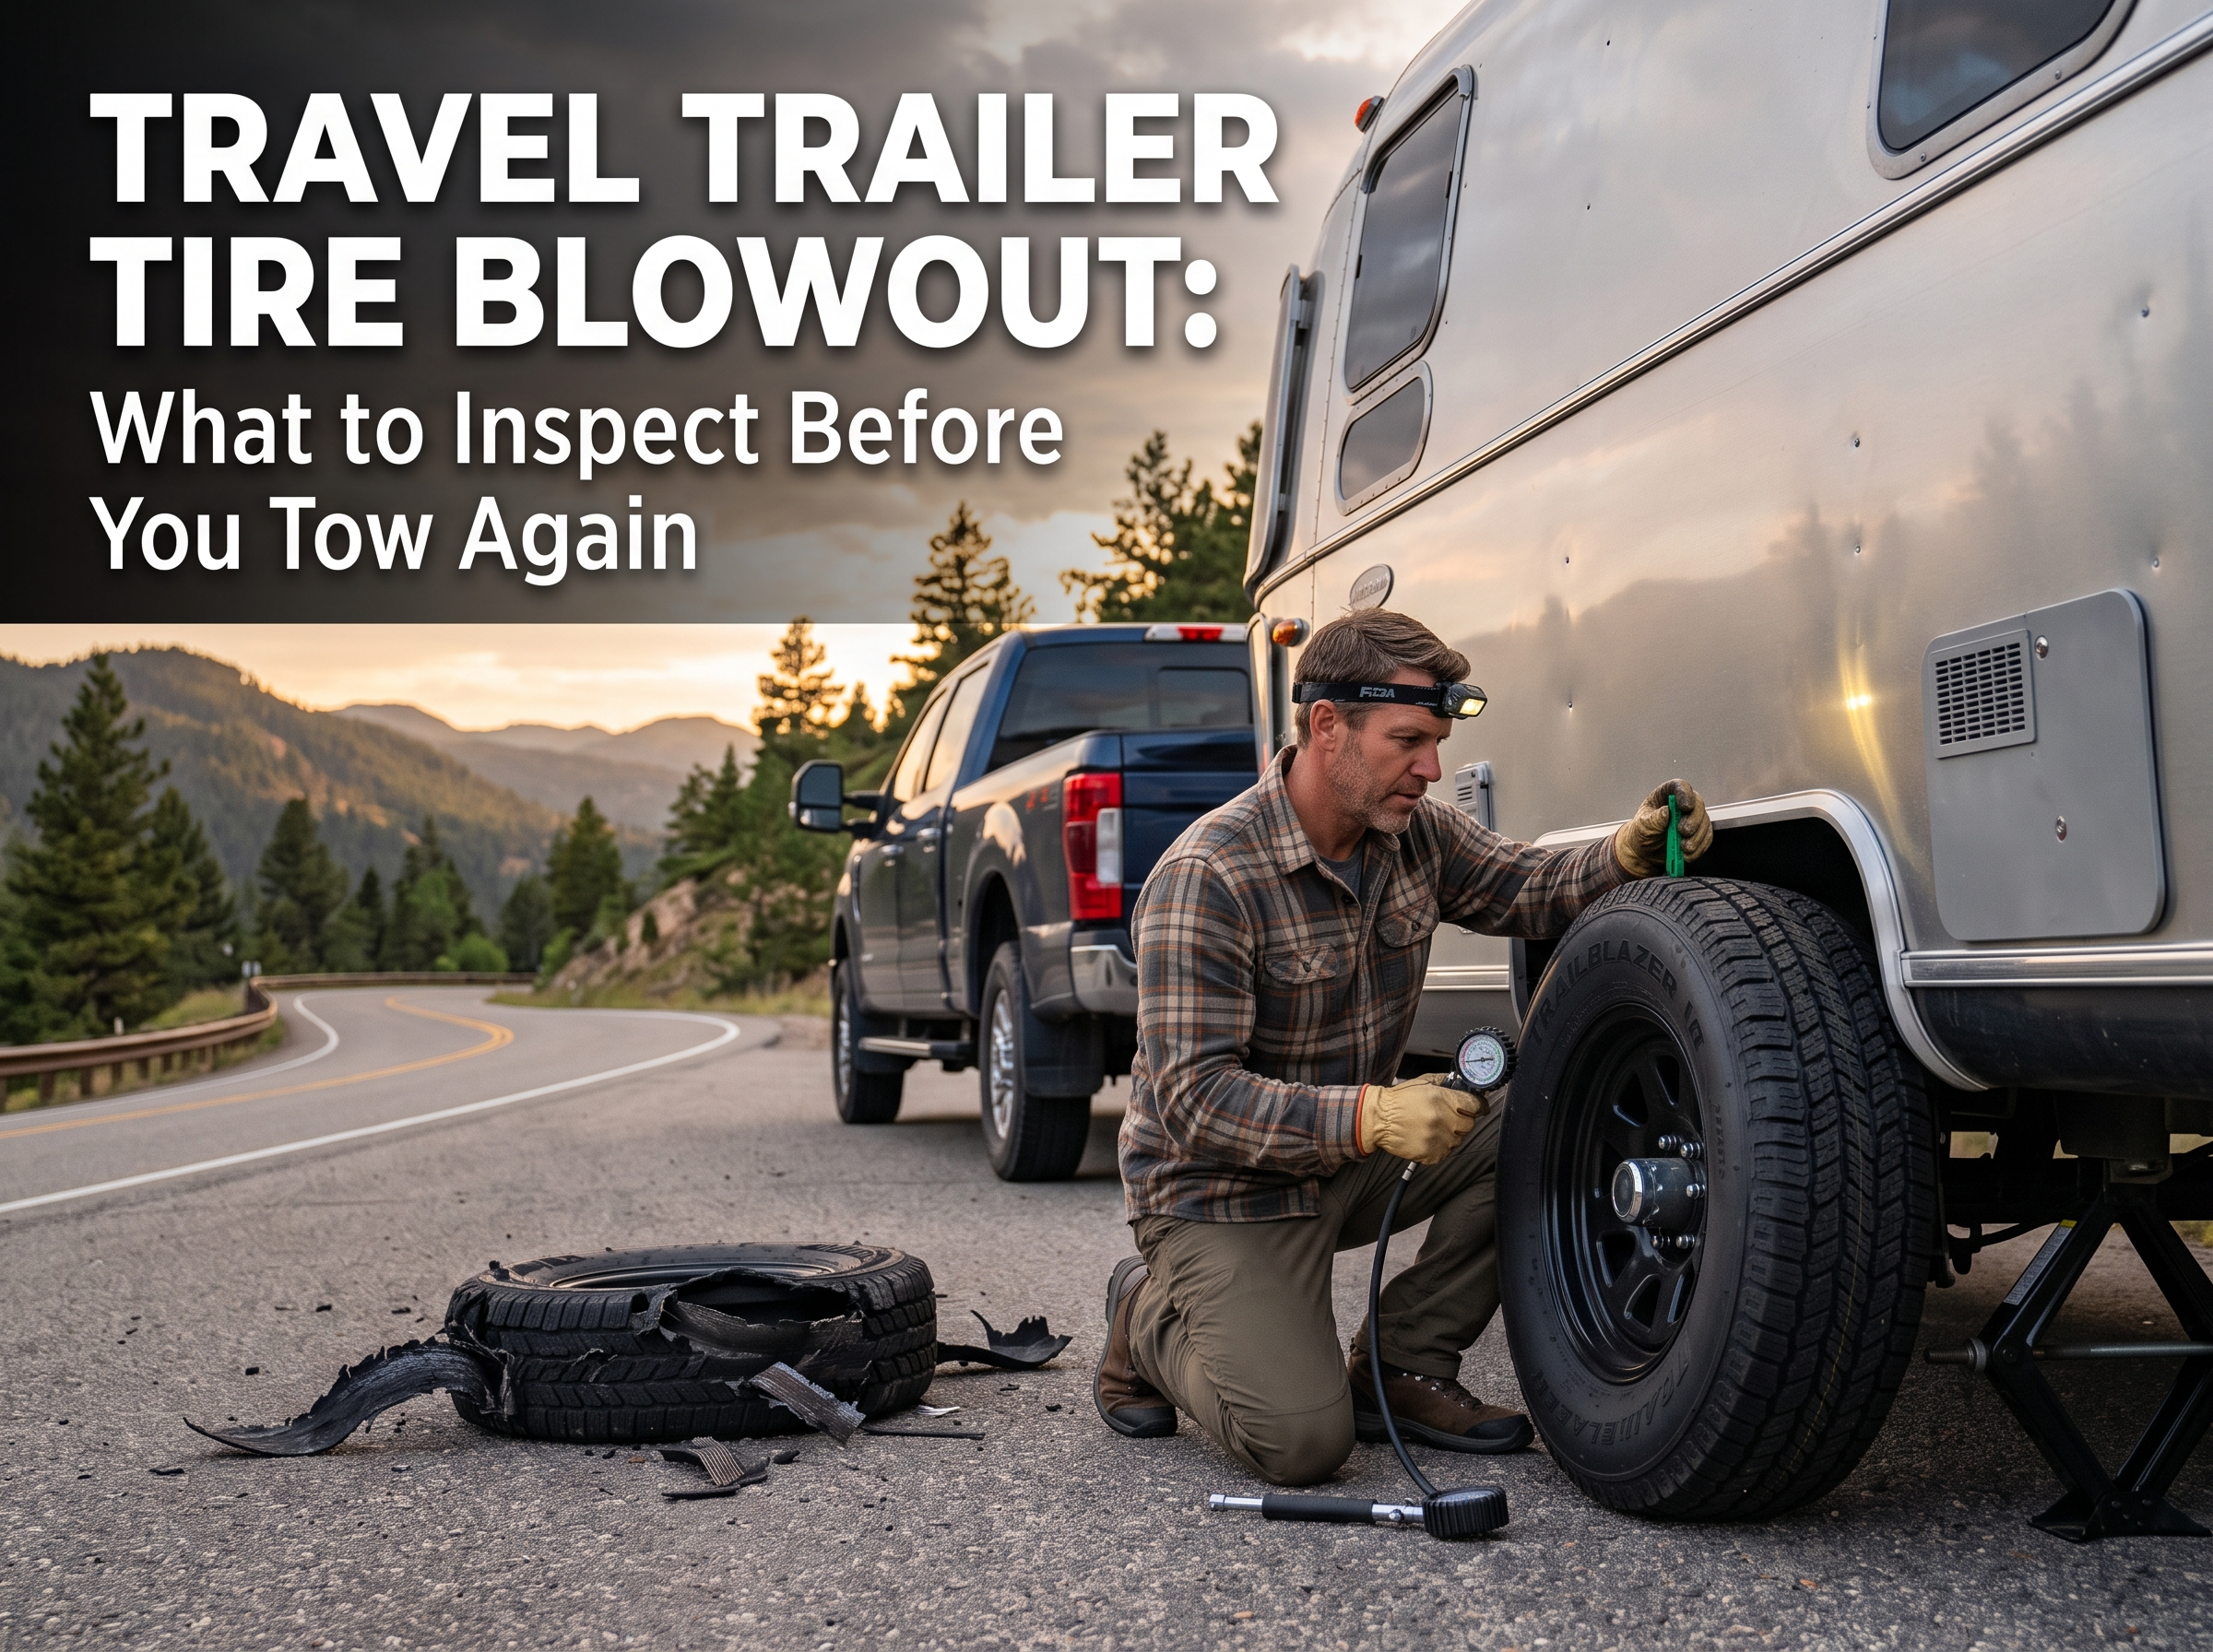
Last Updated on September 14, 2026 by Jeremy
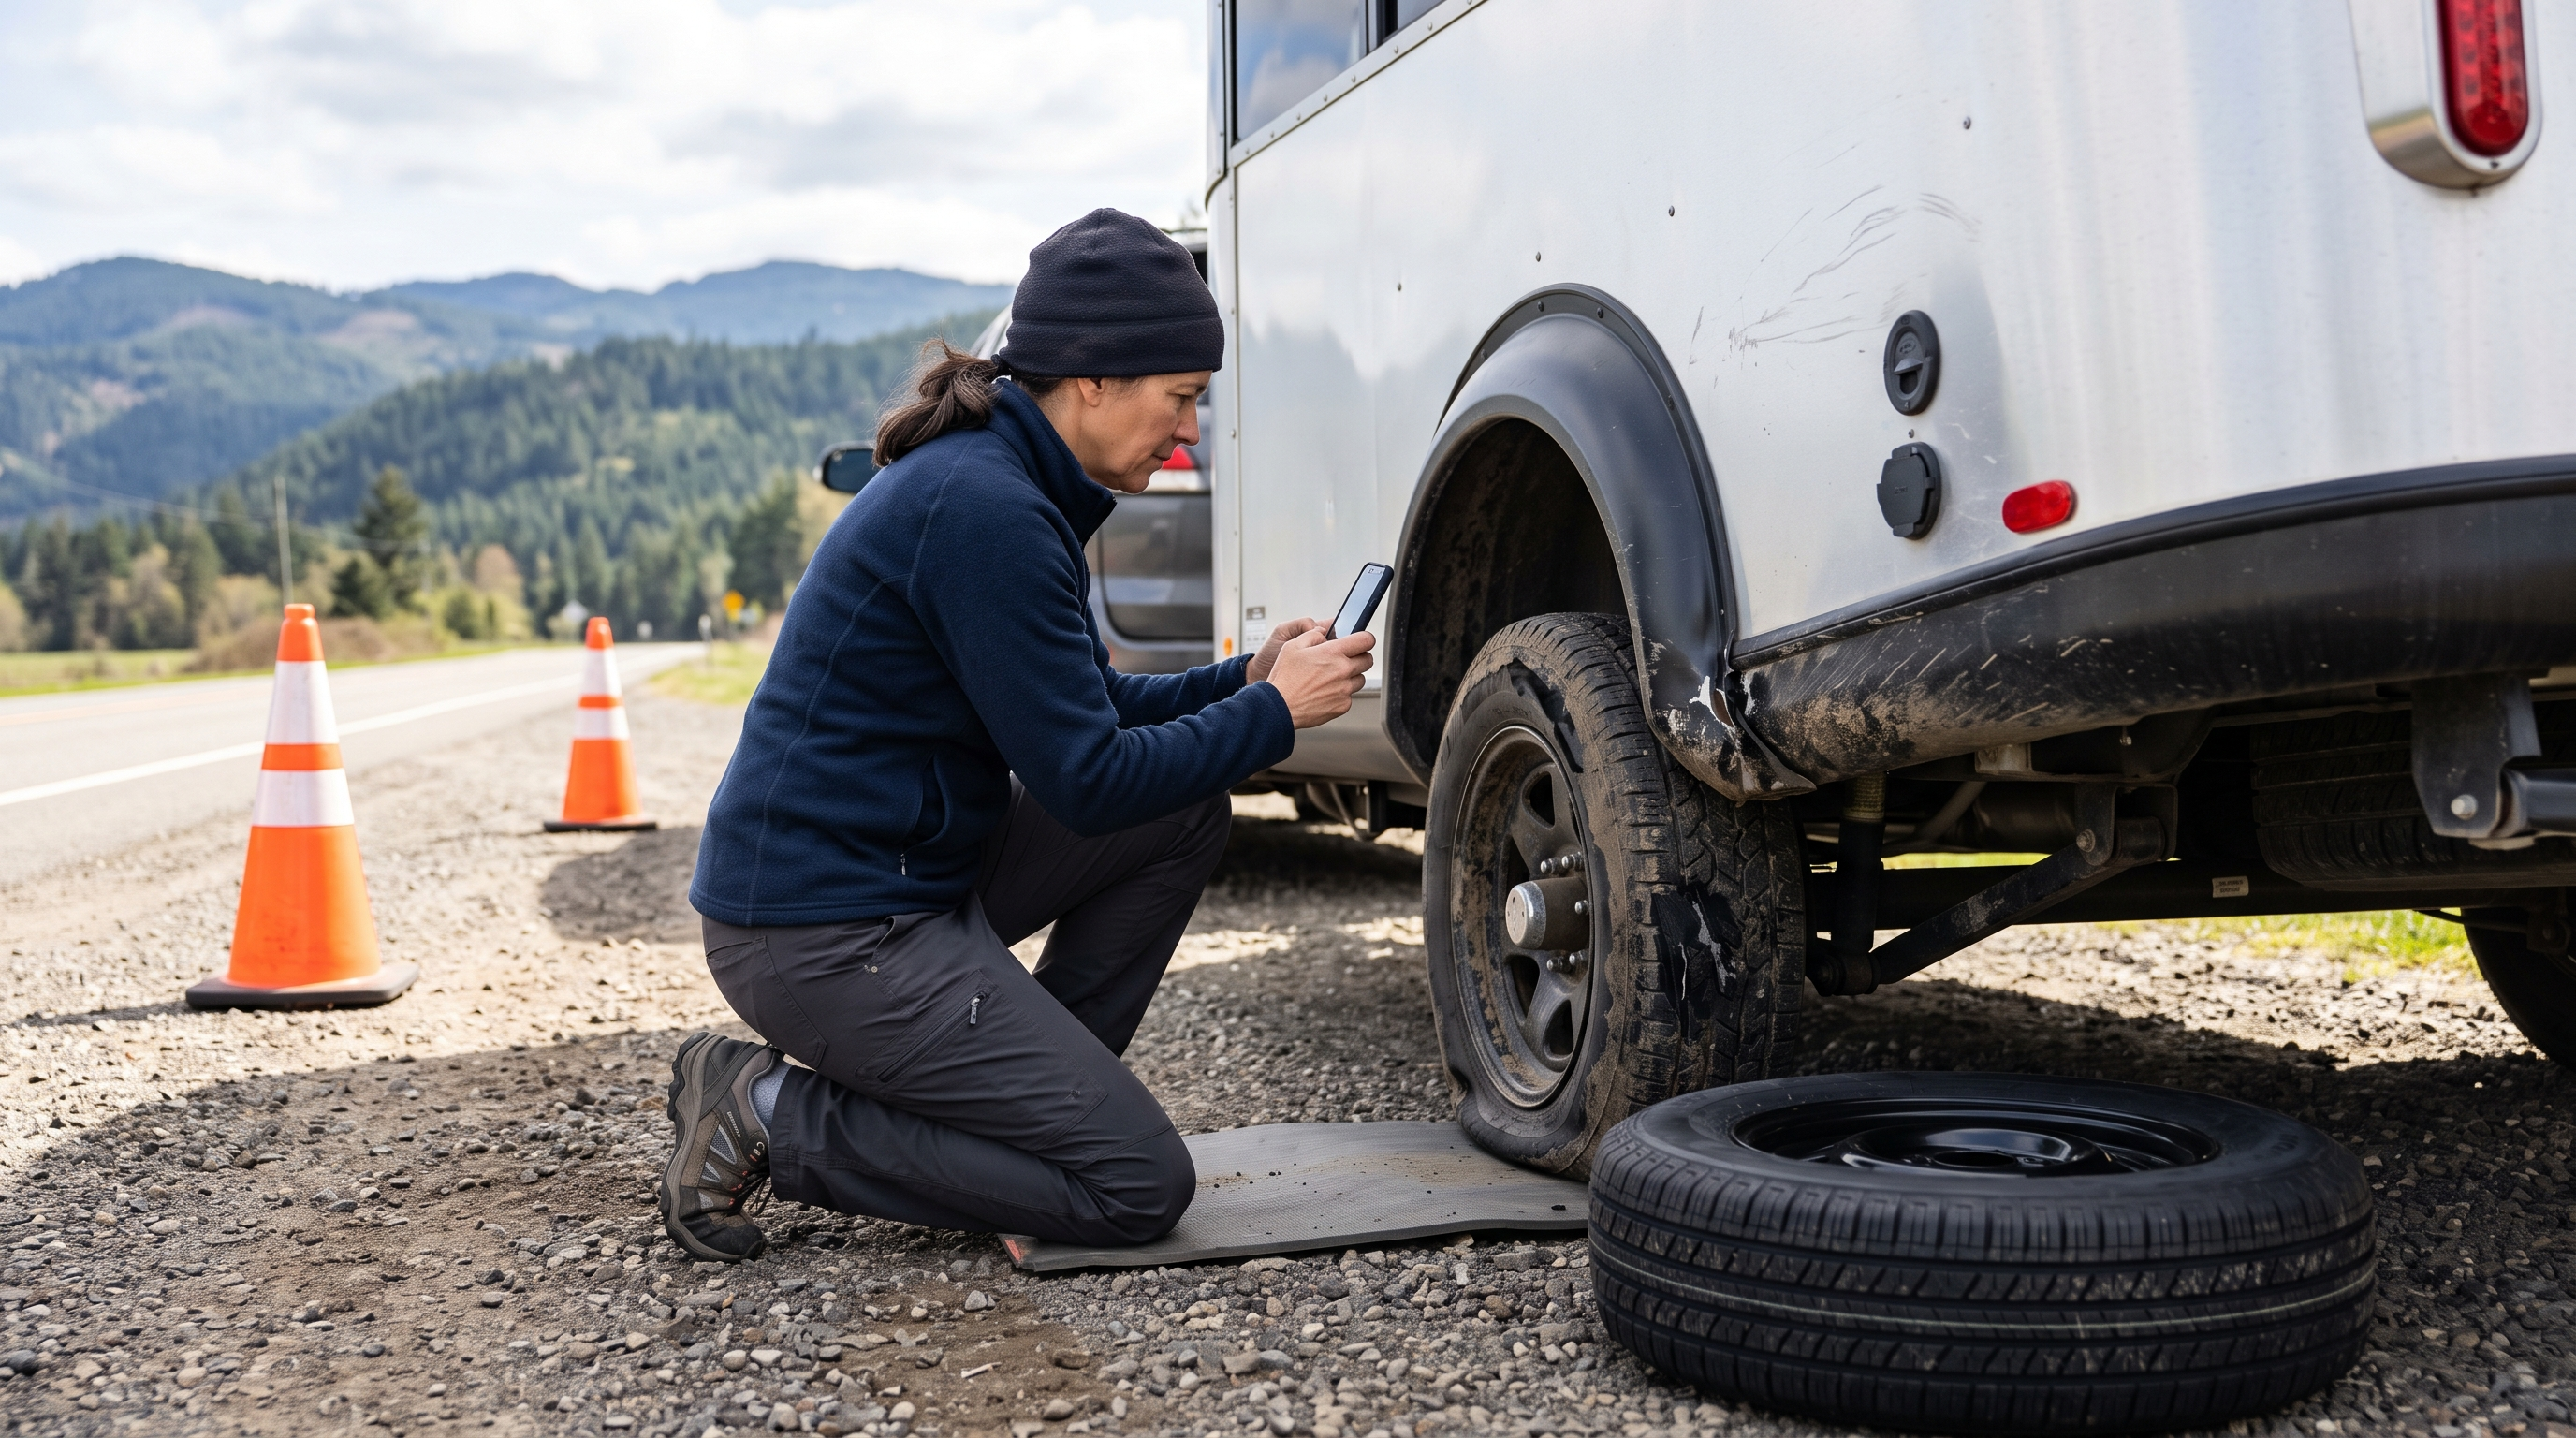
A new spare tire solves only the most visible part of a travel trailer blowout. The failed tire may also have struck the wheel well, torn wiring, damaged a brake assembly or put enough force into the running gear to make towing unsafe.
Before pulling back onto the highway, inspect the trailer as a complete system—not just as a wheel that needed changing. If there is damaged suspension, a questionable hub, torn brake wiring, leaking plumbing or propane components, tire-to-body contact or anything you cannot confidently identify, the correct next step is roadside service rather than another few kilometres of hoping.
If the wheel still needs to be changed, begin with our step-by-step travel trailer tire-changing guide. This article starts after the trailer is safely supported and the failed tire has been removed.
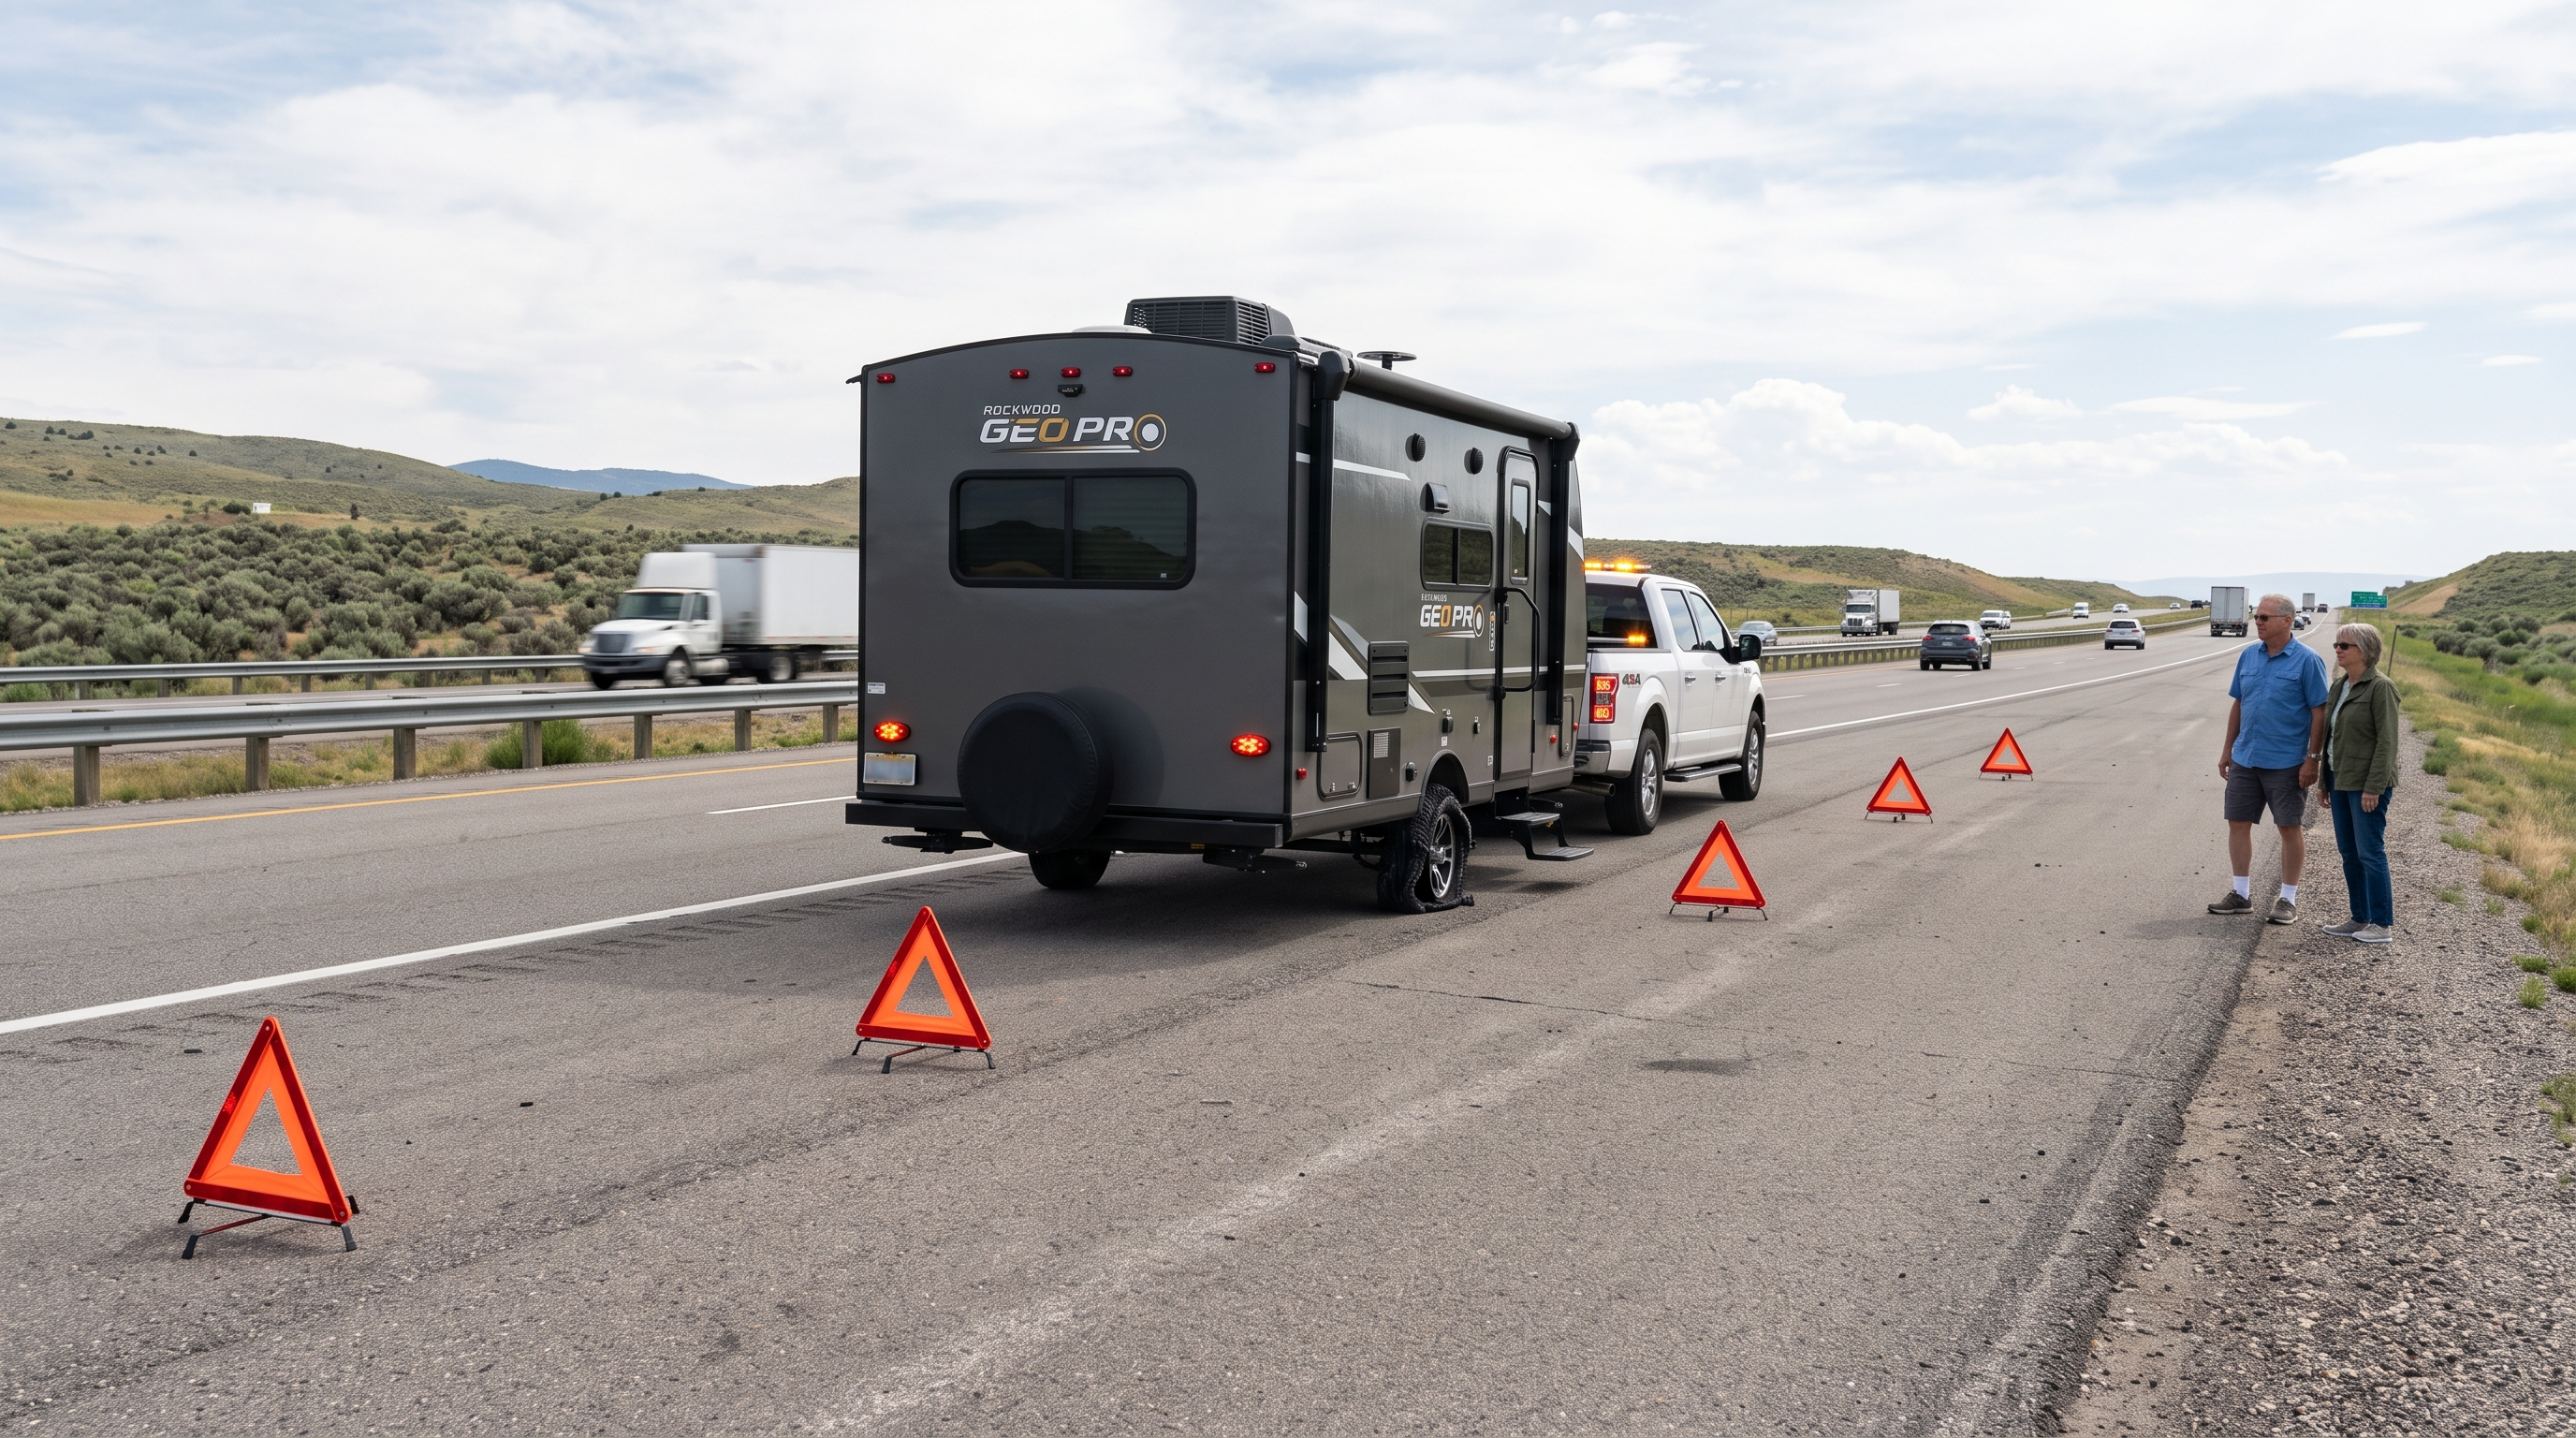
First Decide Whether the Trailer Is Safe to Inspect Roadside
Traffic is a greater immediate danger than the trailer. Move occupants well away from the traffic side whenever possible, use hazard lights and warning devices, and call roadside assistance if the shoulder is narrow, soft, sloped or exposed to fast traffic.
Never crawl underneath a trailer supported only by a roadside jack. Follow the RV manufacturer’s approved lift and support points. Dexter specifically warns against lifting or supporting a trailer by the axle or suspension system.
Document the Failure Before Cleaning It Up
A few careful photographs can help a tire professional investigate the cause and may support a warranty or insurance conversation. Photograph:
- The tread and both sidewalls of the failed tire.
- The tire identification and date-code area if it remains readable.
- The wheel, lug seats, studs and nuts.
- The wheel well, fender skirt and lower sidewall of the trailer.
- The underbelly and any loose wiring, hose, insulation or body material.
- The location, approximate speed, road condition and any TPMS warning.
Keep the failed tire and damaged parts until the tire dealer, manufacturer or insurer confirms they are no longer needed. Do not assume that the shredded appearance proves why it failed; much of the visible destruction can occur after the initial loss of pressure.
1. Inspect the Wheel, Studs and Lug-Nut Seats
Clean away loose rubber and look for a bent flange, cracks, elongated bolt holes, damaged lug seats or impact marks. Check every stud for damaged threads, bending or looseness, and confirm that the nuts match the wheel’s required seat design.
A damaged wheel is not a roadside straightening project. Dexter warns against repairing or modifying a damaged wheel because even a small change can create a dangerous failure. Replace it with a wheel that matches the original bolt circle, offset, capacity and pressure rating.
2. Check the Hub and Bearing
With the trailer supported exactly as its manufacturer requires, check whether the hub rotates smoothly and whether there is abnormal looseness, grinding, binding or roughness. Look for grease around the seal or signs that heat has discoloured components.
A blowout does not automatically destroy a bearing, but an impact, dragging tire carcass or damaged wheel can transmit force into the hub. Excessive play, restricted rotation, noise, leakage or unusual heat requires professional inspection before towing.
3. Inspect the Brakes and Wiring
Shredded tread can act like a heavy whip. Check the electric-brake wires where they enter the backing plate and where they run along the axle. Look for severed insulation, stretched connectors, exposed copper, displaced clips and contact with the tire or drum.
Also inspect the backing plate, drum or rotor, magnet wiring and any hydraulic brake line fitted to the trailer. Do not continue if a brake component is loose, a line is leaking, wiring can contact a rotating part or the brake does not operate normally.
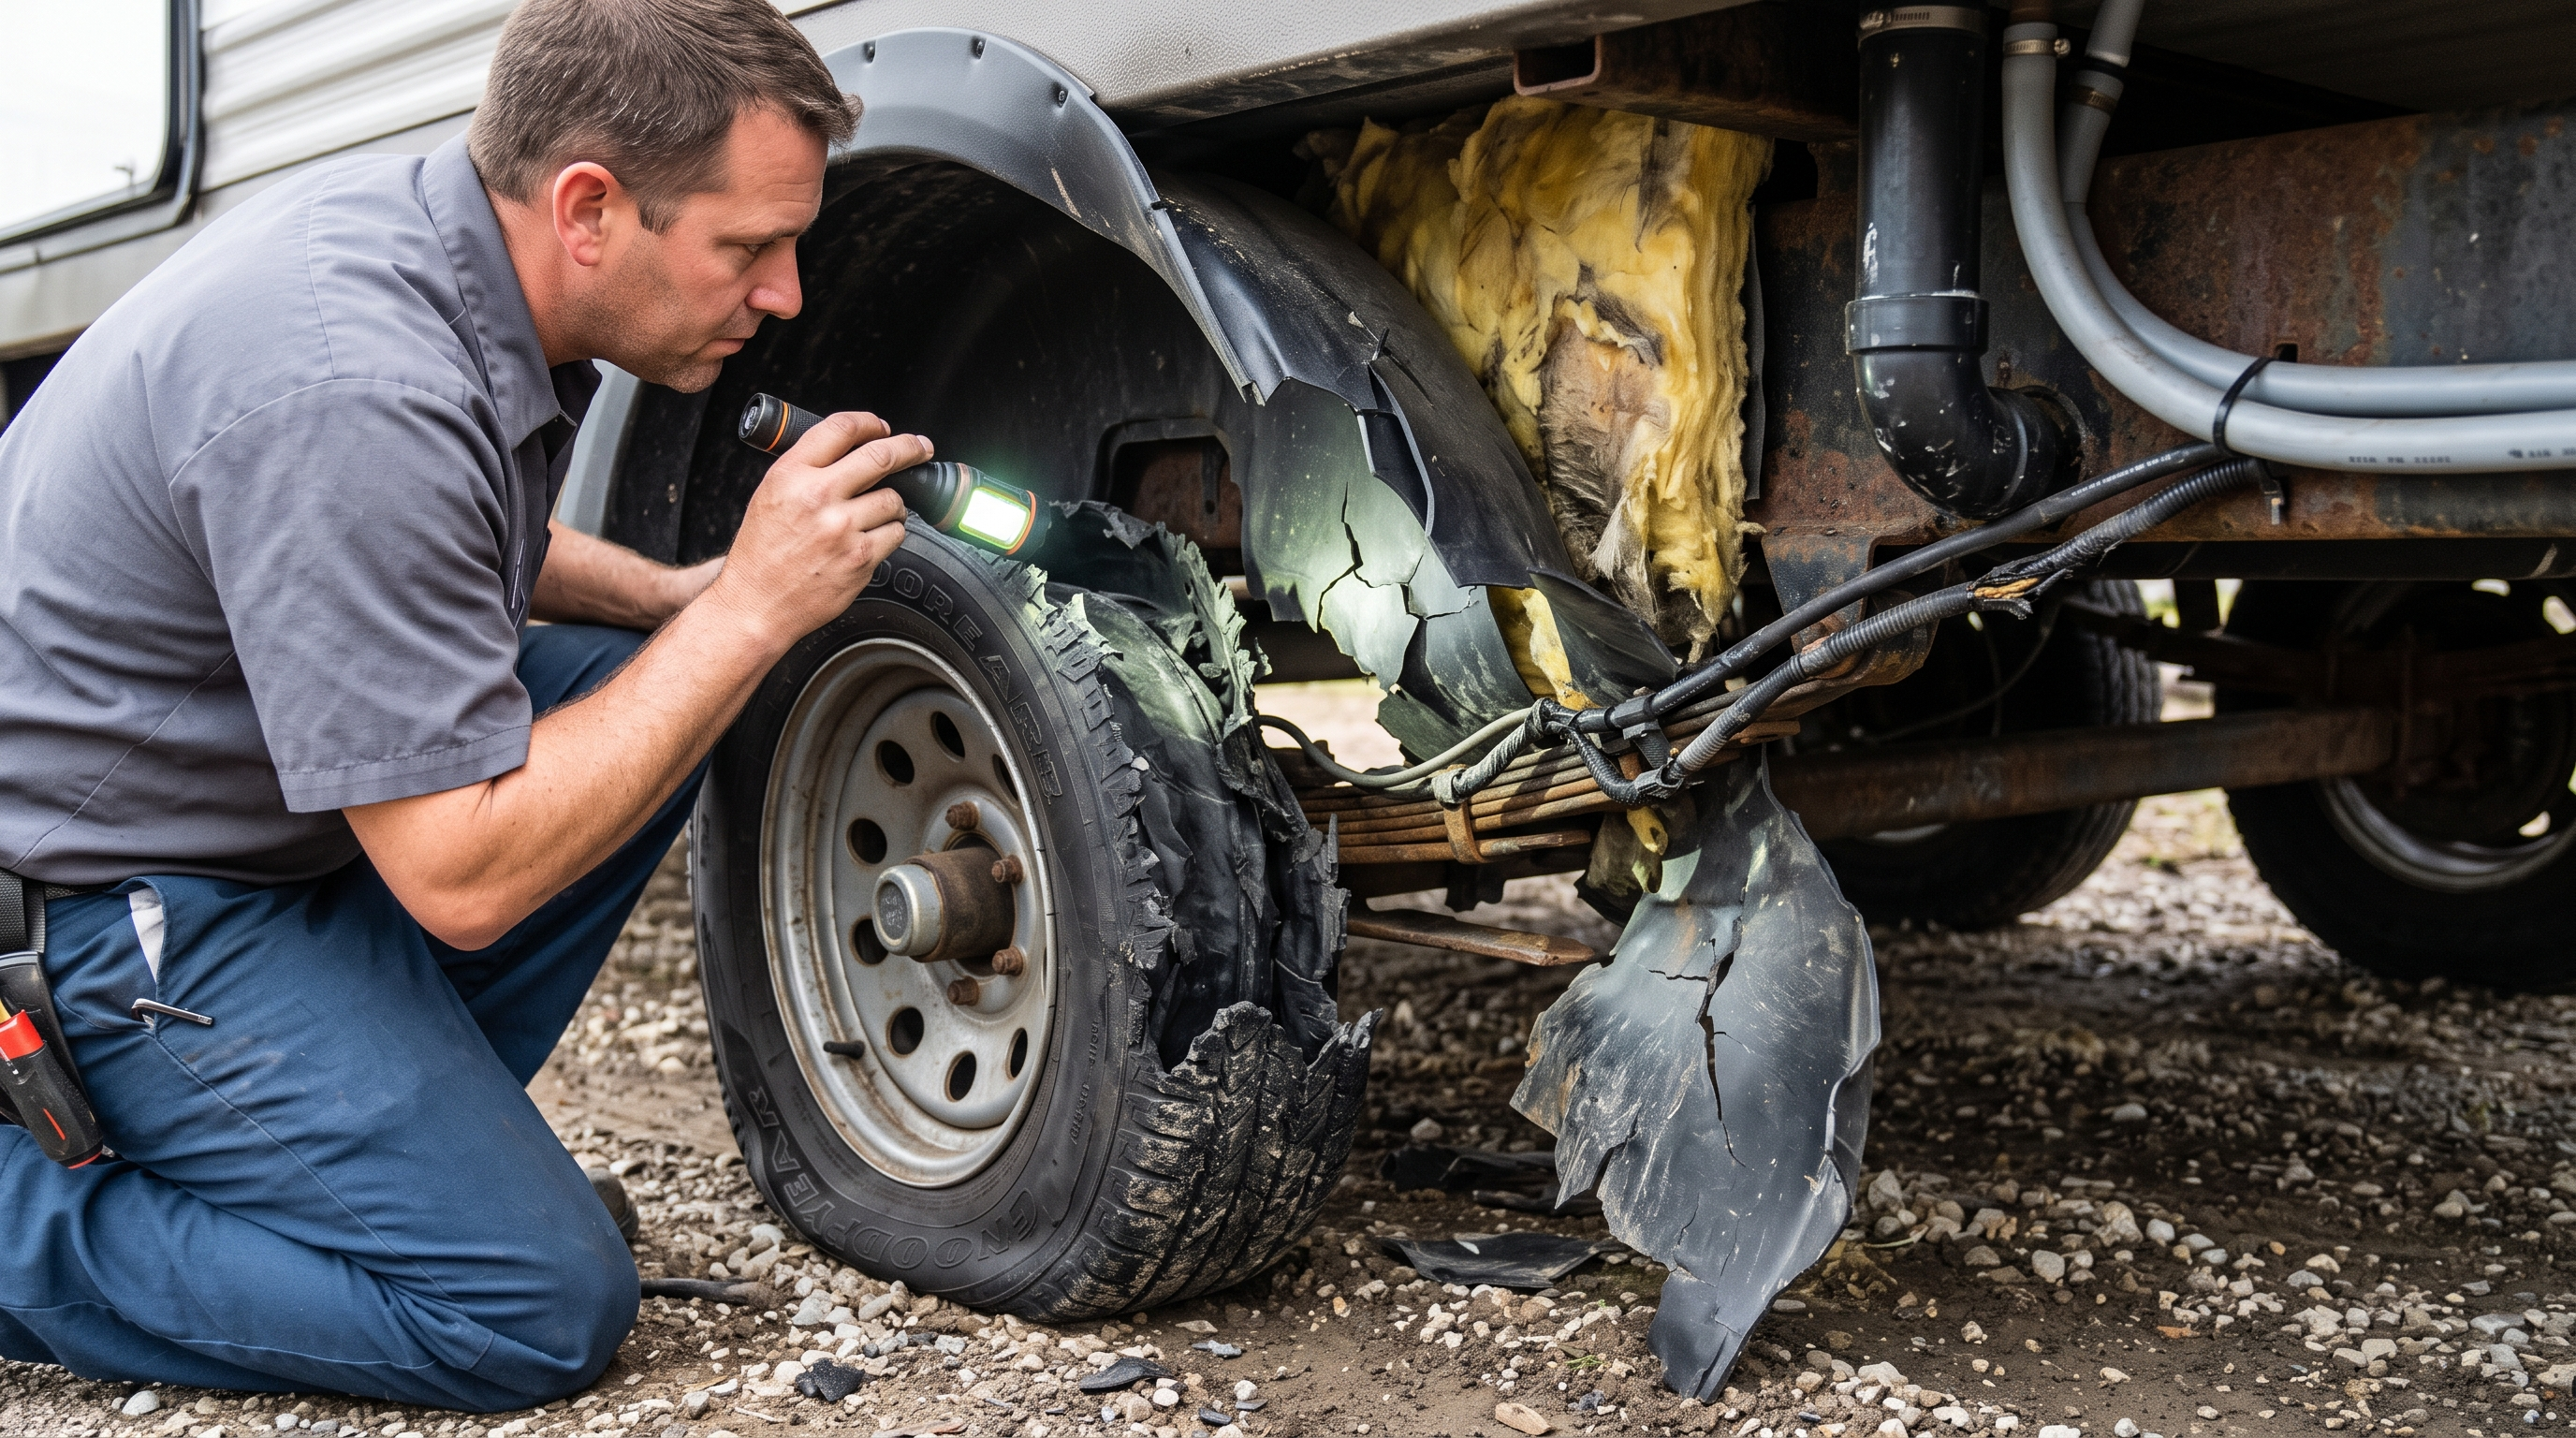
4. Inspect the Wheel Well and Nearby RV Systems
The tire may be gone, but pieces of it can damage components above and beside the wheel. Use a bright light and inspect:
- Fender skirt, wheel-well liner and floor above the tire.
- Underbelly membrane, insulation and fasteners.
- Electrical wiring and junctions.
- Freshwater, drain and waste plumbing.
- Propane piping or appliances routed near the wheel area.
- Steps, slide components, stabilizer wiring and body trim where applicable.
Loose material must not be able to drag on the road or contact the replacement tire. Any suspected propane damage is an immediate stop: keep ignition sources away, shut off the propane only if it is safe to do so and contact a qualified technician.
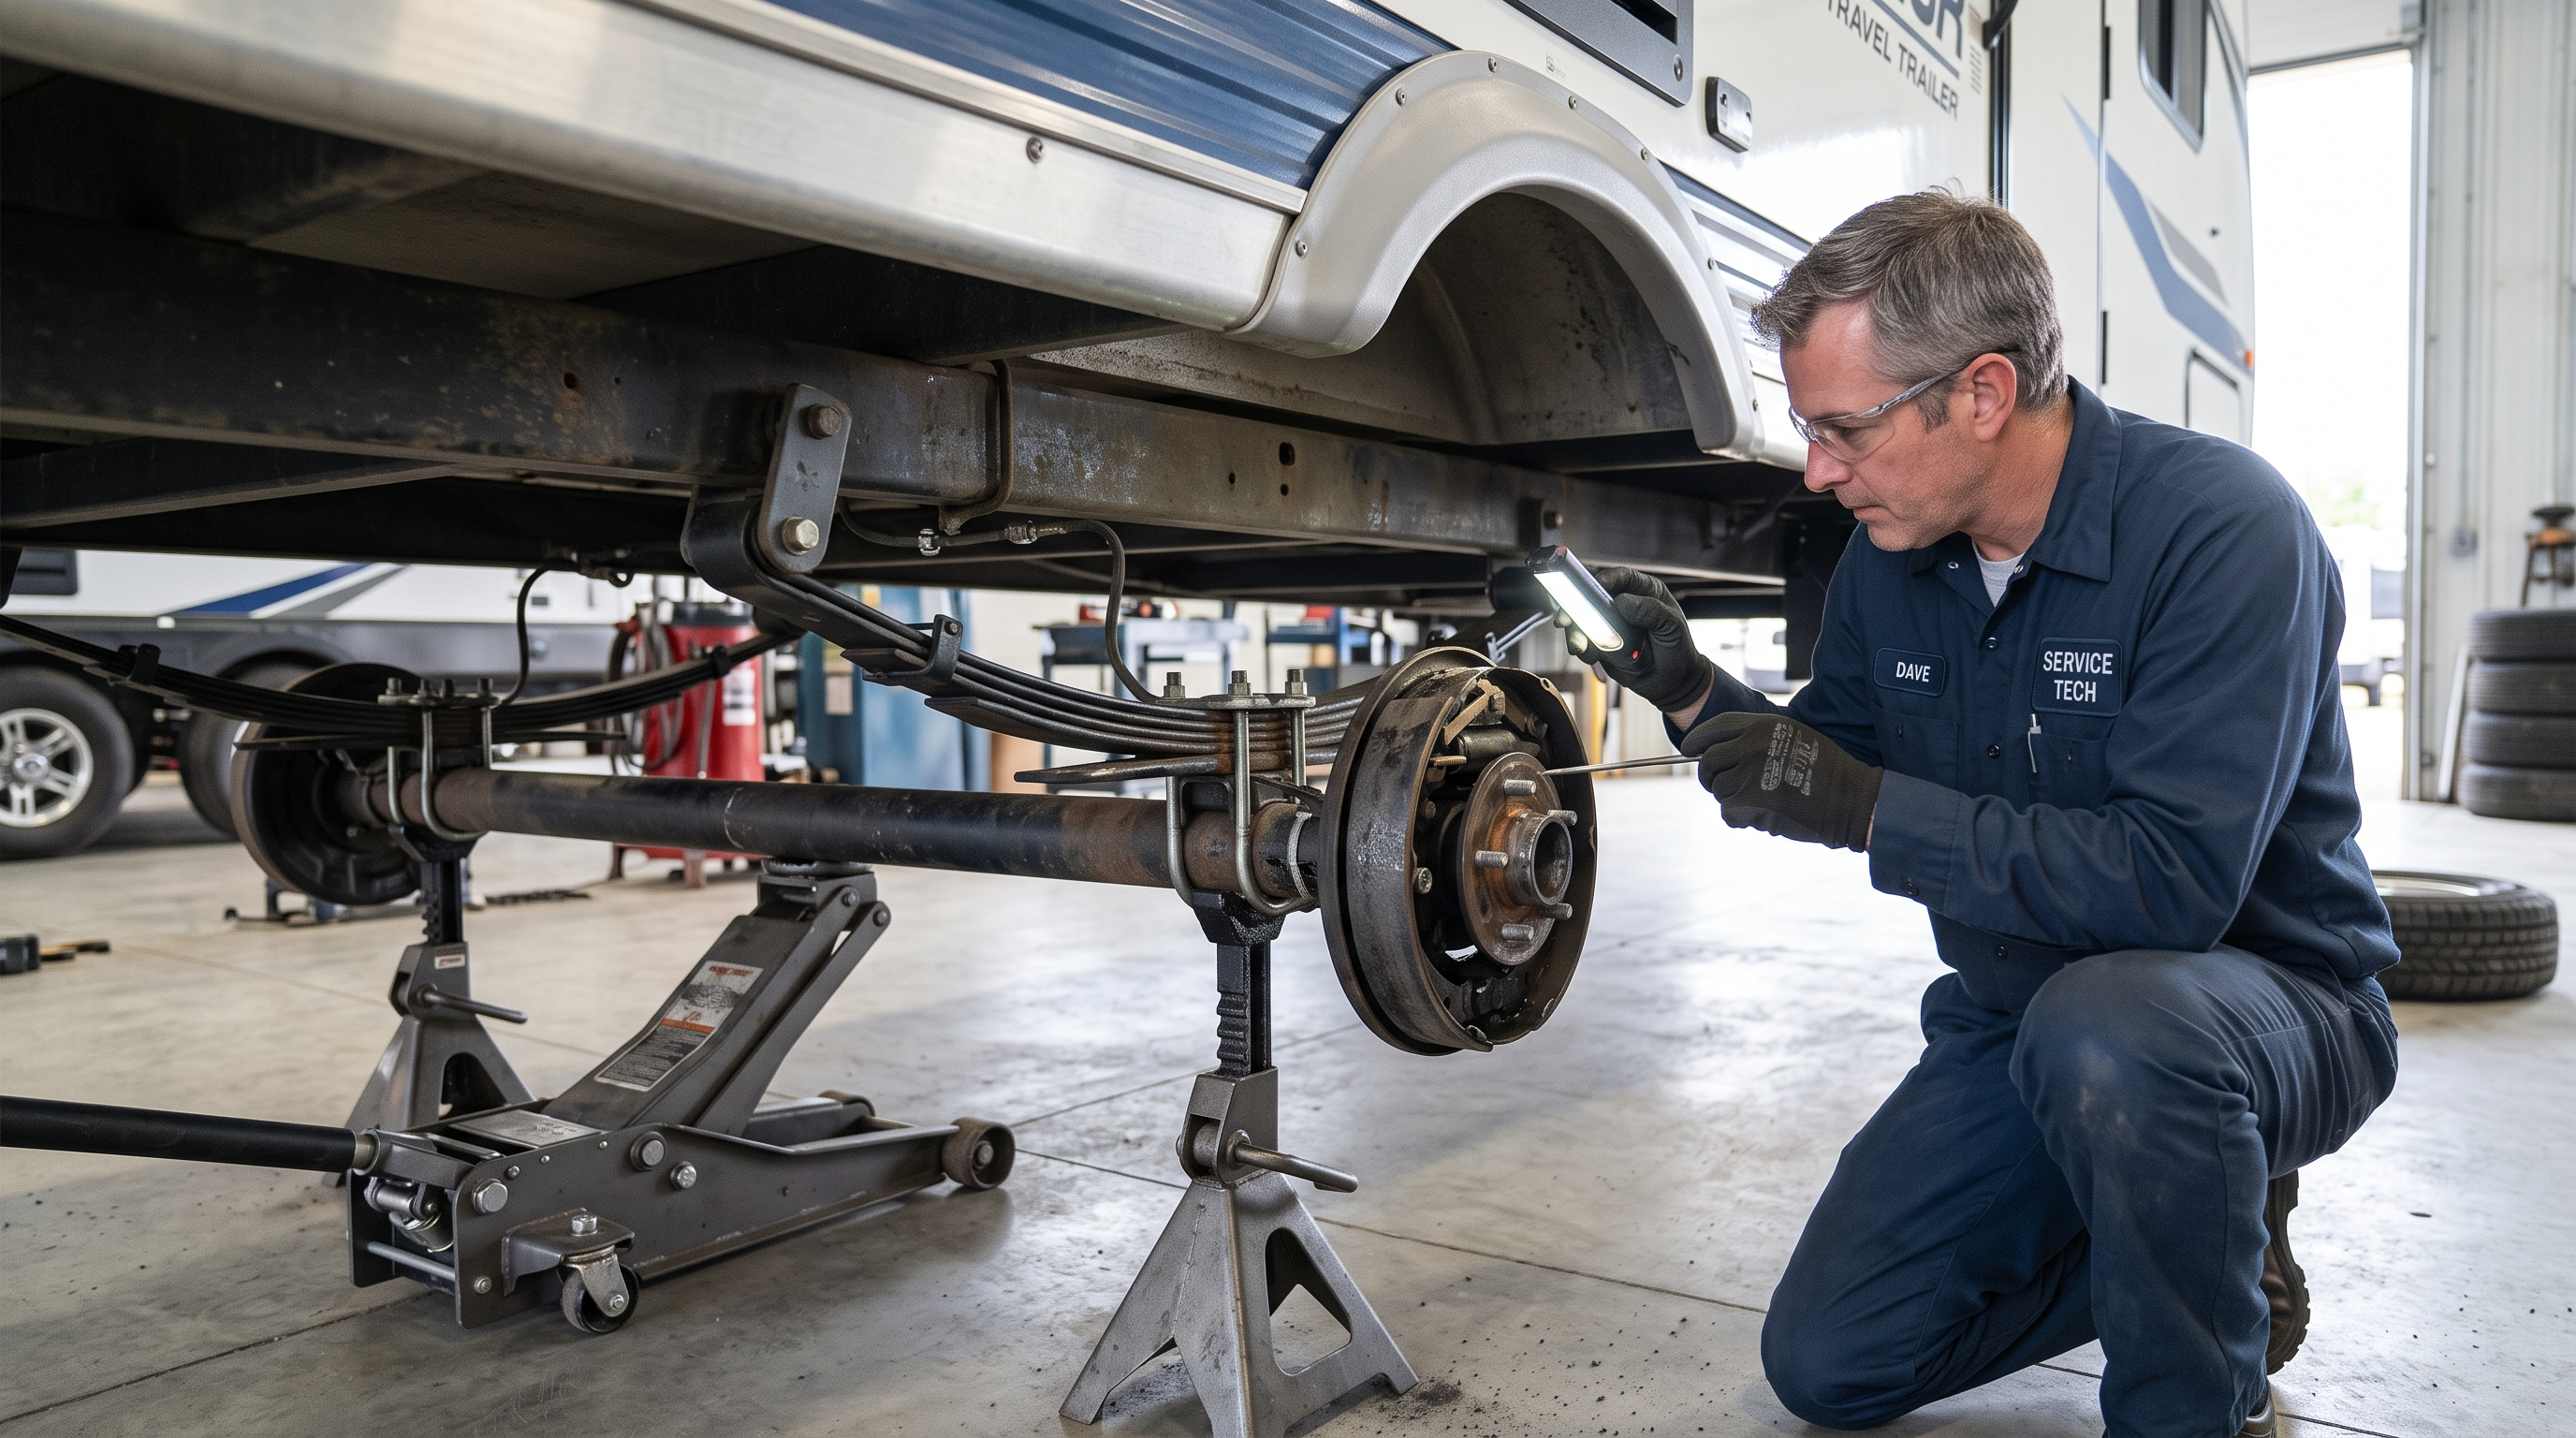
5. Inspect the Suspension, Axle and Frame Attachments
On a leaf-spring trailer, look at the springs, shackles, equalizer, hangers, wet bolts, U-bolts and tie plates. Watch for a broken leaf, shifted component, elongated hole, missing fastener or fresh metal-to-metal contact. On a torsion-axle trailer, inspect the mounting brackets, fasteners and visible torsion arms.
Compare wheel spacing and tire clearance from side to side. A wheel that sits differently, points at a different angle or has reduced clearance may indicate displaced suspension or alignment damage. A visibly bent axle or damaged frame attachment is a no-tow condition.
6. Inspect Every Remaining Tire—Including the Spare
The tire beside the failed one may have been struck by debris or temporarily carried extra load. Inspect both sidewalls, tread, valve stem and bead area for cuts, cracks, bulges, scuffing, exposed material or new deformation. Check the tires on the opposite side as well; a loading or inflation problem may not be limited to one position.
Measure pressure when the tires are cold and use the specification supplied by the trailer or tire manufacturer for the actual application. Do not automatically use a generic pressure or assume the maximum moulded on the sidewall is the trailer’s correct operating pressure. Confirm that the replacement tire and wheel meet the required size, type, load capacity and pressure rating.
A visual check cannot reveal every internal injury. If a neighbouring tire was run overloaded, hit by the failed carcass, driven while very low or now loses pressure, have it removed and inspected by a tire professional.
7. Check Weight and Distribution Before Blaming the Tire
Road debris can destroy a perfectly maintained tire, but underinflation, overloading and uneven distribution are common contributors to heat and internal damage. Check the trailer’s GVWR and each axle’s GAWR, then compare them with real scale weights rather than estimates.
Axle weight alone may still hide a heavily loaded wheel position. When practical, obtain individual wheel-position weights or use a qualified RV weighing service. Check whether cargo shifted during the incident and restore safe distribution before towing.
The RV Weight Balance Tool can help identify axle, tongue-weight and distribution concerns after the running gear itself has been confirmed safe.
Go/No-Go Checklist Before Towing
| Check | Potentially safe for a cautious trip to service | Do not tow |
|---|---|---|
| Wheel and fasteners | Correct wheel fitted; studs, seats and nuts undamaged; torqued to the exact specification. | Bent or cracked wheel, damaged stud, wrong nut or uncertain torque specification. |
| Hub and bearing | Smooth rotation with no abnormal play, noise, leakage or heat. | Grinding, binding, looseness, leakage, discolouration or unusual heat. |
| Brakes and wiring | Secure wiring and normal brake operation. | Torn wiring, leaking line, loose component or abnormal braking. |
| Suspension and axle | No displacement, breakage, rubbing or changed wheel position. | Broken spring or hanger, shifted U-bolt, bent axle, damaged mount or tire contact. |
| Body and systems | Everything secured clear of the tire and roadway; no leaks. | Dragging material, exposed wiring, plumbing leak or suspected propane damage. |
| Remaining tires | Correct cold pressure, no visible trauma and adequate capacity. | Cuts, bulges, exposed material, pressure loss, overload or uncertain internal condition. |
If every check passes, begin in a low-speed, low-traffic area. Confirm the trailer tracks normally, the brakes respond properly and nothing rubs, vibrates or heats abnormally. Stop and reinspect before returning to highway speed.
Re-Torque the Wheel at the Required Intervals
Use the torque value and tightening sequence specified for your trailer, wheel and studs. Do not rely on a broad internet torque range. Dexter’s light-duty trailer manual calls for rechecking wheel fasteners after the first 10 miles, 25 miles and again at 50 miles following wheel removal, then periodically afterward.
If your trailer or wheel manufacturer specifies a different process, follow that manual. A torque wrench—not an impact driver’s sound or setting—is what confirms final torque.
Preventing the Next Blowout
- Measure cold pressure before travel and during regular maintenance.
- Inspect tread and both sidewalls for cuts, cracks, bulges, irregular wear and impact damage.
- Check tire age and investigate pressure loss, vibration or unusual heat.
- Stay within GVWR, GAWR and tire load limits using measured weights.
- Use a properly configured trailer TPMS, while remembering that it cannot prevent every sudden failure.
- Record tire age, pressure checks, bearing service and wheel removal in a maintenance log.
- Inspect the spare as seriously as the tires already on the road.
Your Practical Next Step
After the repair is complete, record the failure, inspection, wheel torque checks and any bearing, brake or suspension service in the RV Maintenance Tracker. A written history makes recurring pressure loss, uneven wear and service intervals easier to spot.
If the inspection shows that tires, wheels, brakes or suspension components must be replaced, use the Tire Rack brand guide as an organized comparison starting point. Some brand pages contain affiliate links that may earn us a commission at no additional cost to you.
For tire-selection context, continue to our guide to the six best-rated travel trailer tires. Product shopping should come only after the cause, load requirements and collateral damage have been addressed.
Sources
- Transport Canada: Riding on Air—Tire Safety
- Dexter: Light-Duty 600–8K Trailer Service Manual
- NHTSA TireWise: Tire Safety and Inspection
Frequently Asked Questions
Can I tow a travel trailer after replacing a blown tire?
Only after the wheel, hub, bearing, brakes, wiring, wheel well, suspension, axle and remaining tires have passed inspection. If anything is damaged, rubbing, leaking, loose or uncertain, use professional roadside service.
Can a tire blowout bend a trailer axle?
It can contribute to axle or suspension damage, especially when the wheel strikes the road or the trailer continues moving after the failure. Changed wheel position, reduced clearance or abnormal tracking requires professional inspection.
Should I replace the tire beside the one that blew?
Not automatically, but it needs careful inspection. Have it professionally assessed if it carried extra load, was struck by debris, ran underinflated, loses pressure or shows any trauma.
How do I know whether the wheel bearing was damaged?
Warning signs include excessive play, rough or restricted rotation, grinding, leakage, discolouration or unusual heat. Because internal damage may not be visible, uncertainty should be resolved by a qualified technician.
How soon should trailer wheel nuts be re-torqued?
Follow the trailer and wheel manufacturer’s instructions. Dexter’s light-duty manual specifies checks after 10, 25 and 50 miles following wheel removal, then periodically.
Can a TPMS prevent a trailer tire blowout?
A TPMS can warn about pressure loss and sometimes rising temperature, but it cannot prevent every impact, structural failure or rapid pressure loss. It supplements rather than replaces pressure checks and physical inspection.


Leave a Reply